I thought I would create a How-To for this Deaver leaf spring install since there is no leaf pack installation instructions out there.
I haven't done a How-To in a while so bear with me as I am sure I will be editing this thread many times.
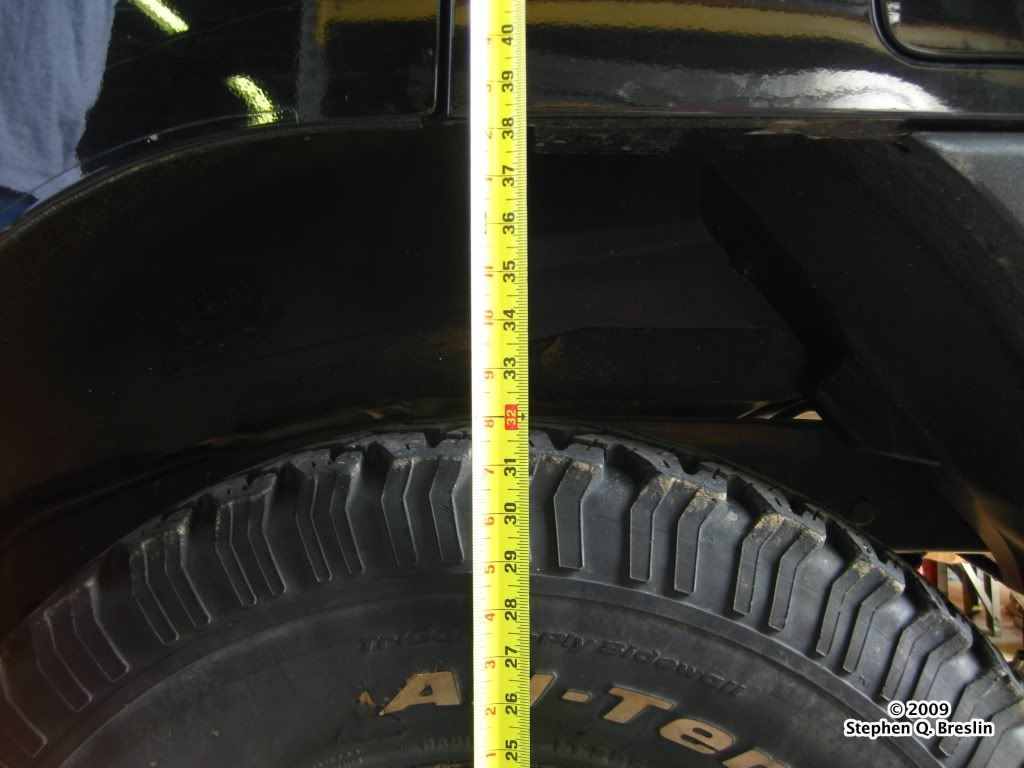
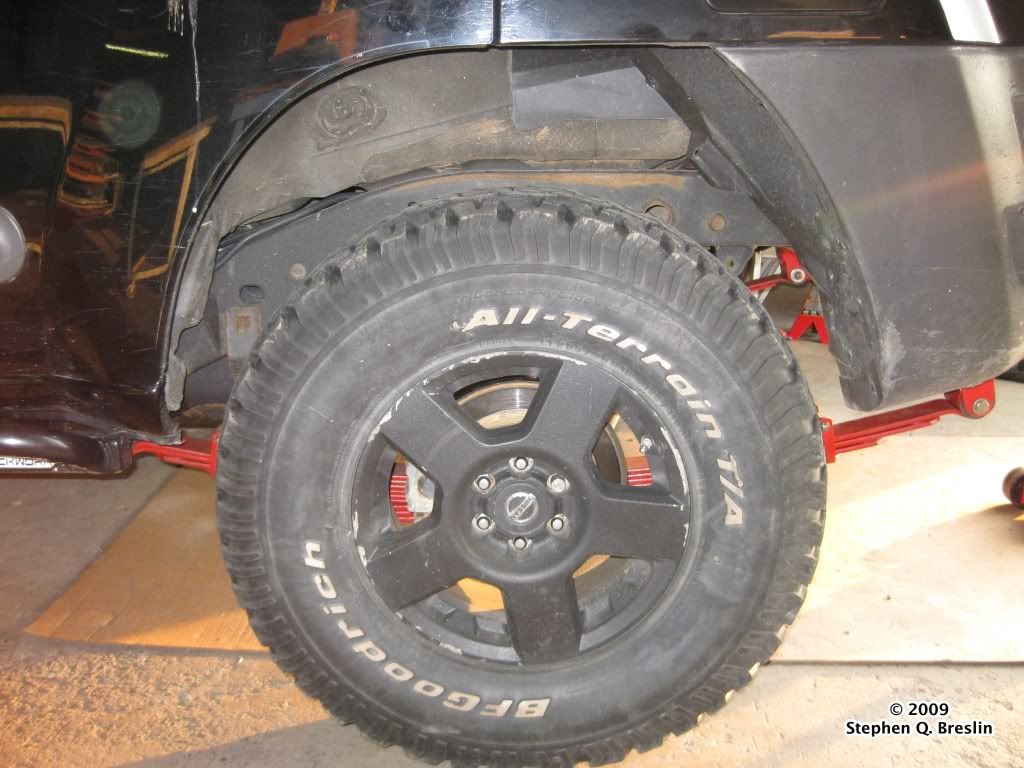
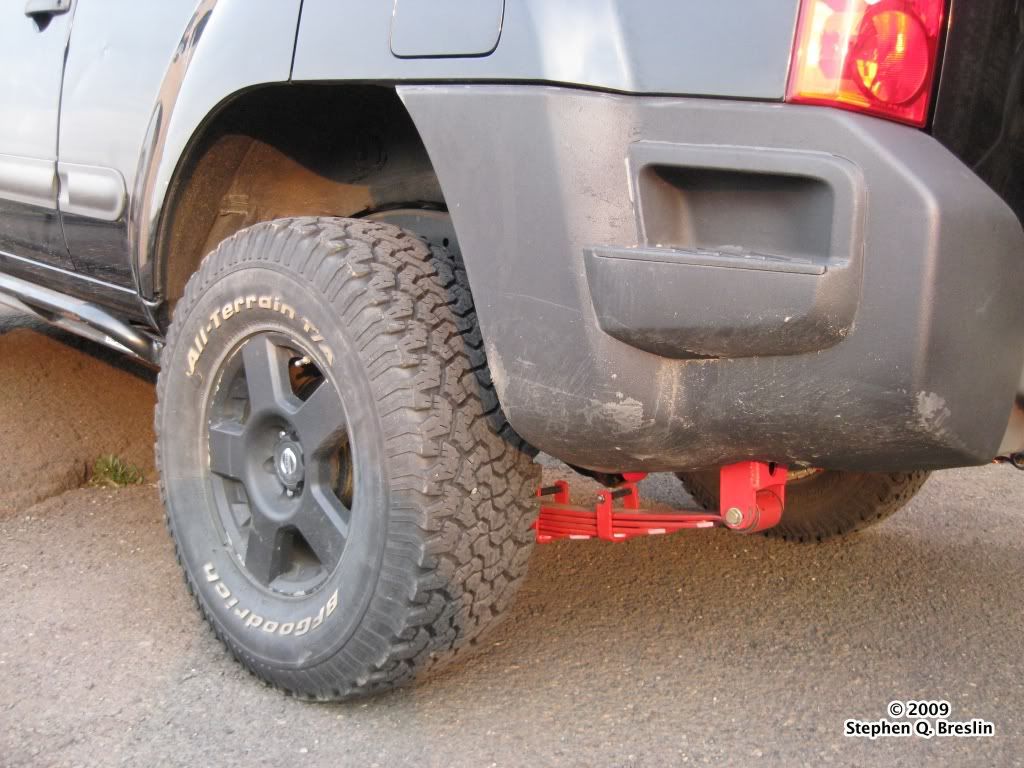
Before:
38"s
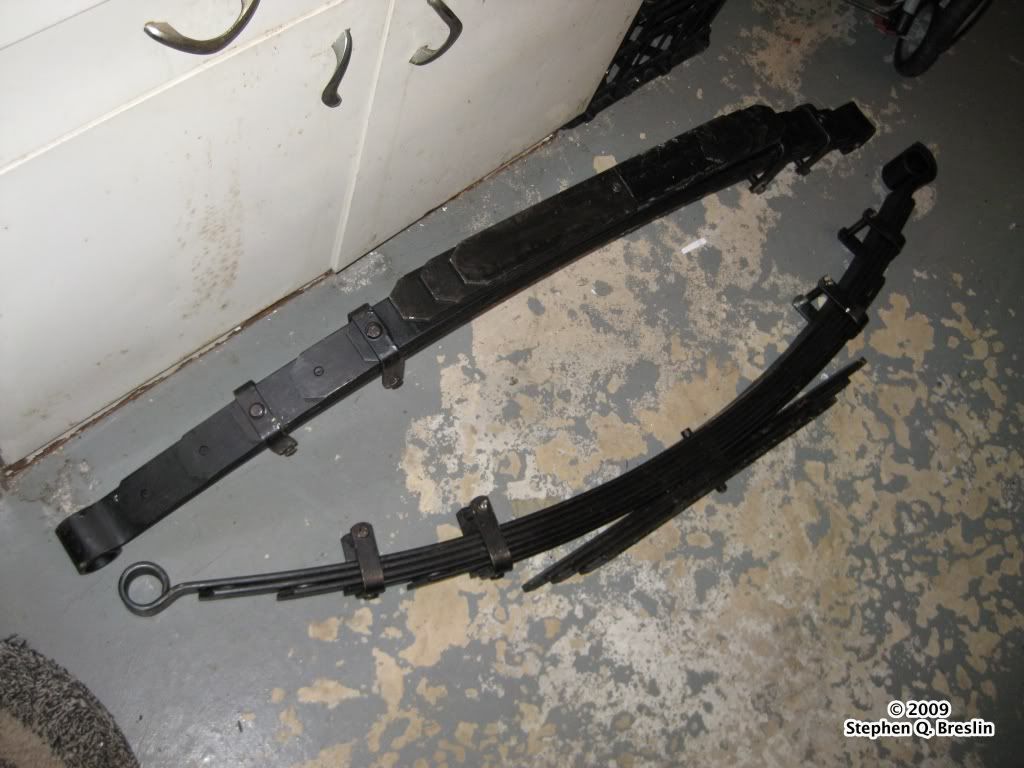
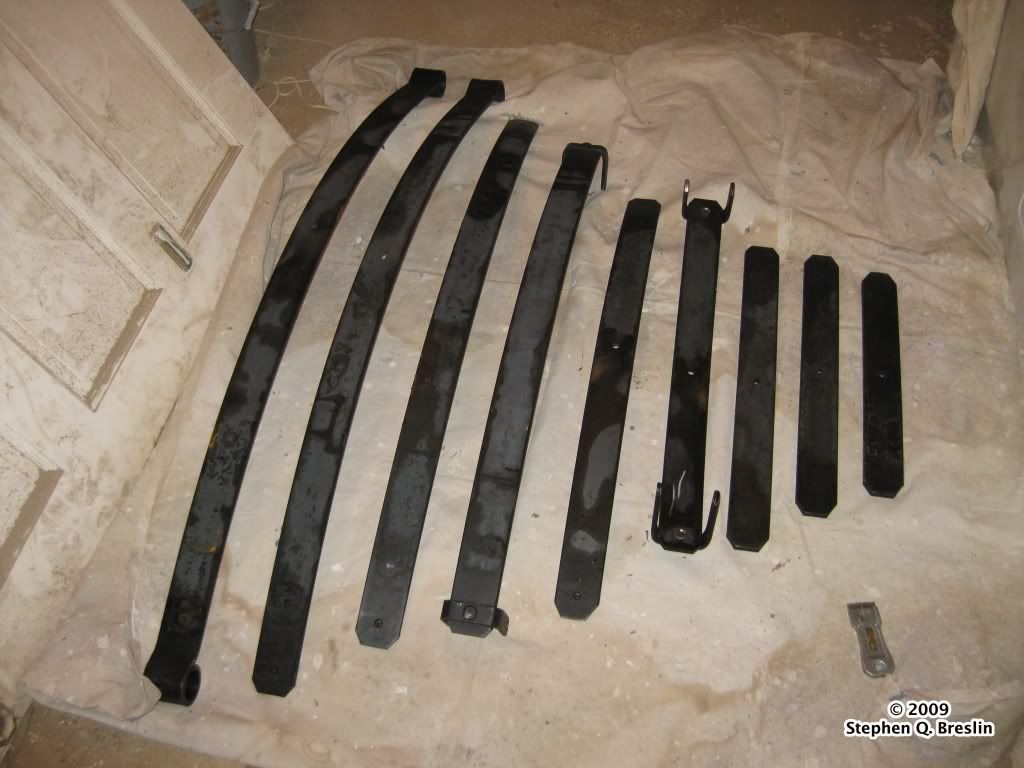
I bought new Deaver leaf springs from PRG. A 9 leaf pack with 3 overload leafs that is 3"s thick and 2.5"s wide. It is designed to give 3"s of lift over stock and allow for over 400lbs of weight in the back on the X.
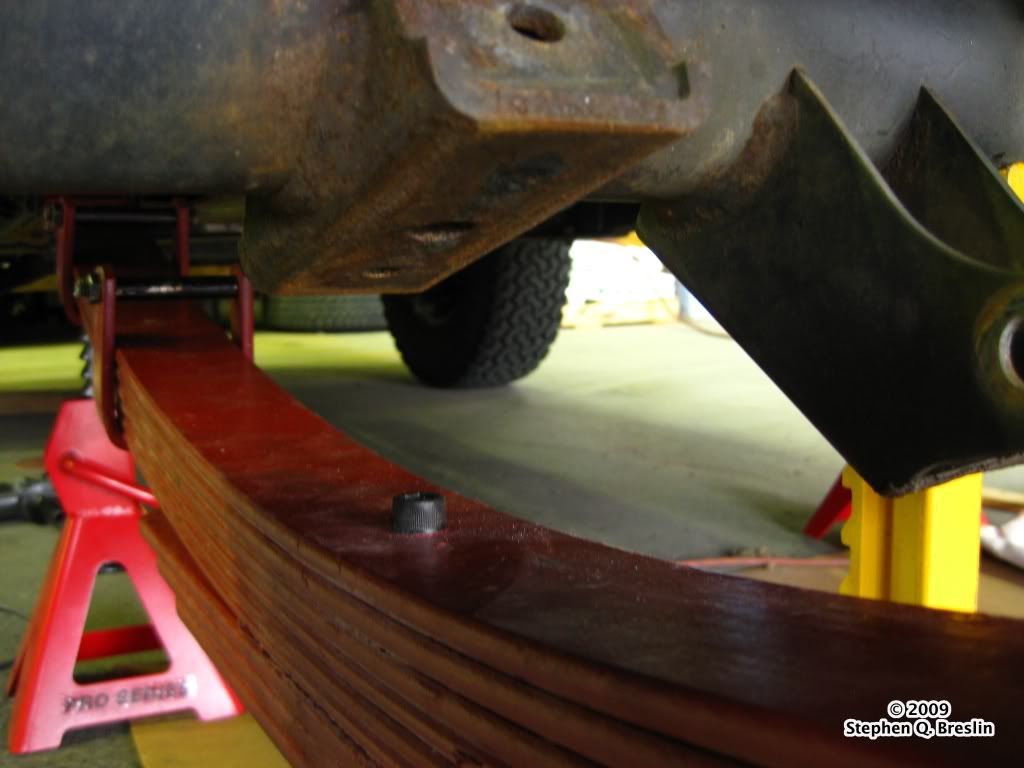
New Springs:
 Prep Work: (Optional)
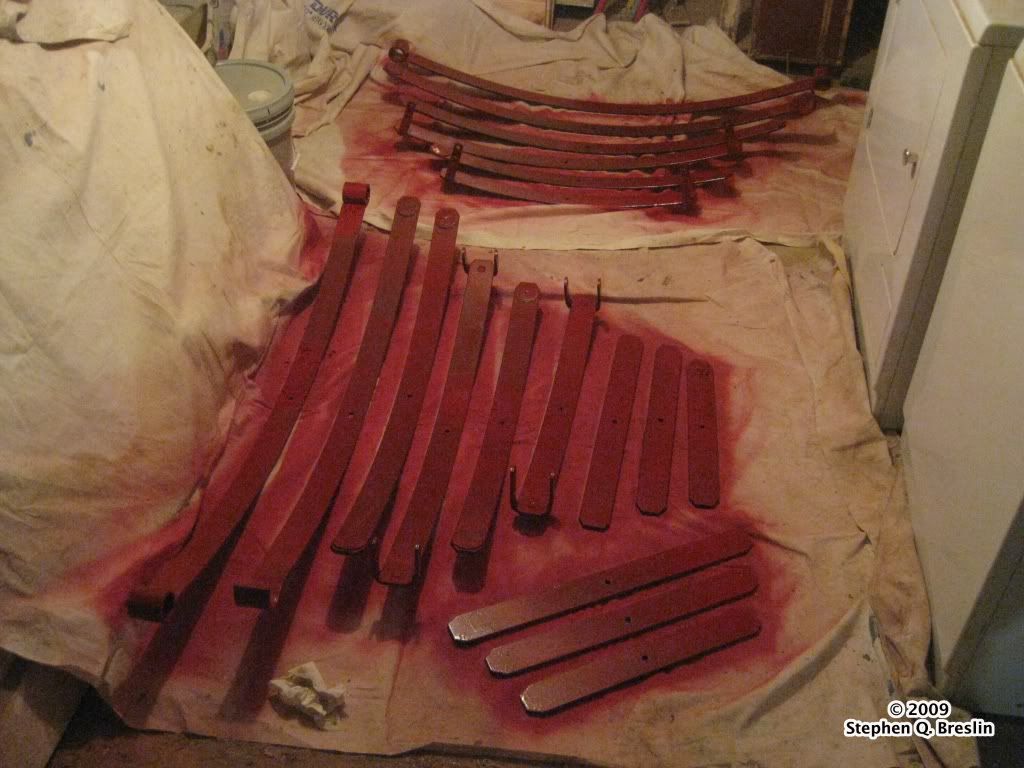
I decided to make my springs red for some added rust protection and because I think it looks cool.
Separate your pack by undoing the center pin and leaf guides. Lay your leaf pack down in the order you removed it and don't mix up the order the get assembled. Clean with acetone to remove unwanted dirt or oil.

Two coats on each side and let them drive overnight. Reassemble in reverse order.
 Step 1:
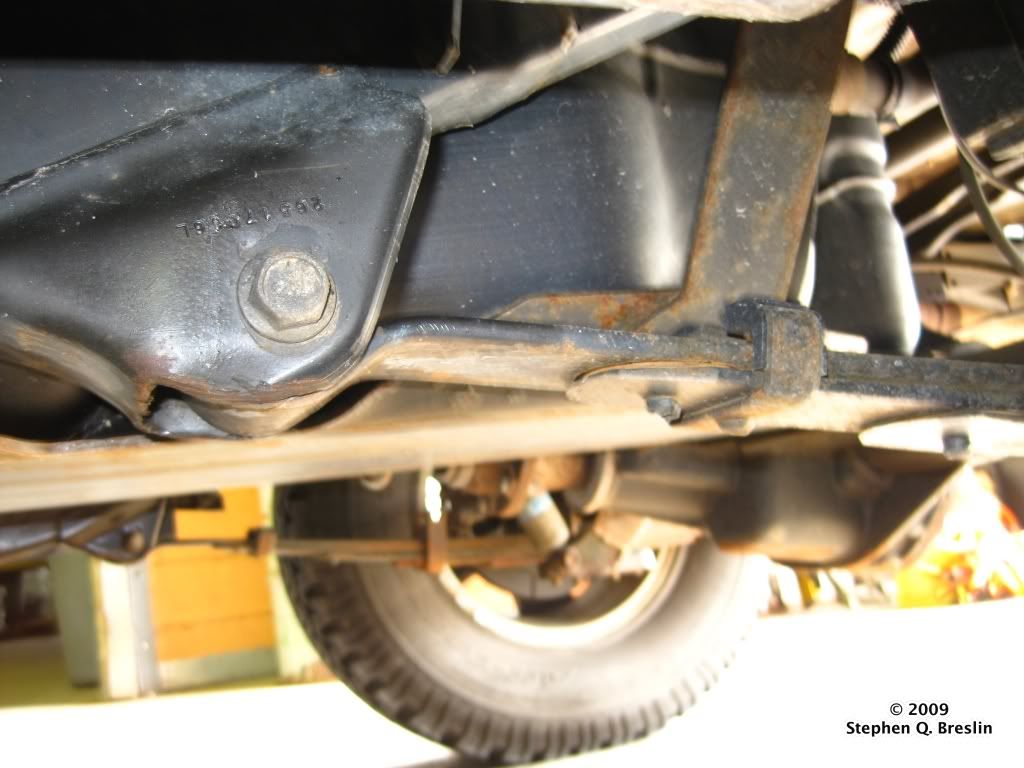
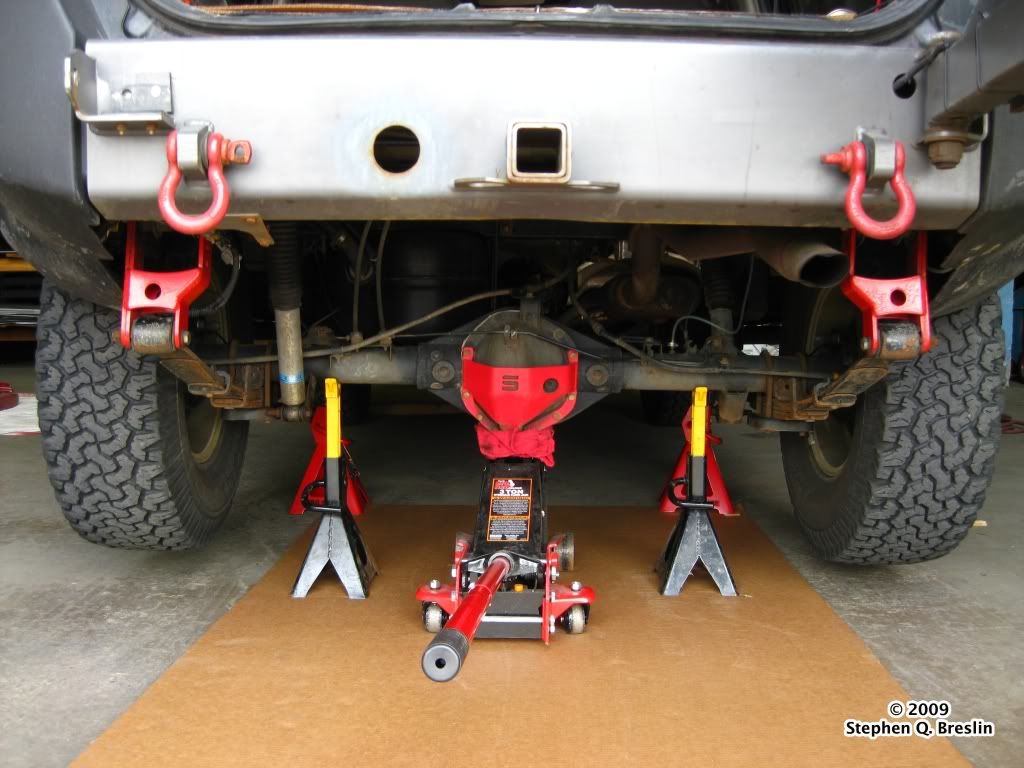
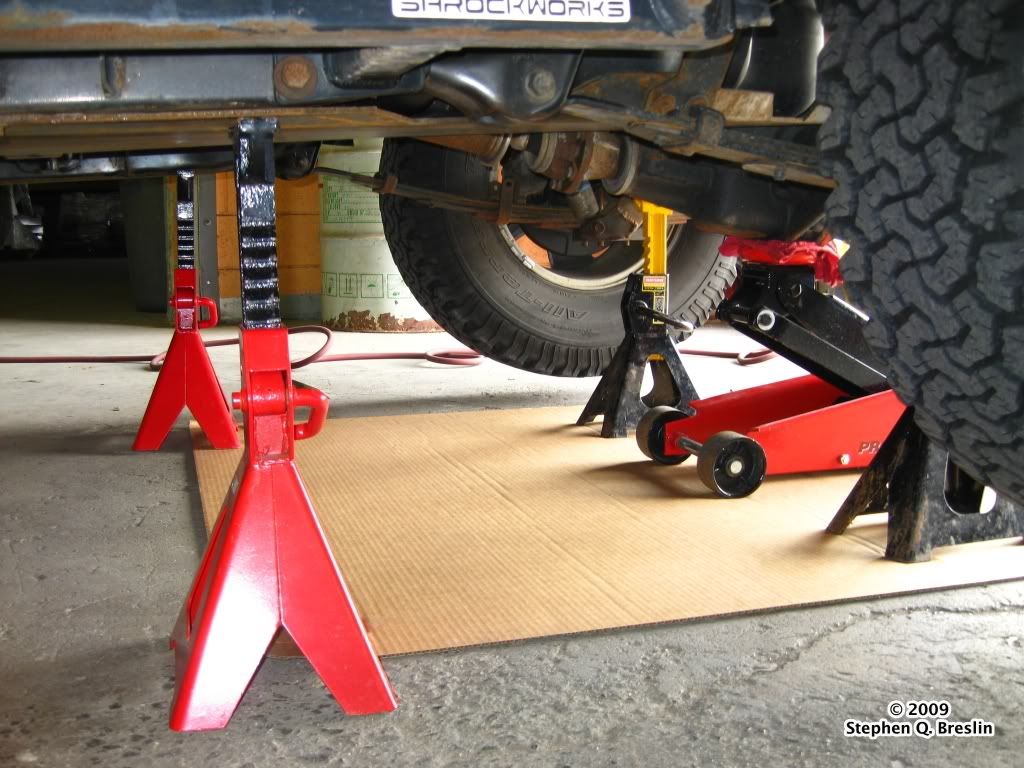
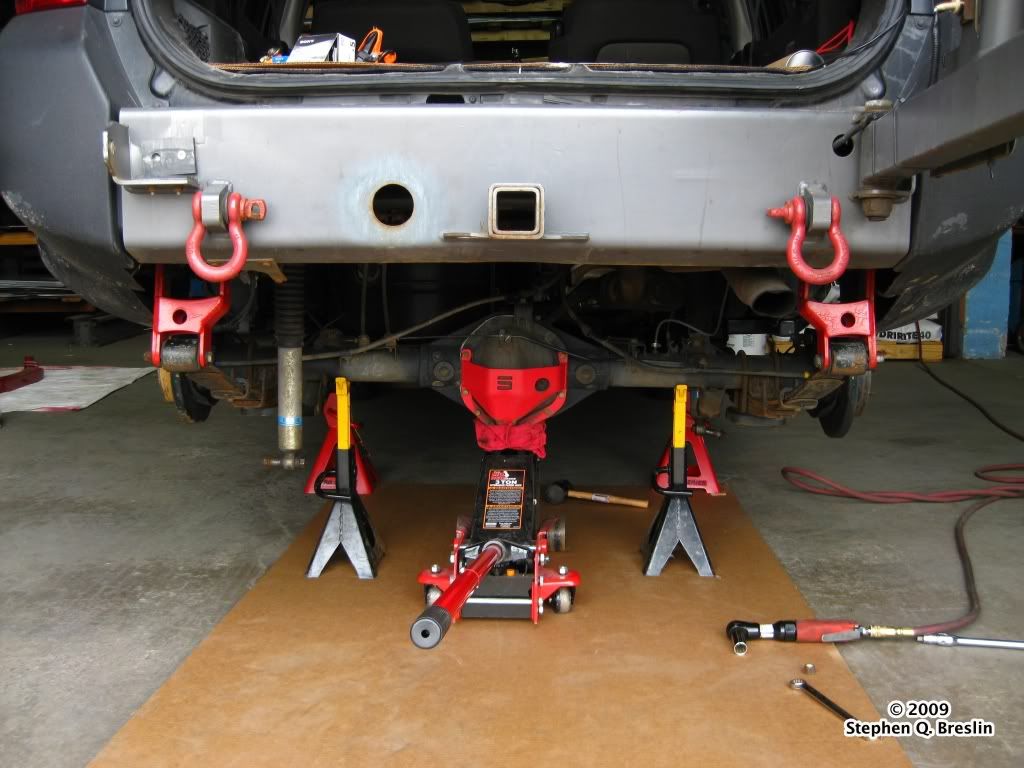
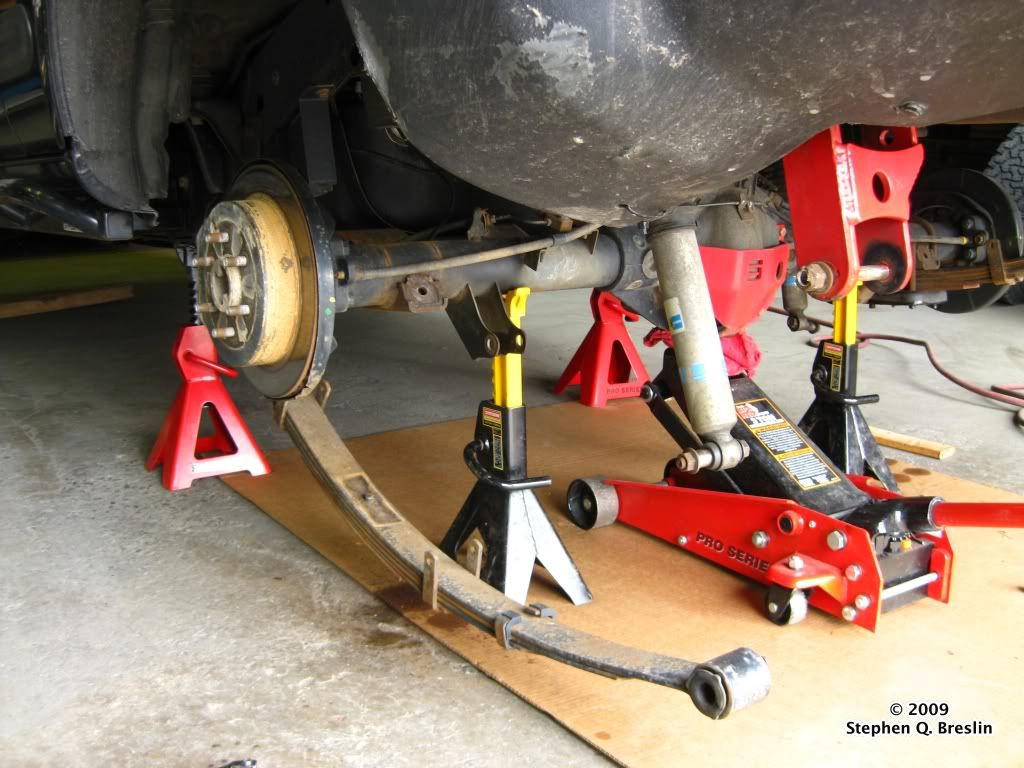
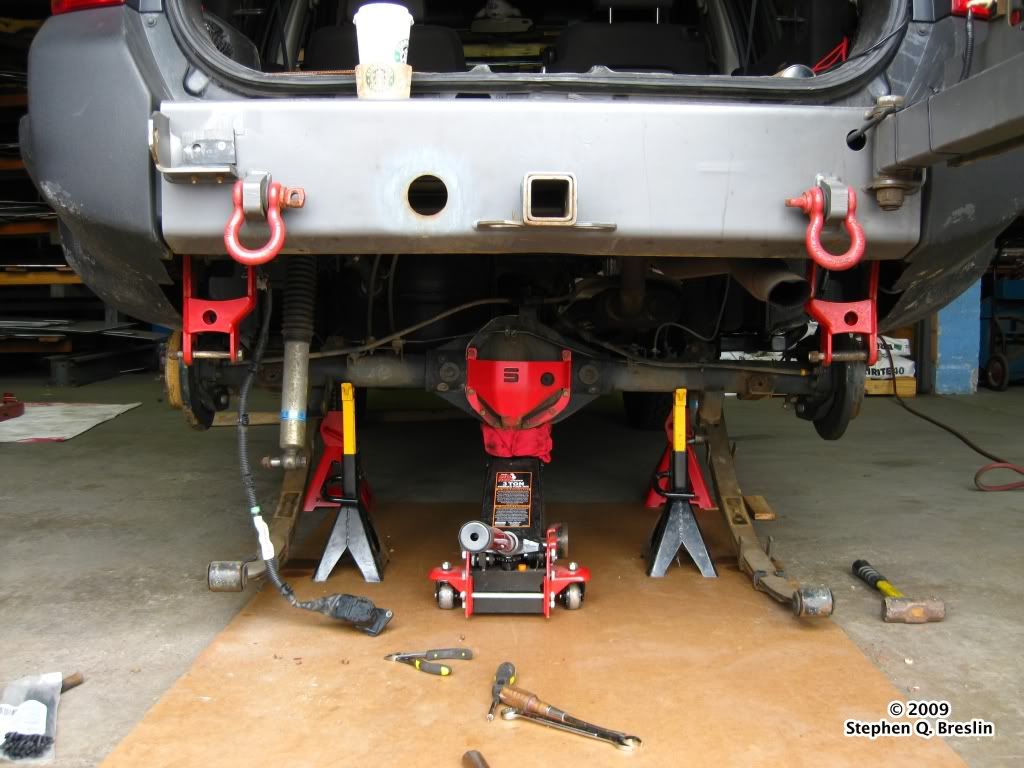
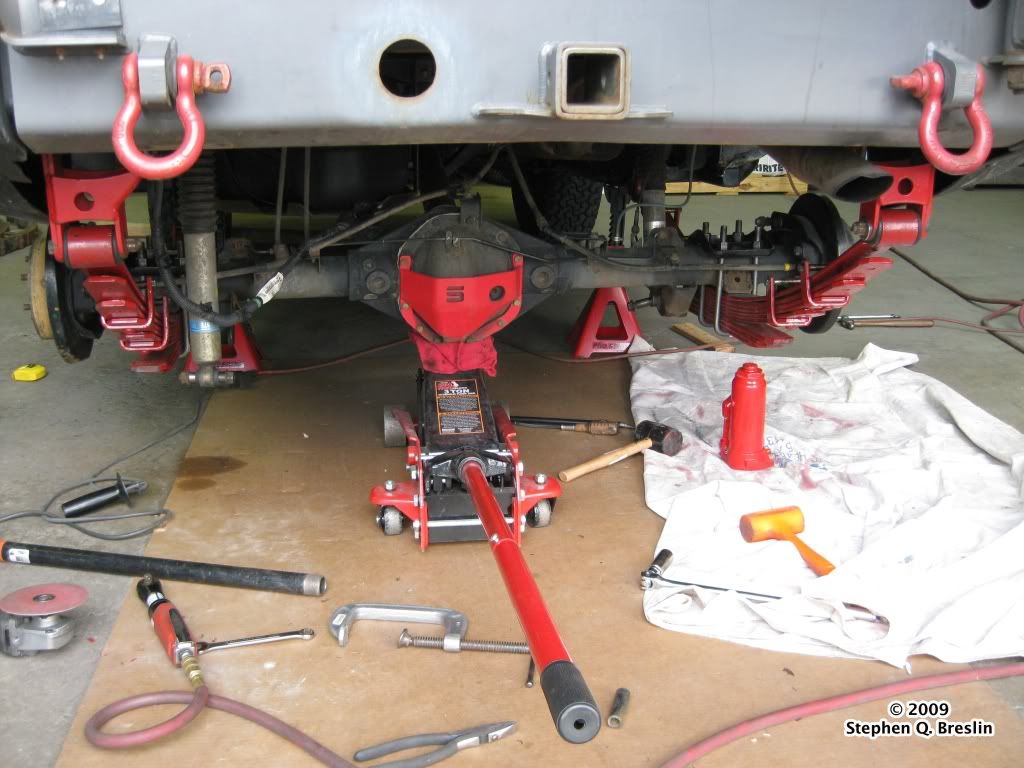
Jack up the truck form the rear using a floor jack on the pumpkin and support the frame wit jack stands and the rear axle with jack stands as well. You should also have sprayed the leaf spring mounts and U-Bolts with some
PB Blaster a couple days before hand to loosen the connections and breakdown as much rust as possible.
 Step 2:
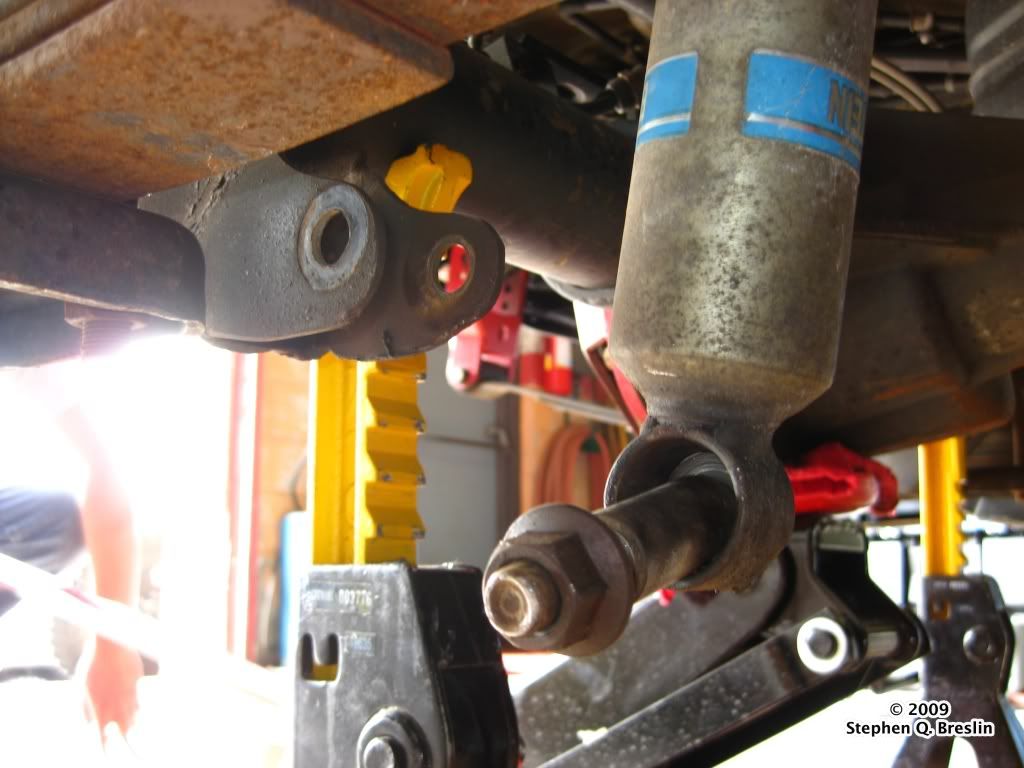
Remove Rear Tires & unscrew lower shock mounts on rear shocks so they swing free.
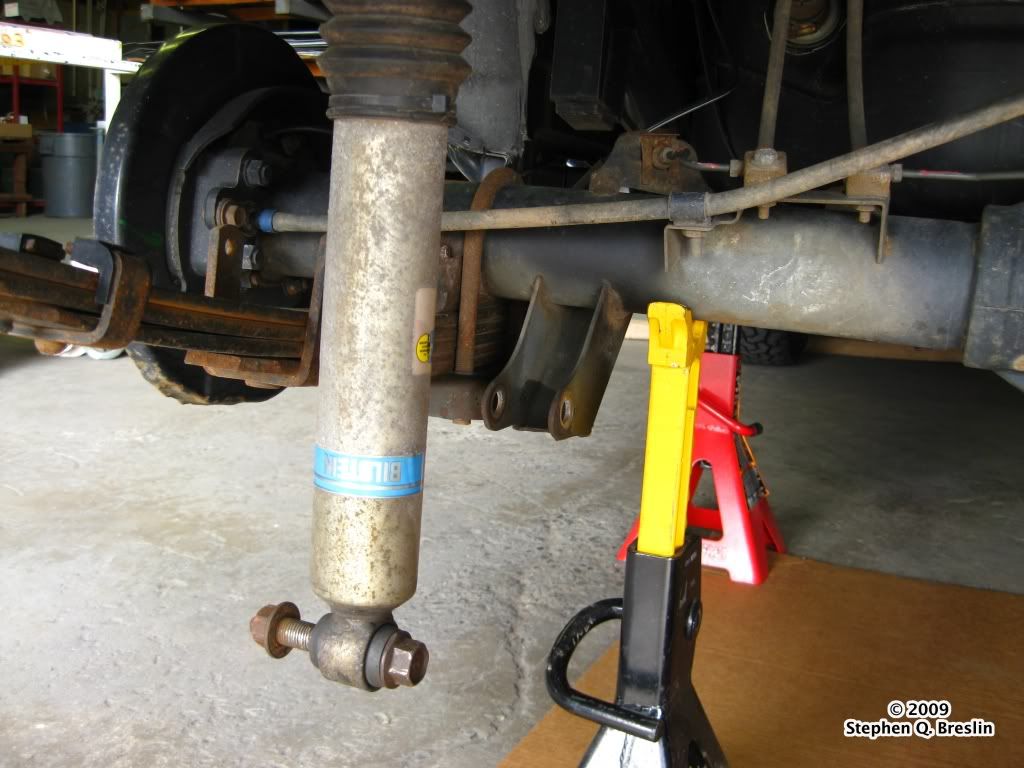
This may be a good time to replace any worn shock bushings such as I had.
 Step 3:
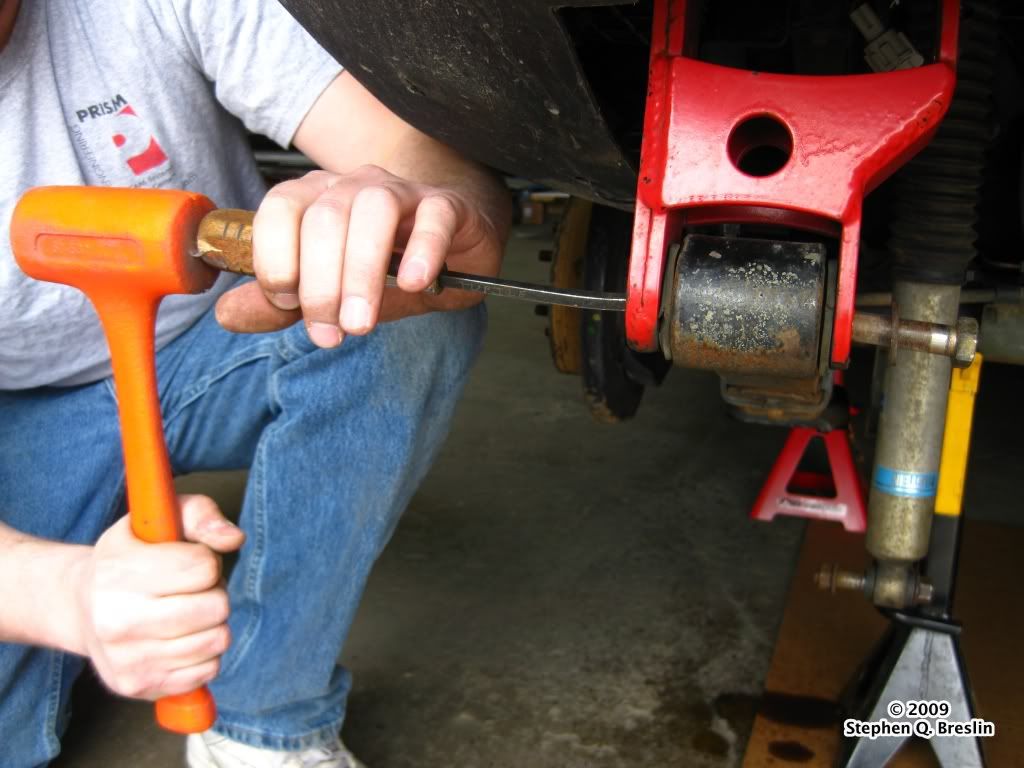
Remove Rear Leaf Springs from Rear mounts on the lower part of the shackles.
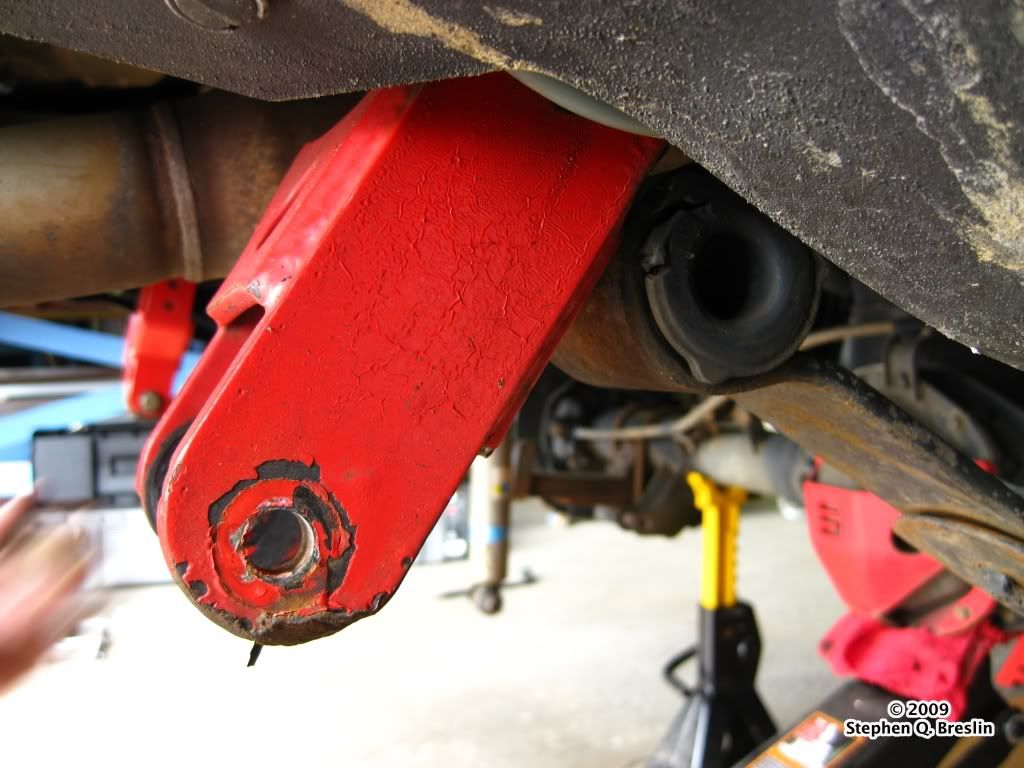
You may want to use a flat head screw driver and a mallet to for the leaf springs out of the shackle. Be careful, as the springs may still be under a decent amount of pressure.
 :Step 4:
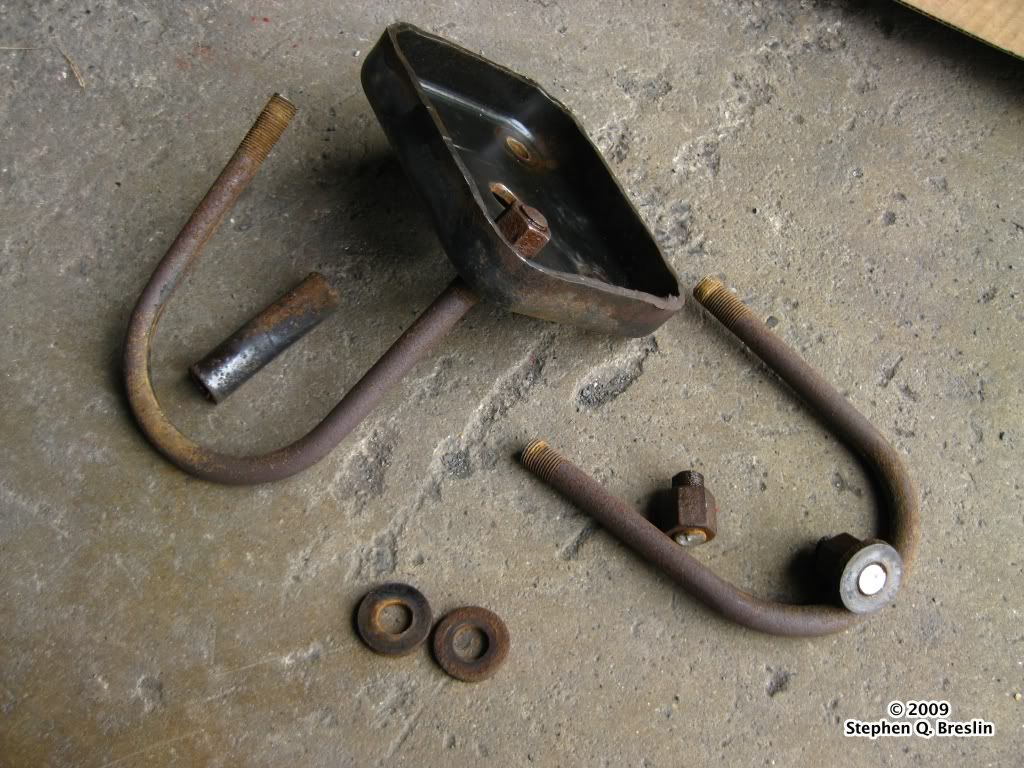
Remove U-Bolts & Mounting Plates.
Most of mine were seized on and broke during removal. But, do not fret as you must replace U-Bolts every time you adjust or change leaf springs.
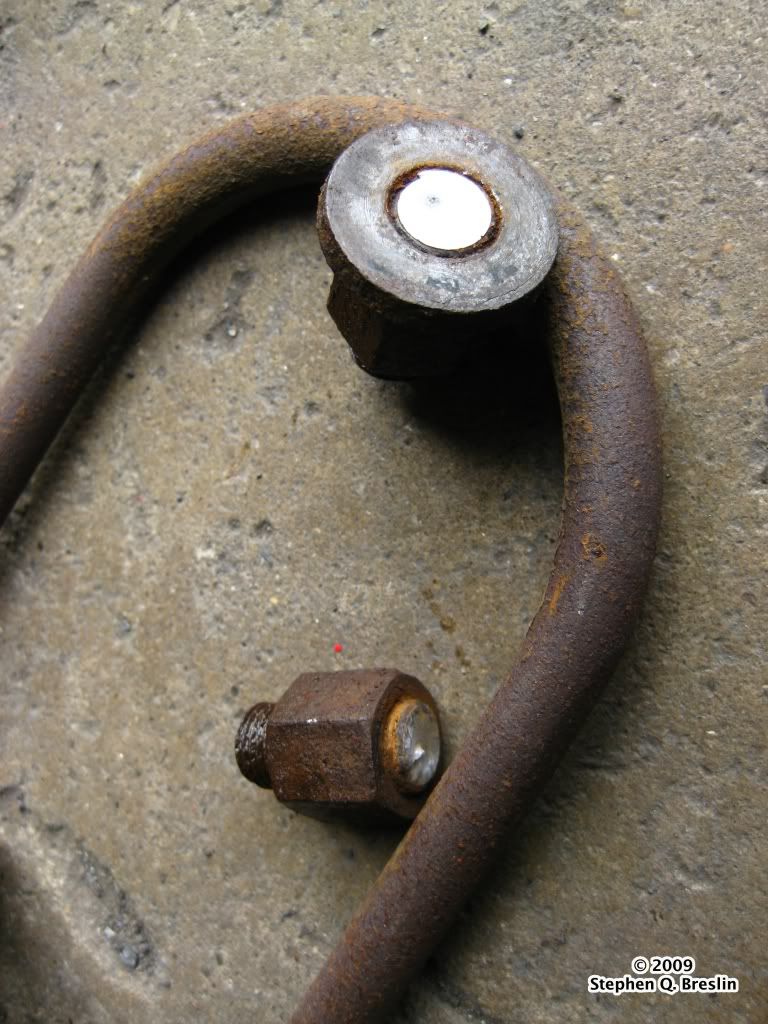
Old crap.
Driver's side free.
Springs free of rear axle.
 Step 5:
Remove front of leaf spring from mounts. Save the bolts and nuts as you will reuse them for new leaf springs!
Save these bolts!
Step 6:
New leaf pack time!
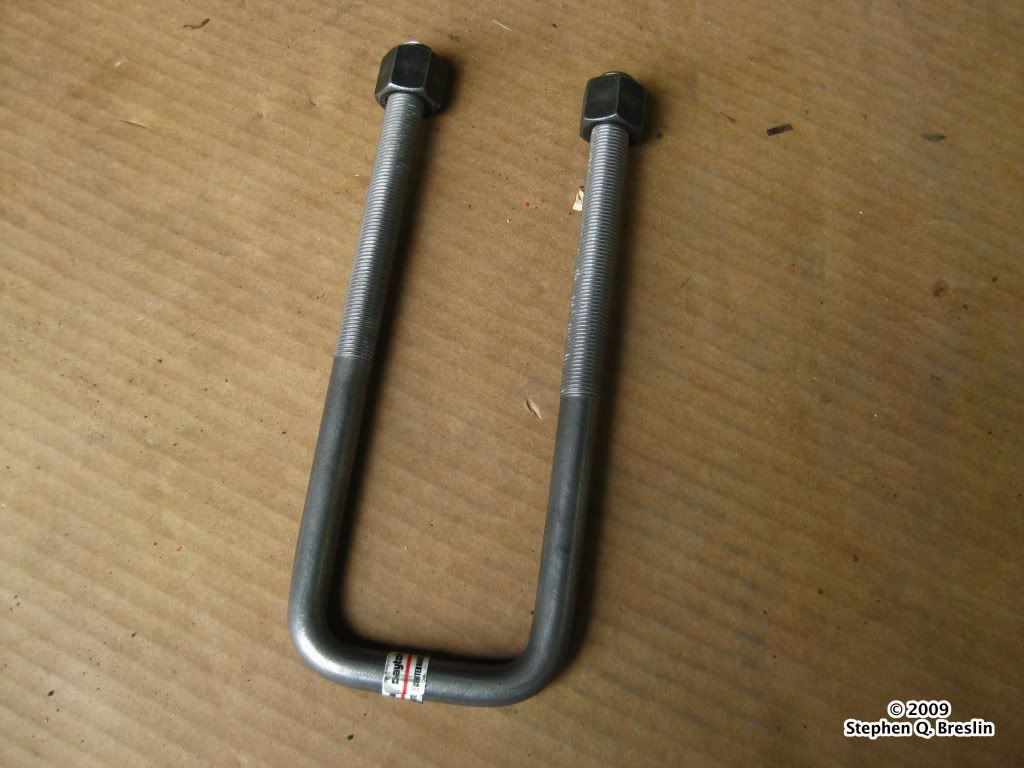
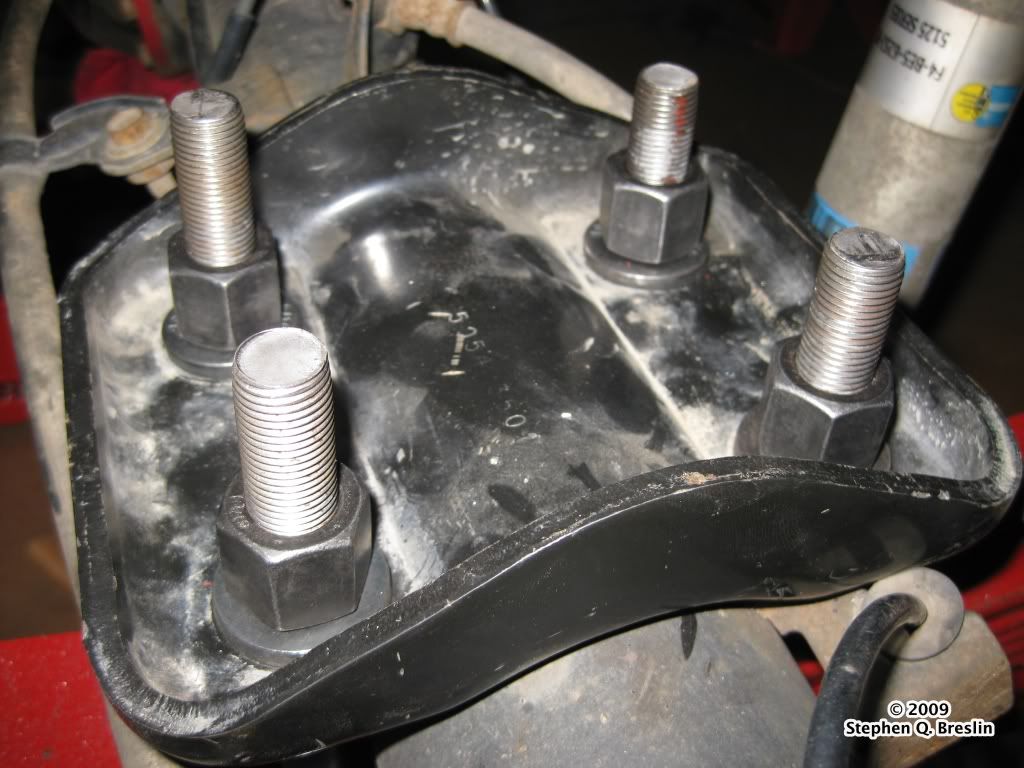
I decided to go with a U-Bolt flip kit I also bought from PRG to be conscious of ground clearance. I bought some heavy duty U-Bolt from Stengel Bros. Inc. in PA.
9/16"s thread, 2 & 1/2" between threads and 8 & 1/2"s long.
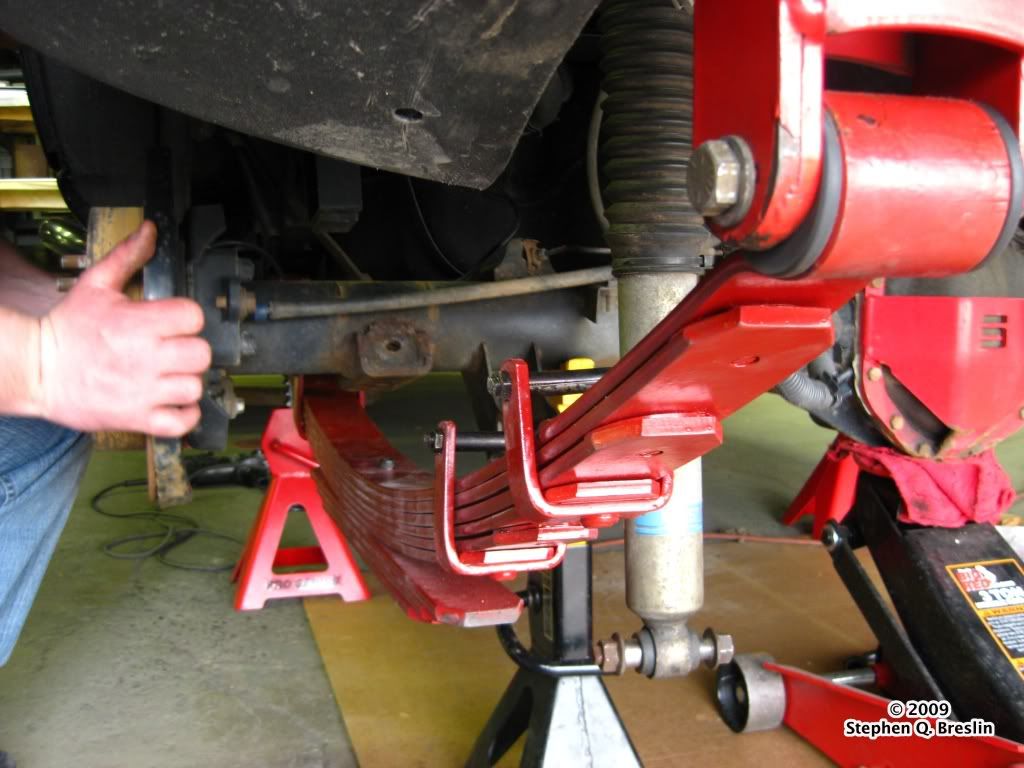
Install the leaf packs in reverse order except you will attach the axle last as you need to lower the axle back onto the leaf packs together to assure the center pins will line up and sit properly into the axle.
I had some trail rash that banged up the front leaf mounts so some grinding was necessary.
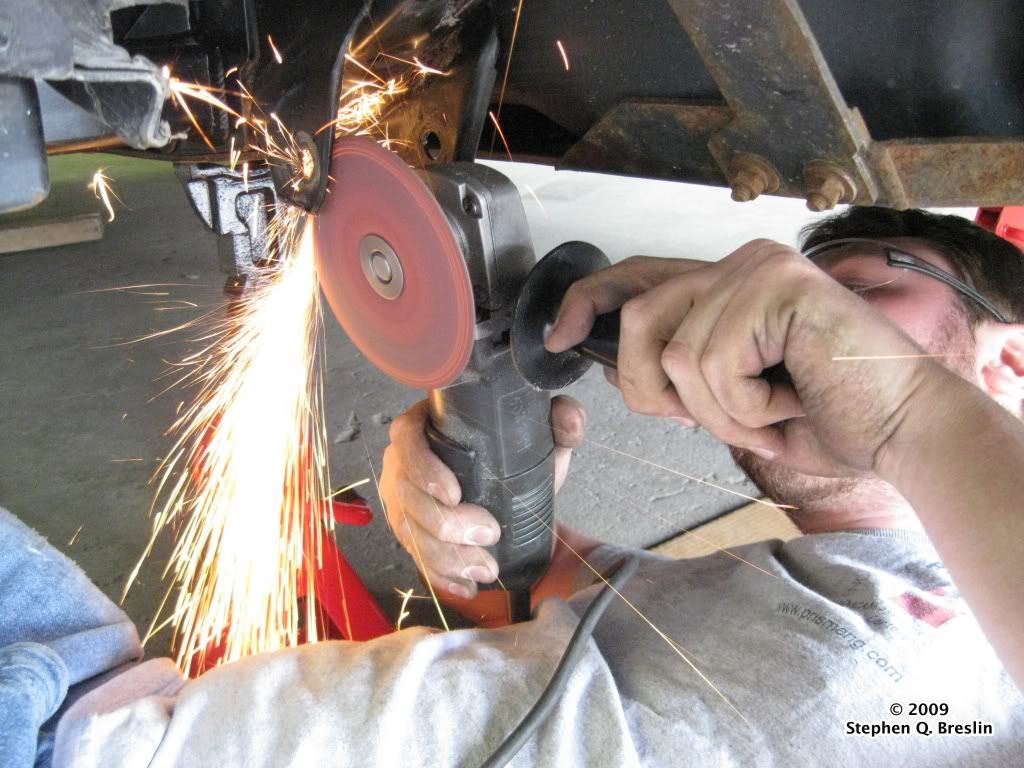
Thanks to Dan for his grinding help that made the mounts work again.
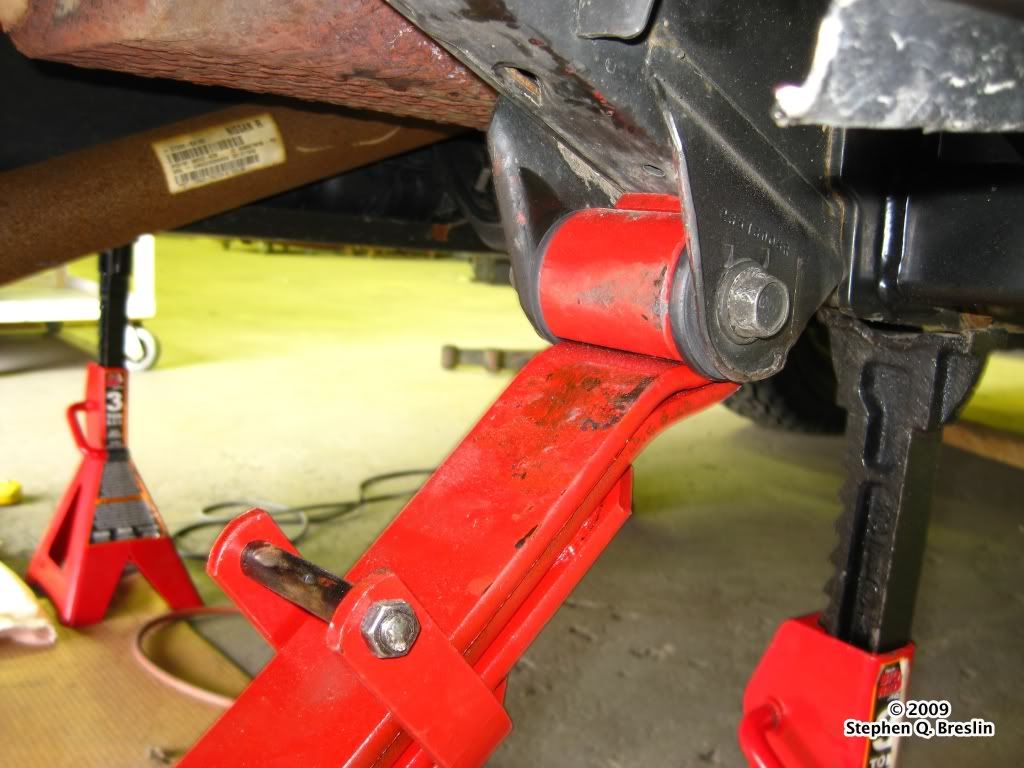
You may need to use a bottle jack to get rear leaf pack mounts to squeeze back into the shackle.
Disregard the black on the springs, it was from the mallet we used.
Step 7:
Center Pin and Axle
Dave's blurry thumbs up before the axle is lowered.
Because of my flip kit, additional grinding was need to grind down the ABS brake mounts on top of the axle. No loss here, as the mounts still worked after making them flush.
U-Bolt flip kit fits.
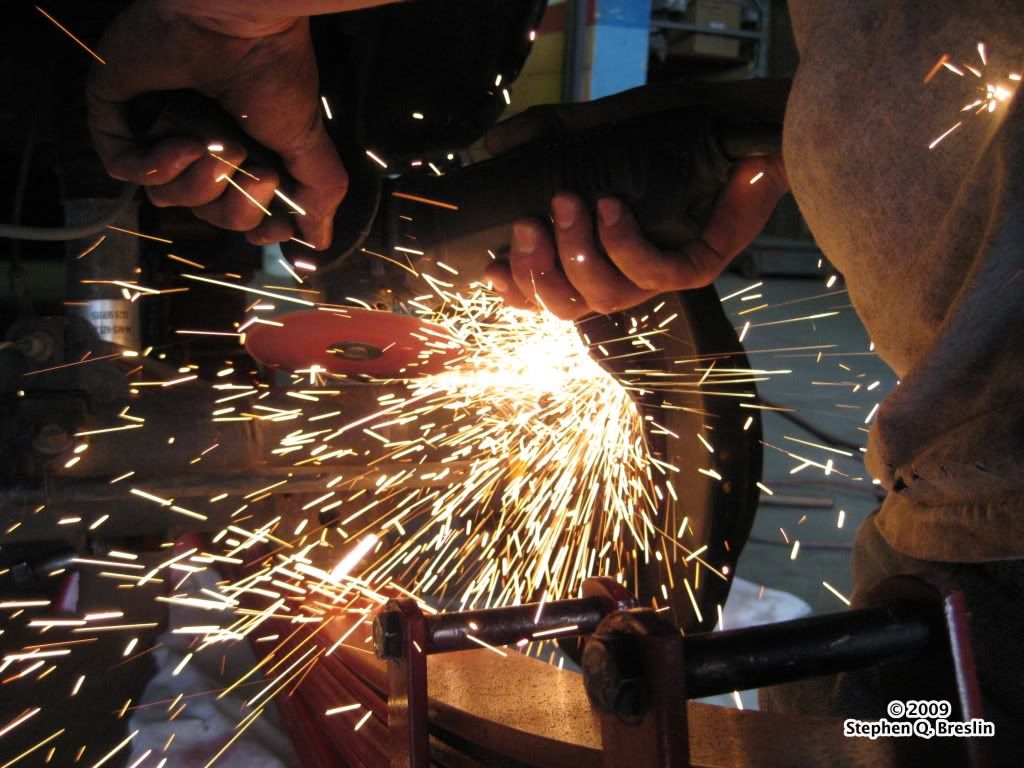
You will want to remove the excess on the U-Bolts with a reciprocating saw or angle grinder.
Reinstall lower shocks to lower mounts.
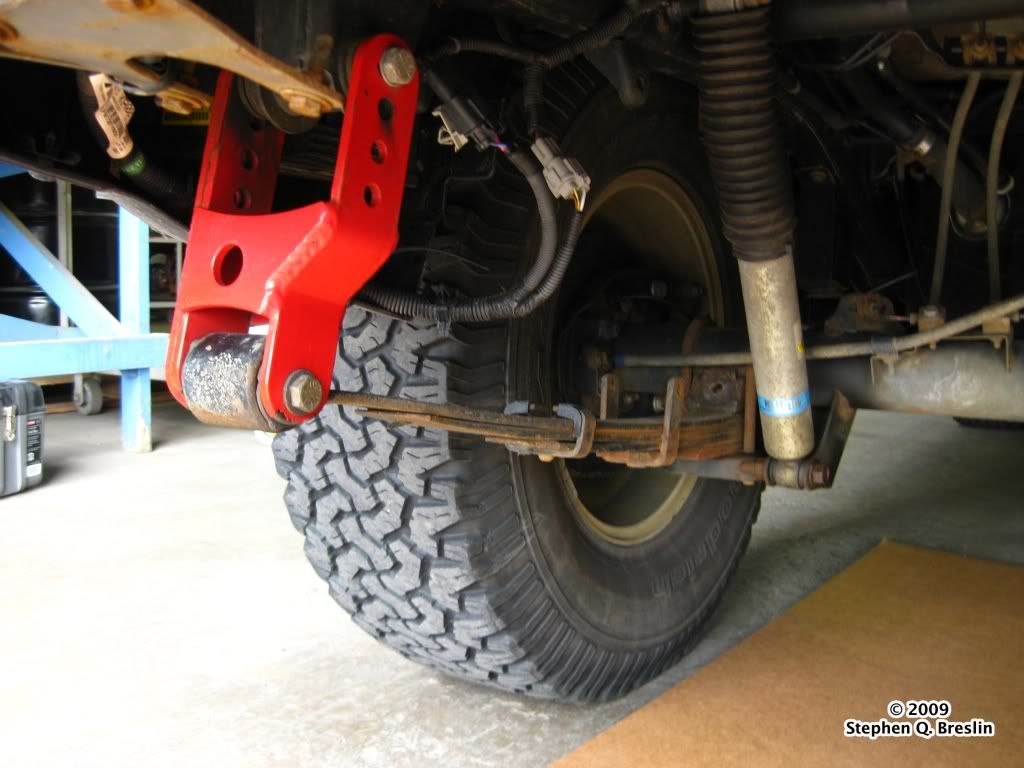
New leaf packs on!
I put the shackle back on a lower setting this time to account for the greater arch in the leaf springs.
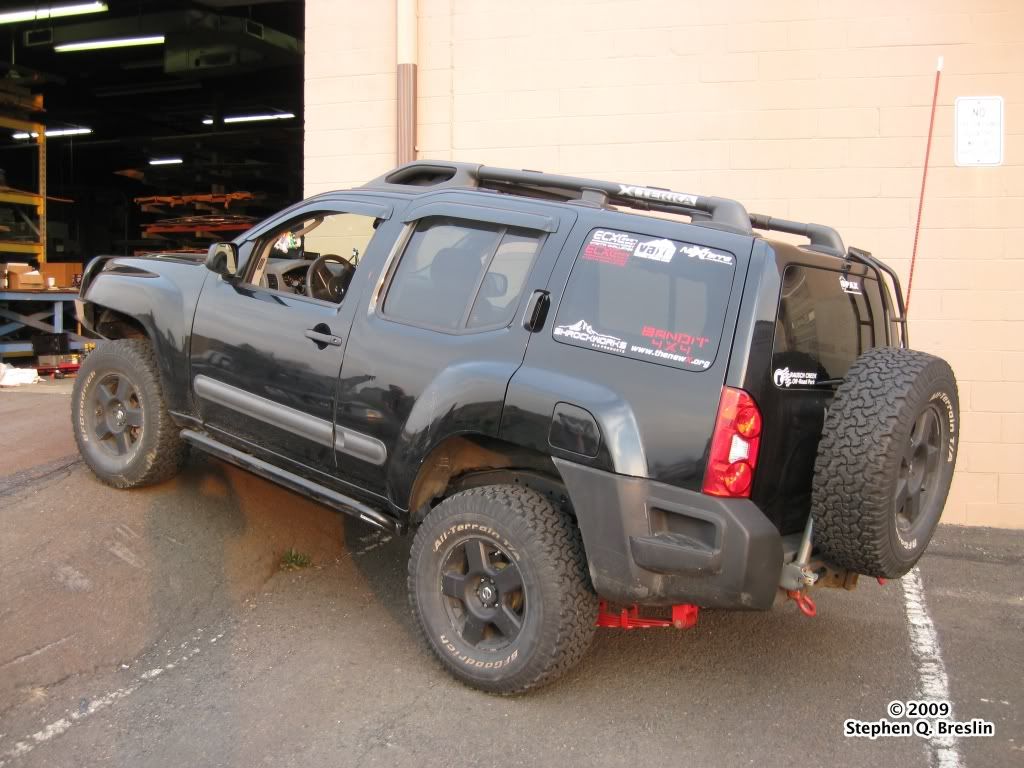
Step 8:
Put the tires back on and test it out.
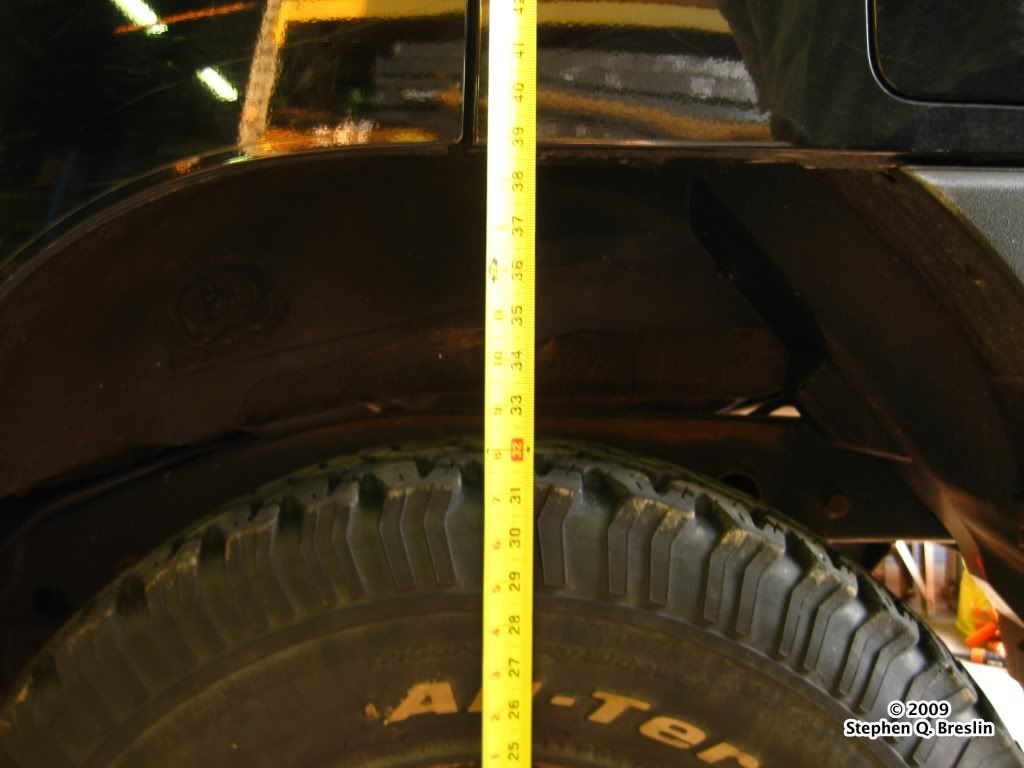
After
39"s for 1" gain
Flexing
Did I miss something or are thee any questions? Feel free to ask.
 Board index » Tech Talk » Back Yard Mechanic

