OK, so this past Sunday I installed my Top Gun Spacer front lift & PRG rear suspension lift and I took photos at every step. I know there are already How To's on this subject, but non with detailed photos. So, here goes.
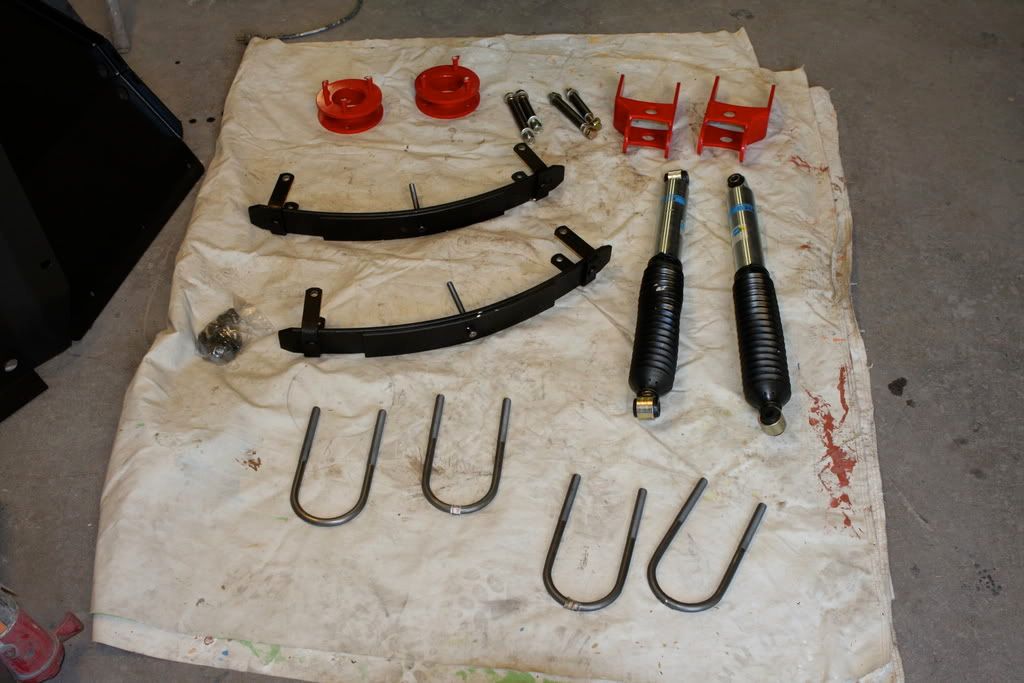
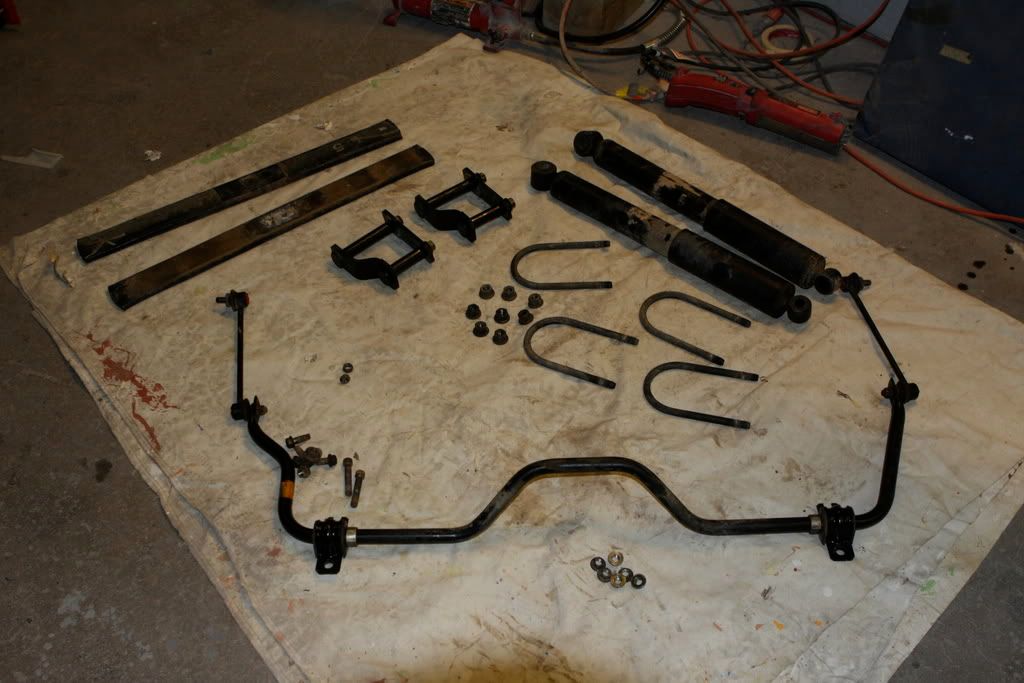
All the parts:
PRG Deaver AAL Pack, PRG Shackles, Bilstein 5125's, Top Gun Spacers & New U-Bolts
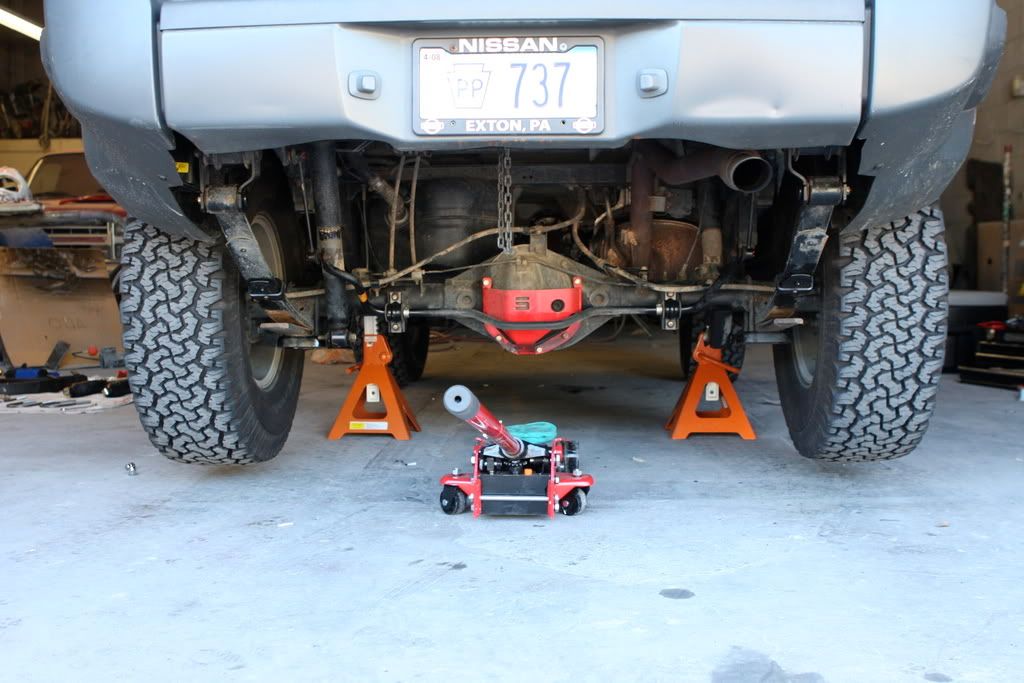
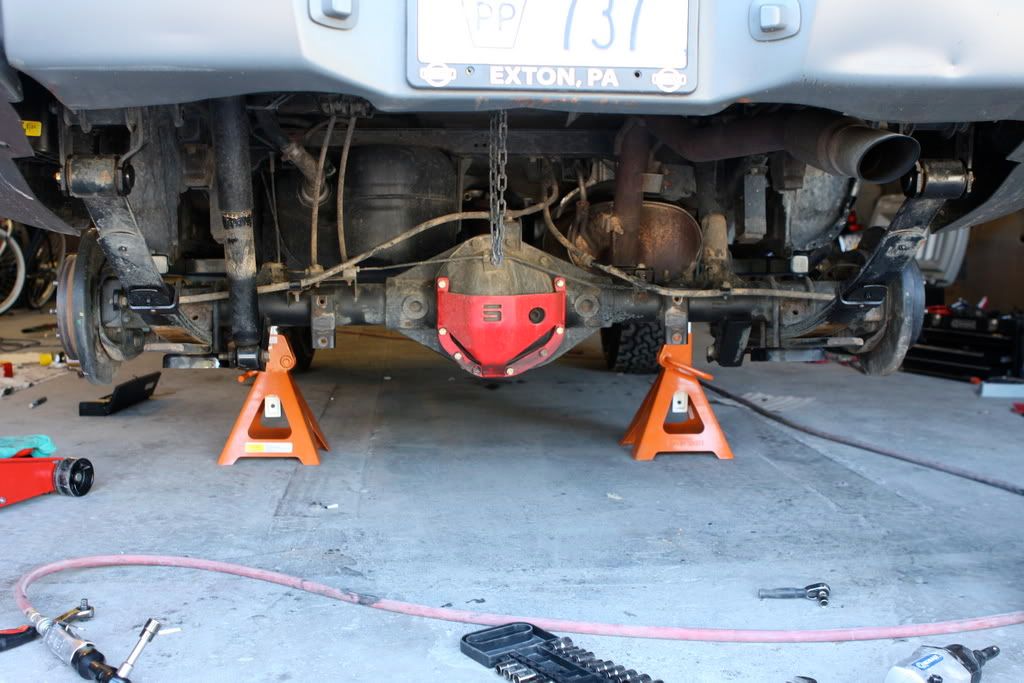
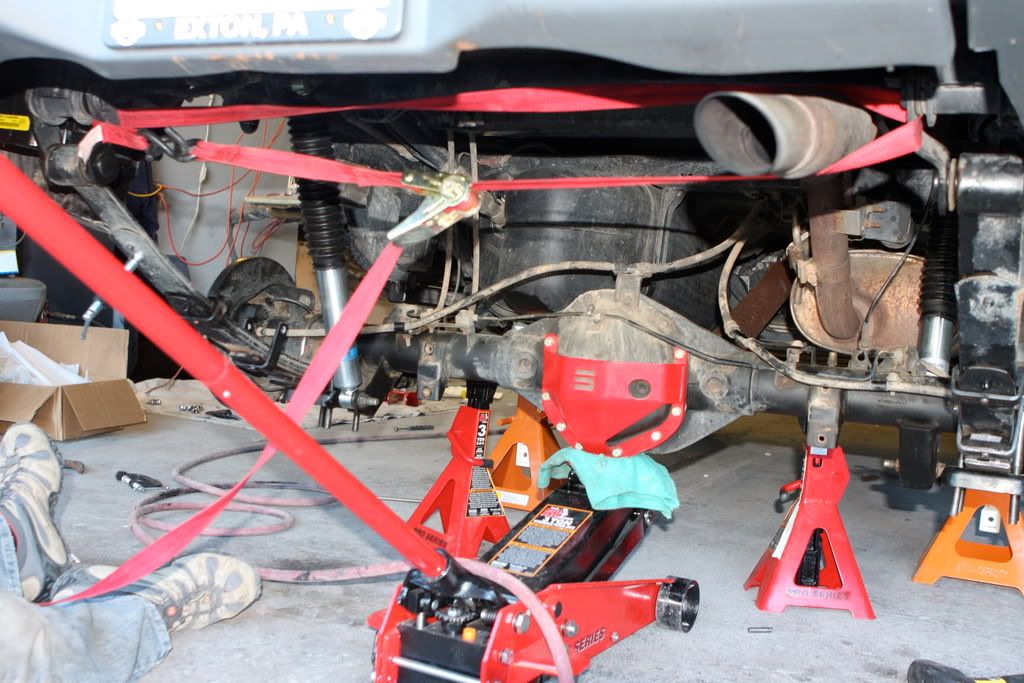
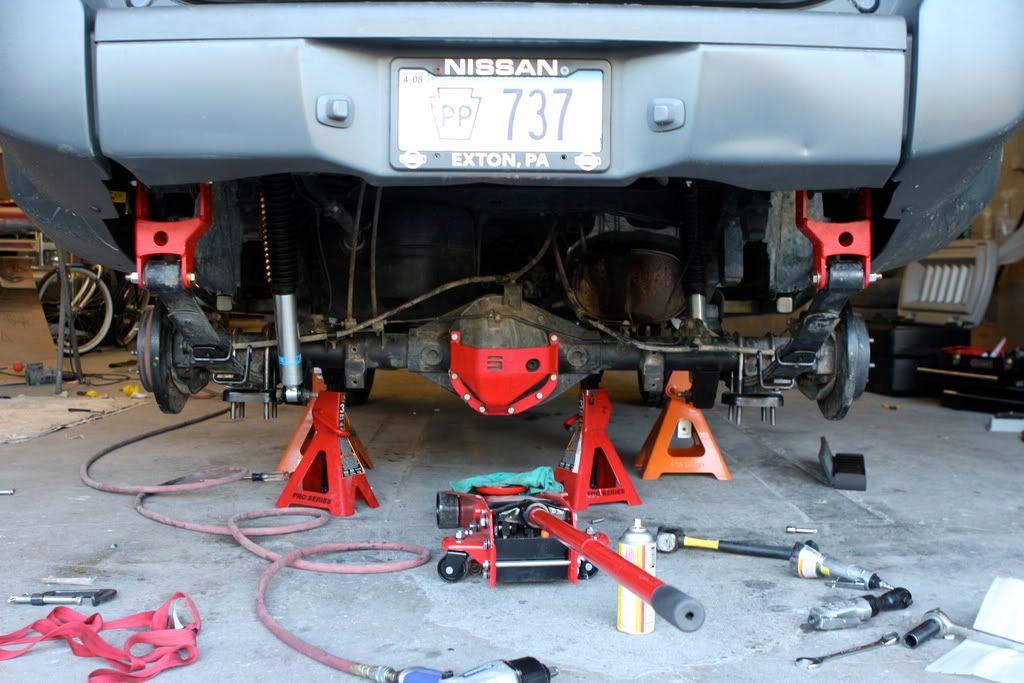
Jack up the rear and support it with jack stands on the frame.
If you haven't previously done, remove the rear sway bar.
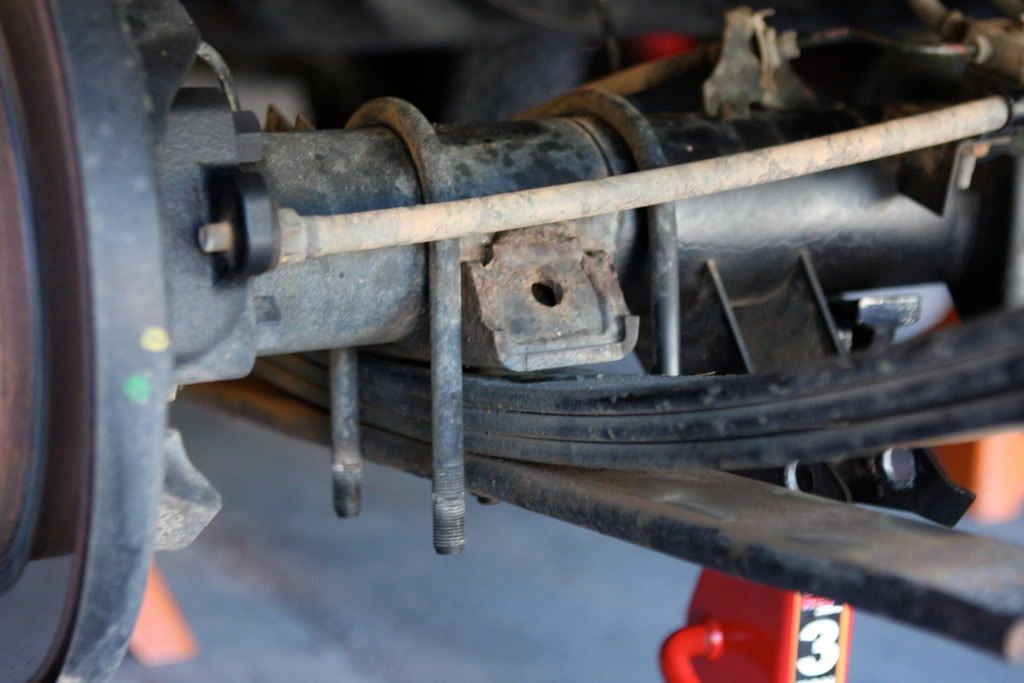
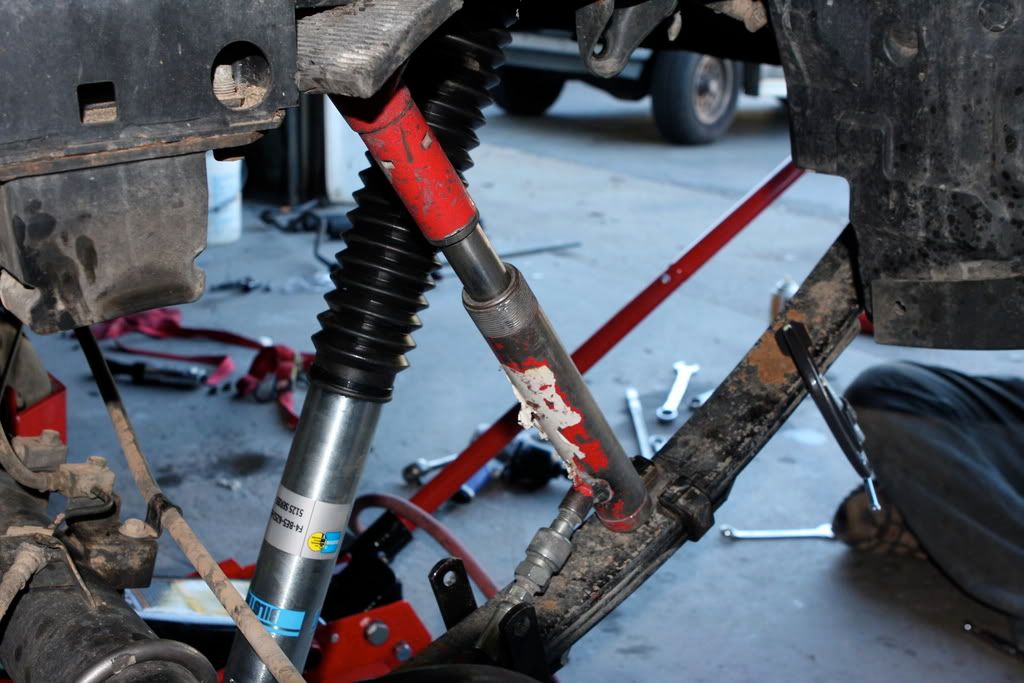
Start by Removing the stock shocks.

Next, loosen and remove the U-Bolts and remove the over leaf on the leaf pack. Use a large C-clamp to retain the tension in the remaining leaf pack.
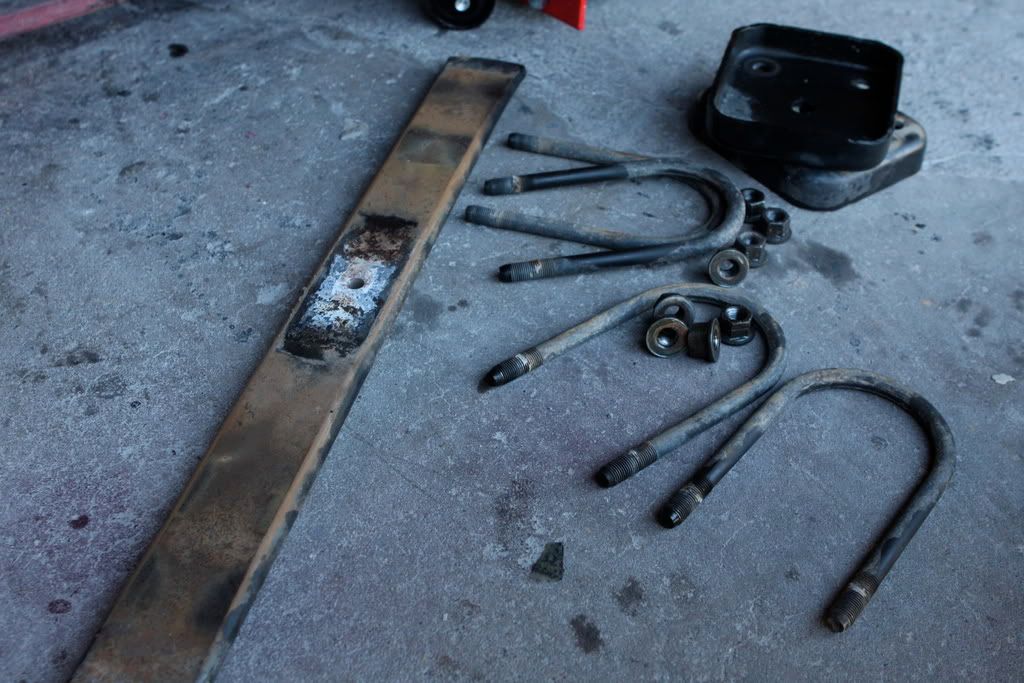
Left Over Crap.
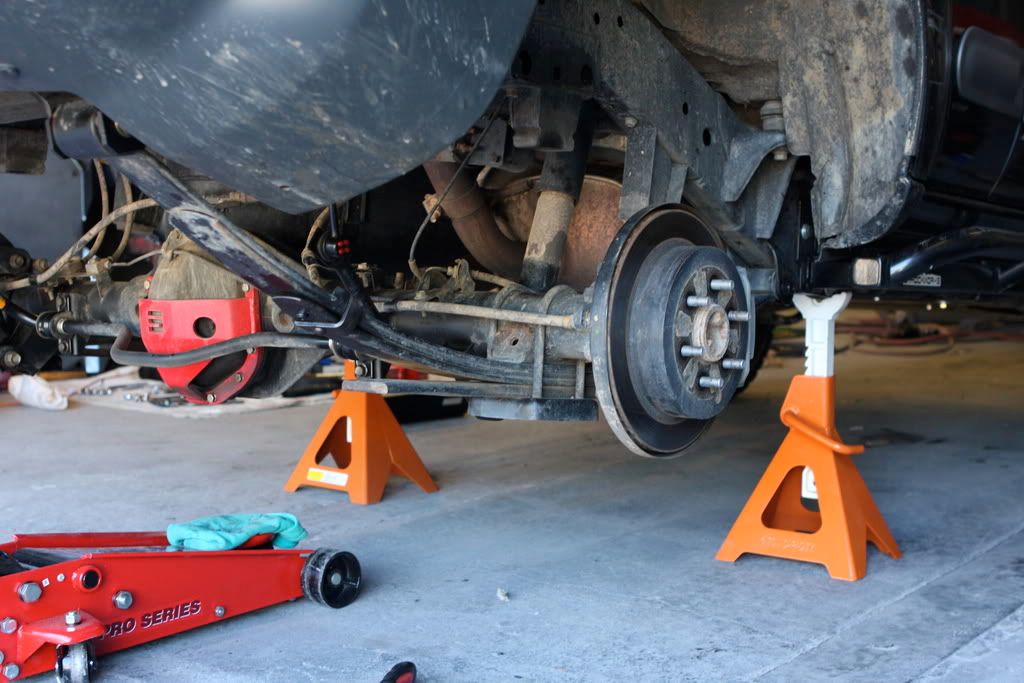
Support the Axel with 2 more jack stands now that the leaf is free from the axle. Raise the axle up and out of the way for the time being. Also, there are 2 clips that hold the break lines to the axle and to the frame on both sides. Loosen the brake lines off of those clips and that should give you enough slack once the axle drops. Every X is different though, so you may need to extend those brake lines!

Ok, add the new PRG AAL and insert the center pin facing down and screw it on. Use C-Clamps to squeeze the leafs together if necessary. Now, you may need a 3 degree shim on top of the leaf pack to decrease a possible vibration. The shims could help you or not. Every X is different, but go ahead and install the shim just to be safe. That being said, I did not install the shim. D'oh!
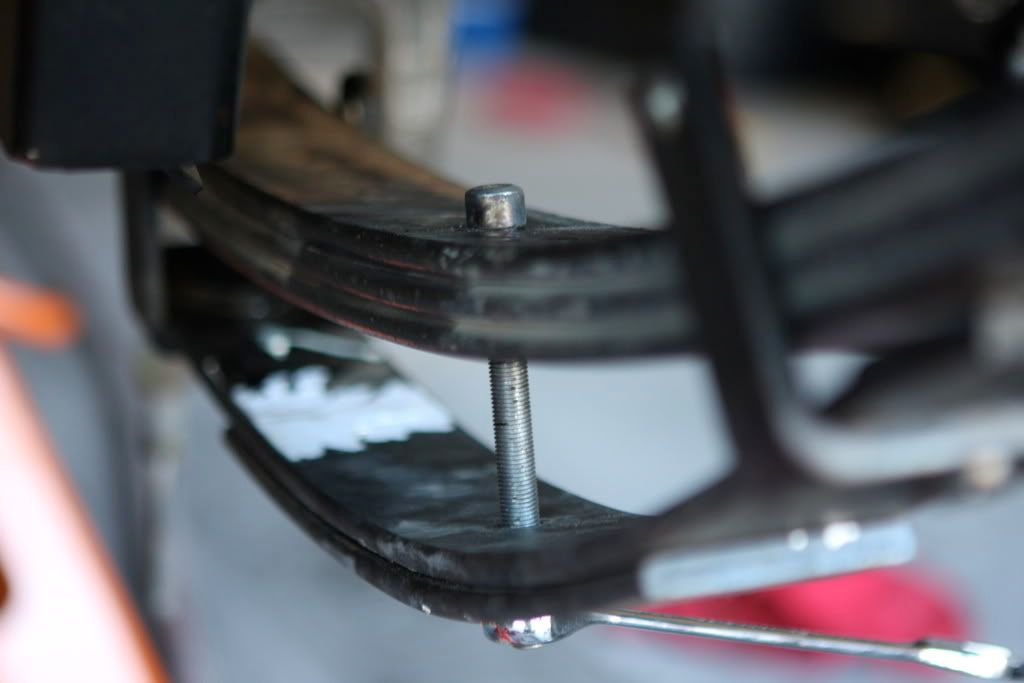
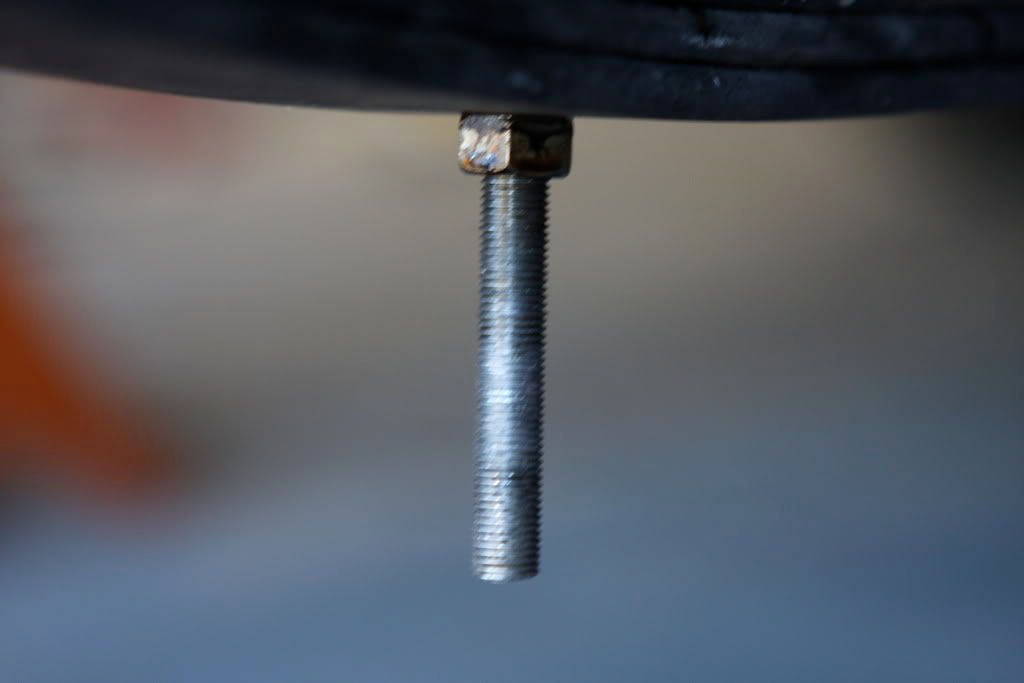
Tighten that mother down and you will be left with a lot of extra center pin like this.
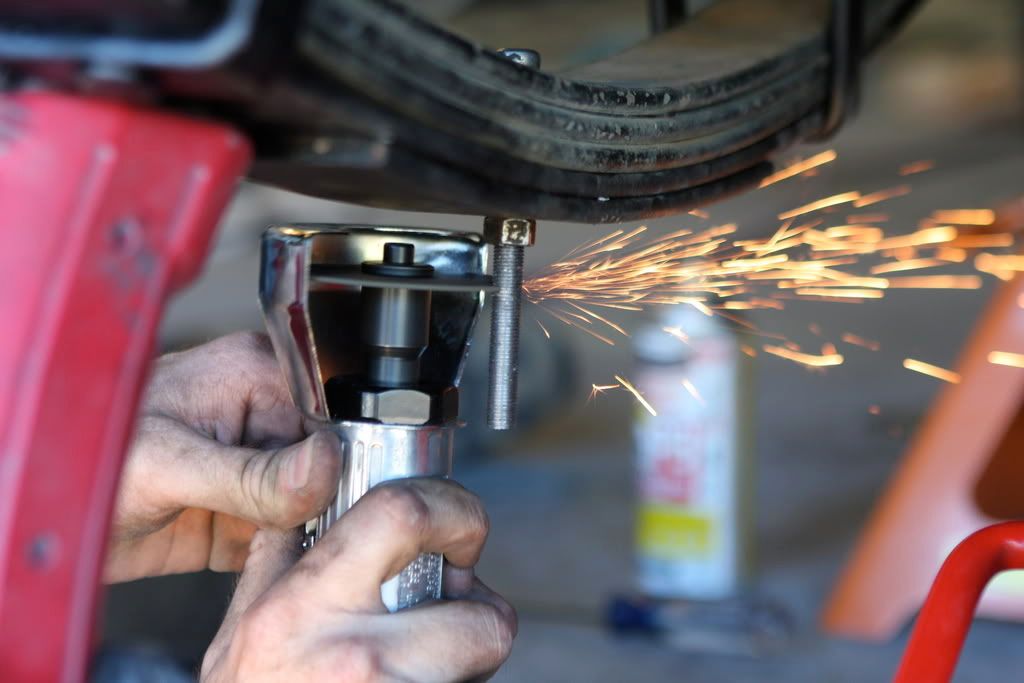
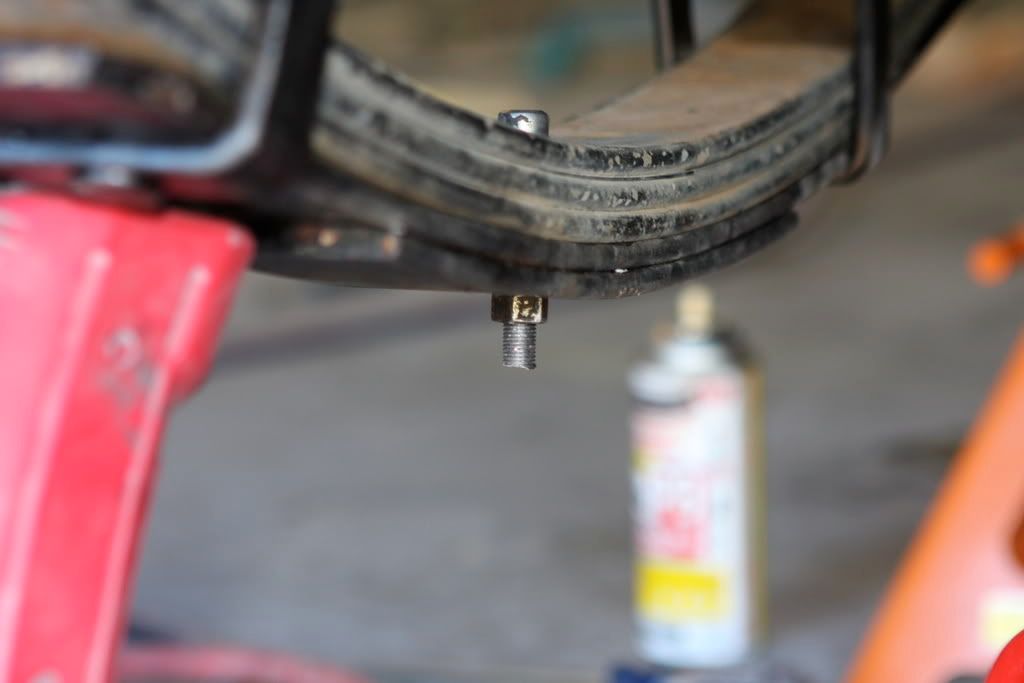
So, cut it off and leave a 1/2 inch on it.

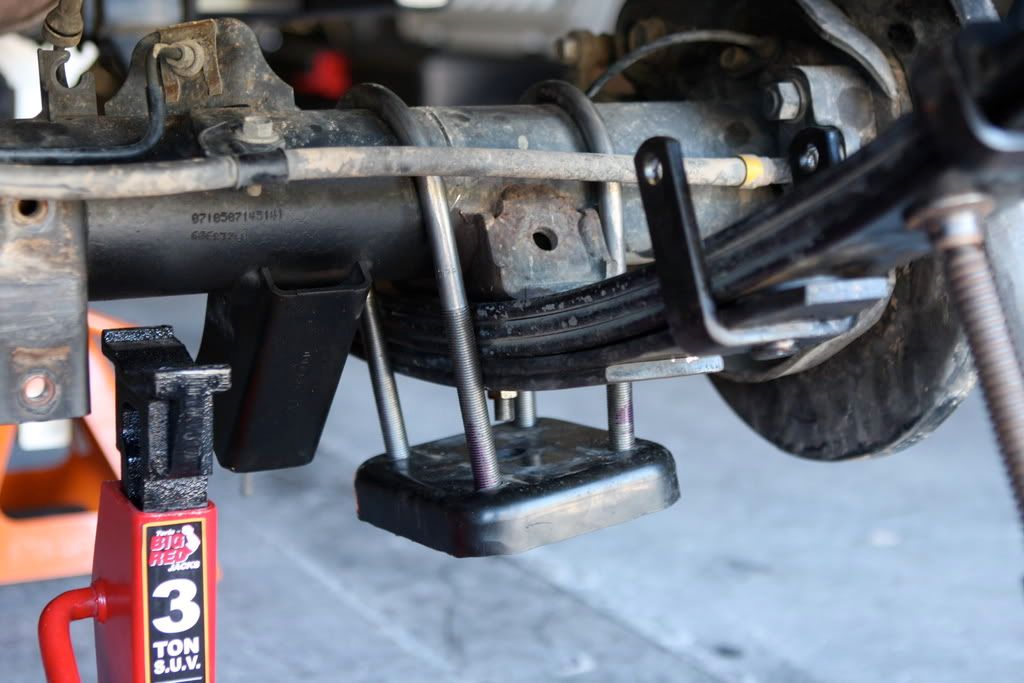
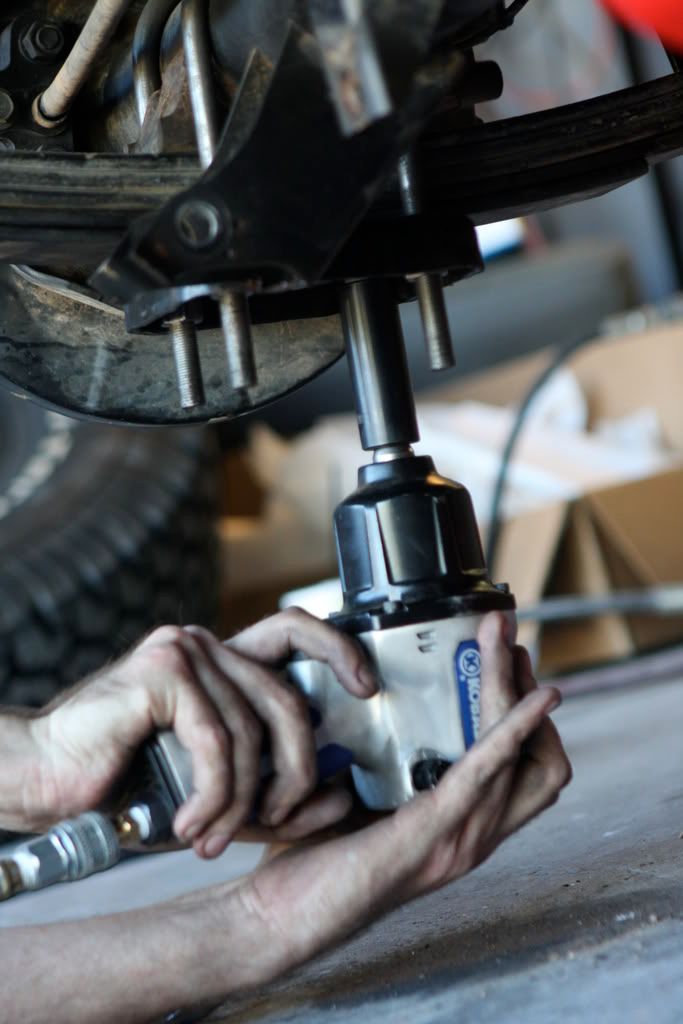
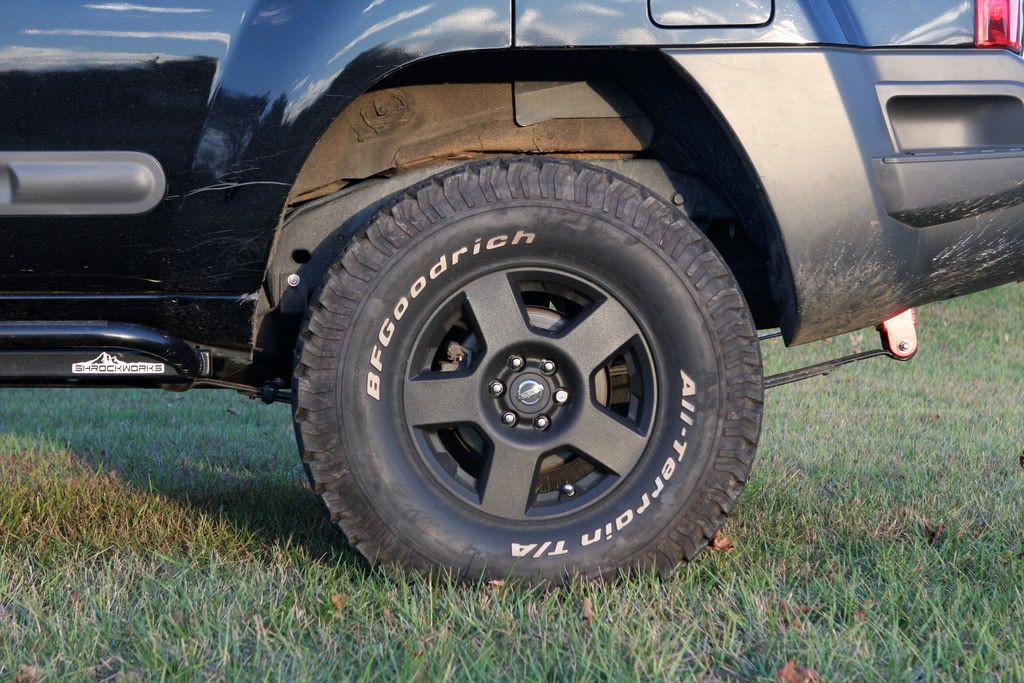
OK, it's new U-Bolts time! Lower the axle back down and line the center pins up with the hole on the axle. Always use new U-Bolts. They're cheap, so don't you be cheap! Use air tools to expediate the process. Once again, you'll be left with extra U-Bolt sticking out. Cut them off too... I would have, but the cutter blade broke.

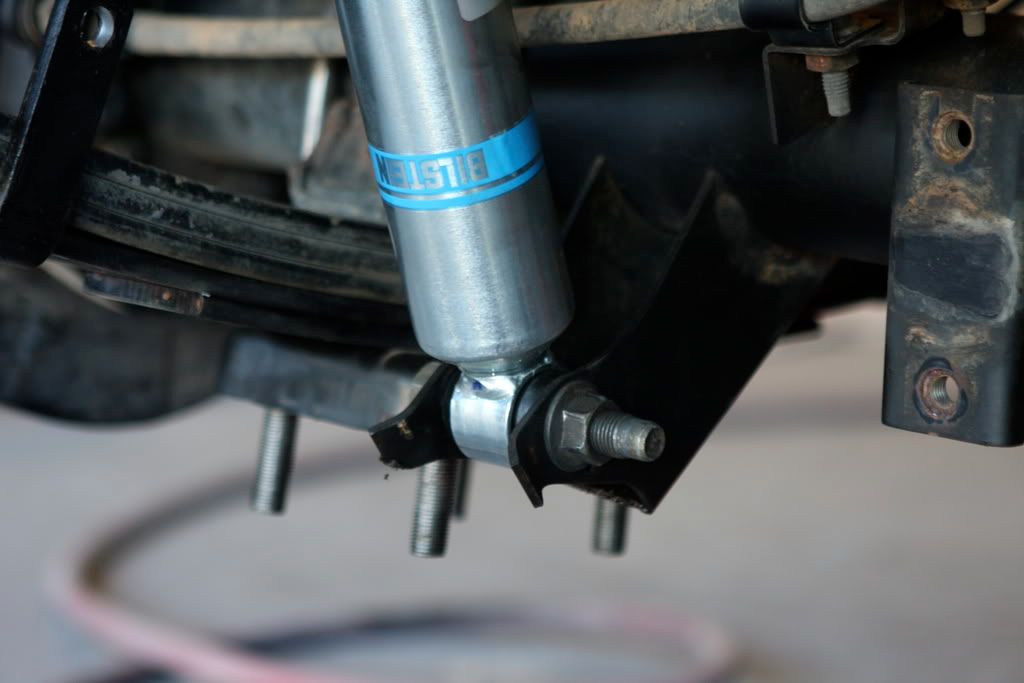
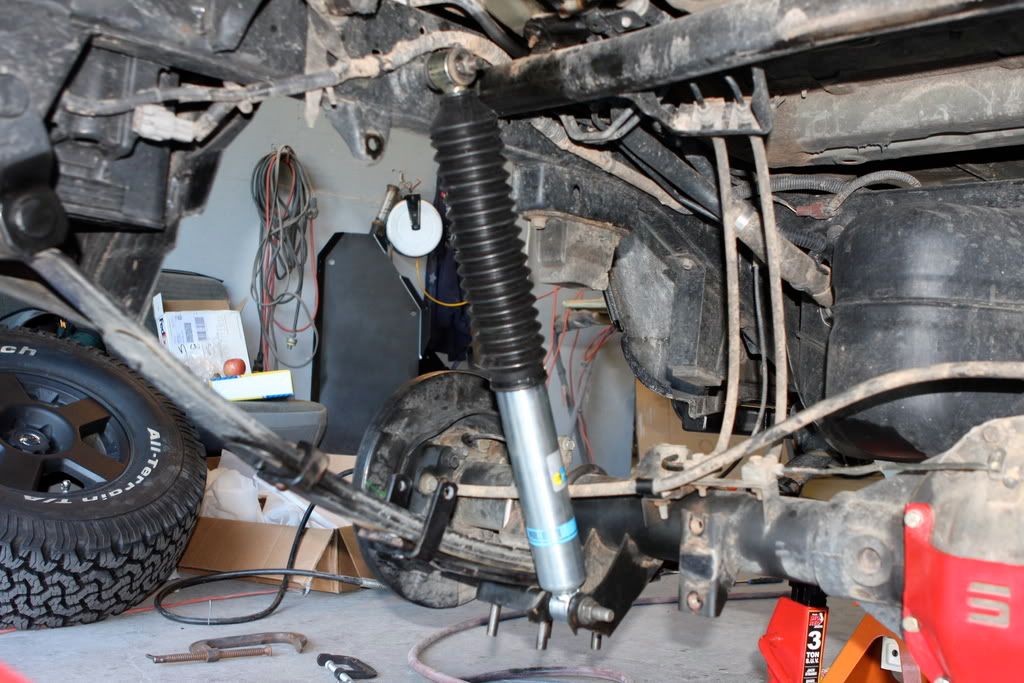
OK, so next is the shocks. They are easy to install and I trust everyone can do it.
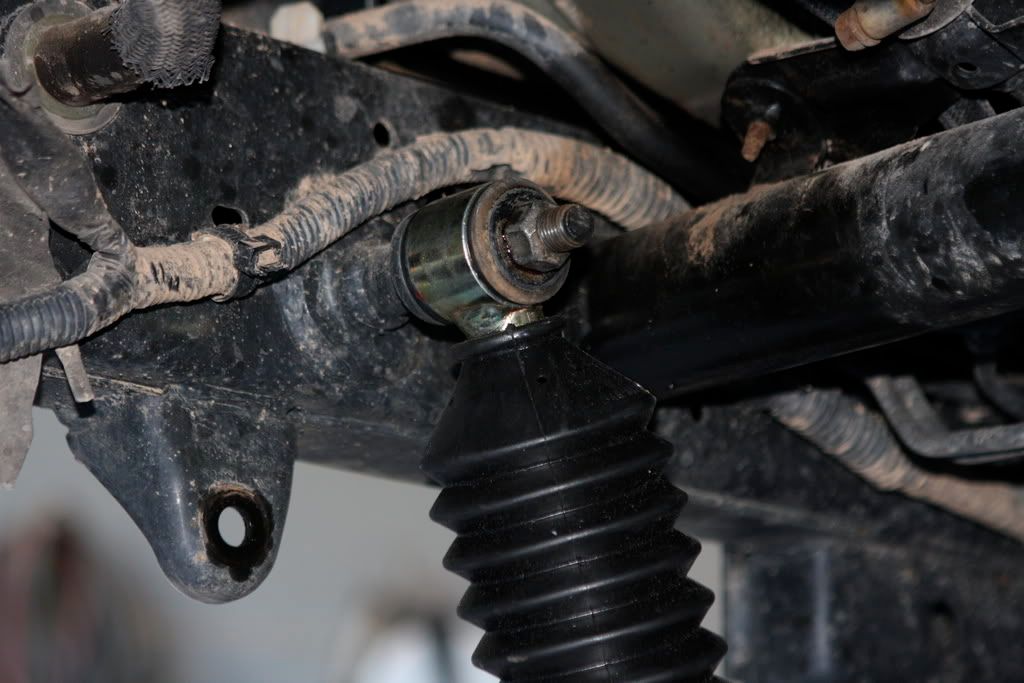
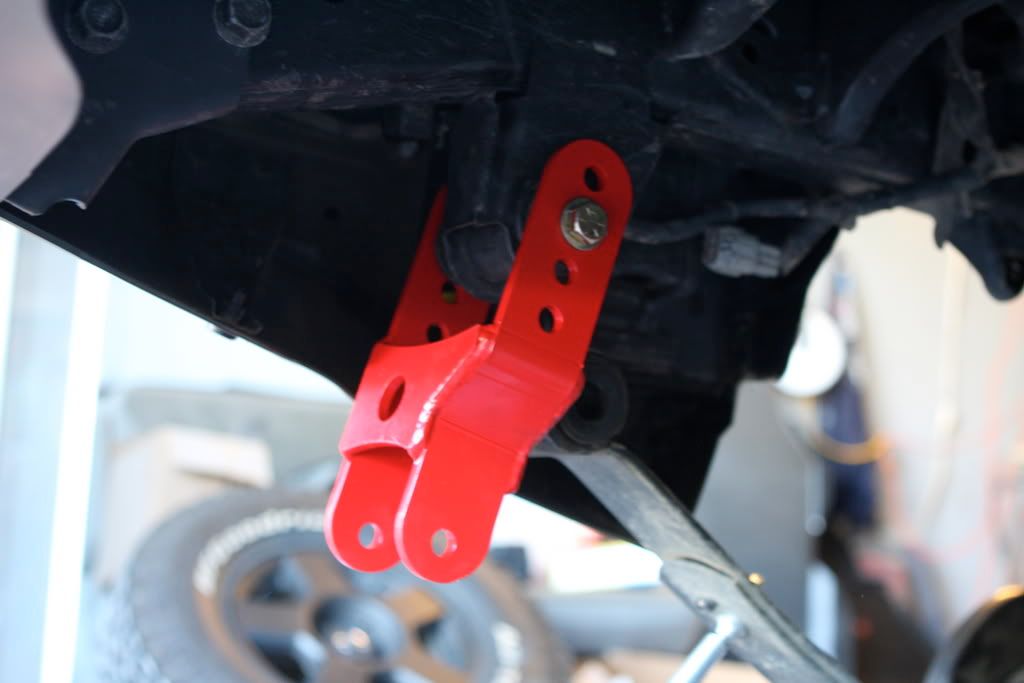
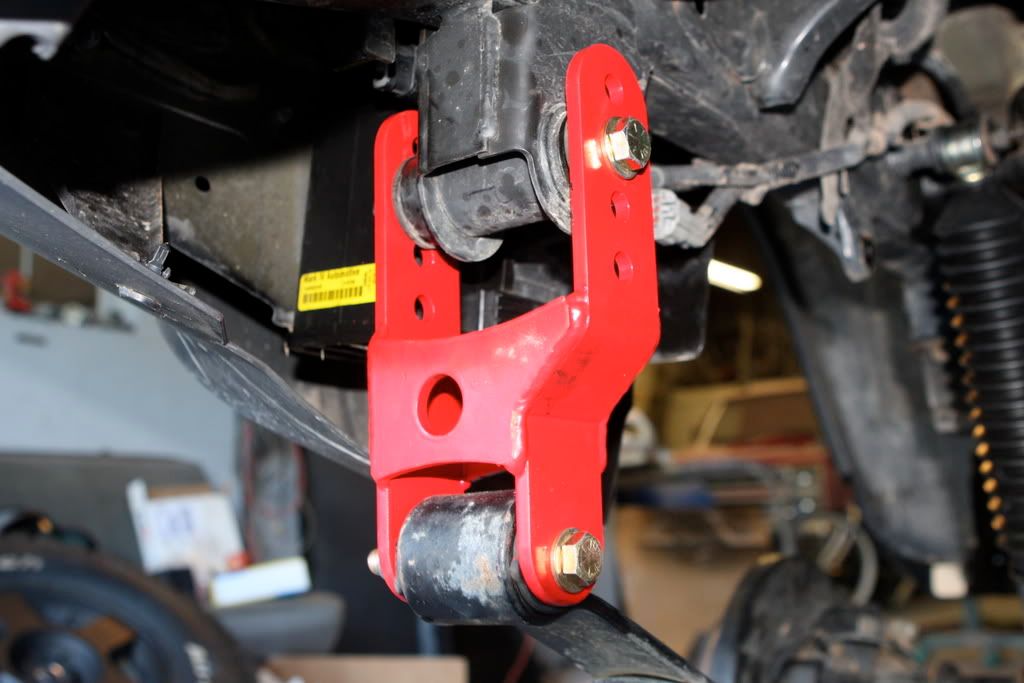
Lastly, it's shackle time. A bottle jack makes life easier to lower the rear leaf pack mount and help can the new one on. Use a ratchet strap to pull the old shackles out.
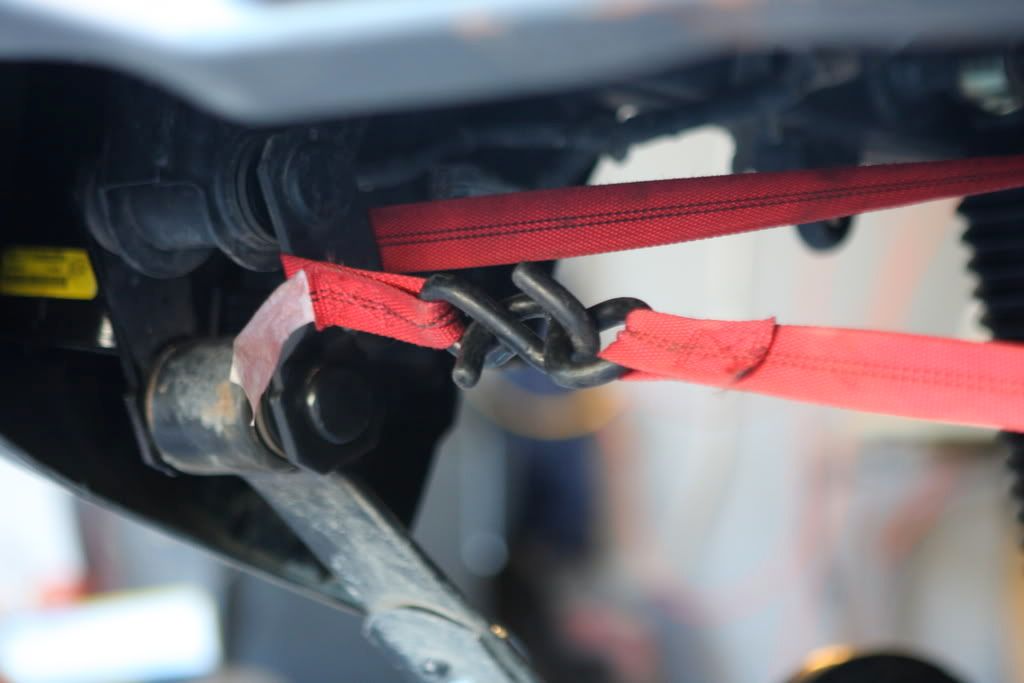
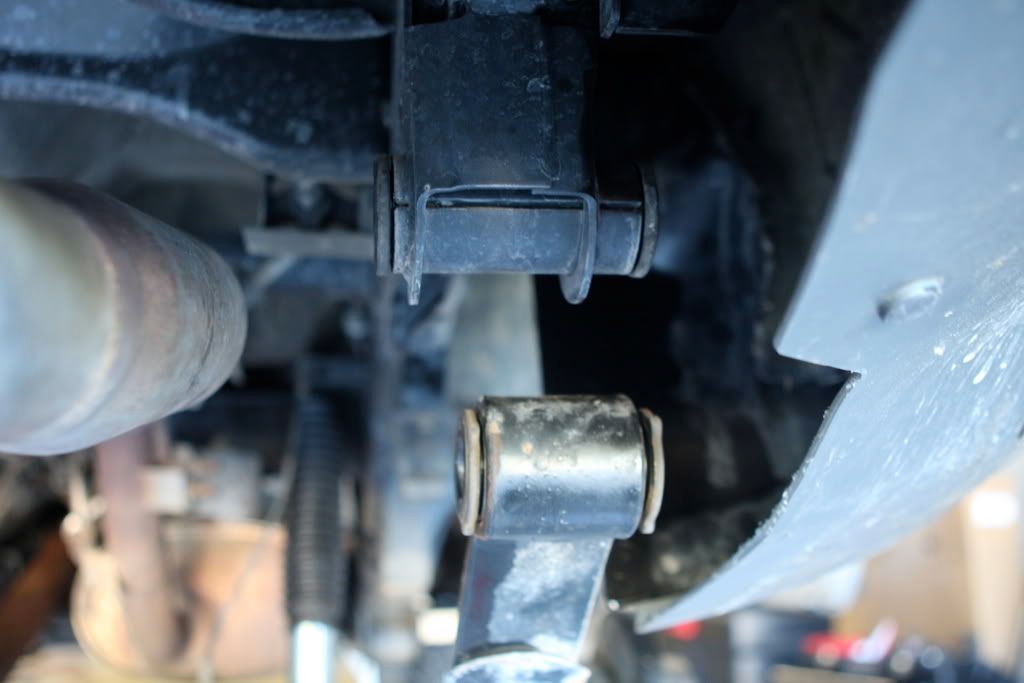
Put the new shackle on, top first. Use the bottle jack to lower the lower leaf shackle mount. Attach that mother and use hand tools to tighten. You do not want to strip the Shackle Bolts by using an air gun.
Left over parts.
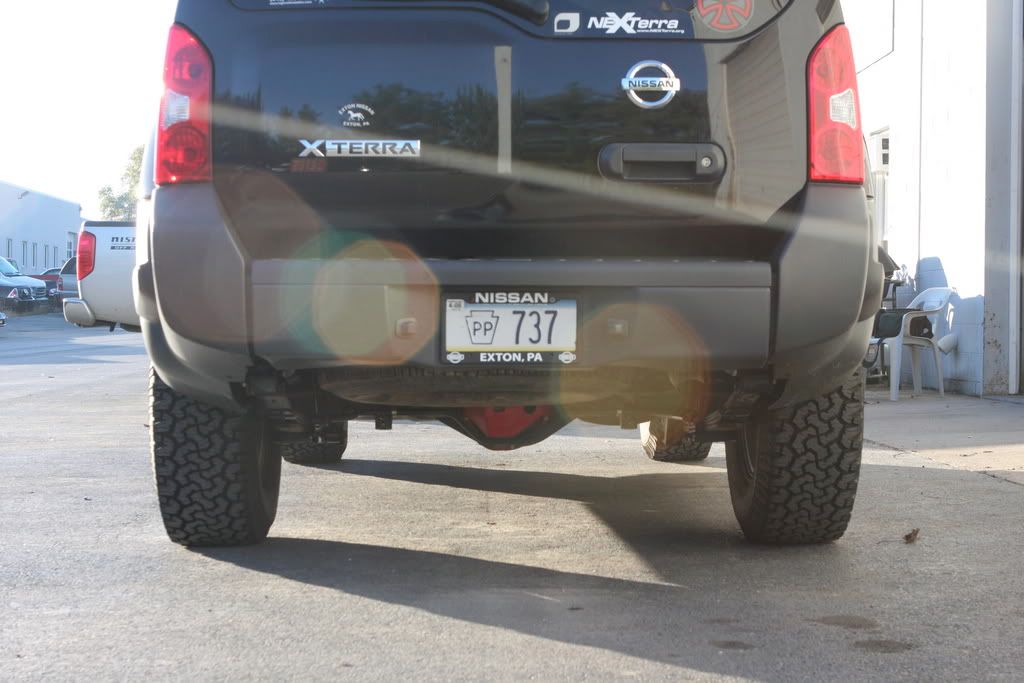
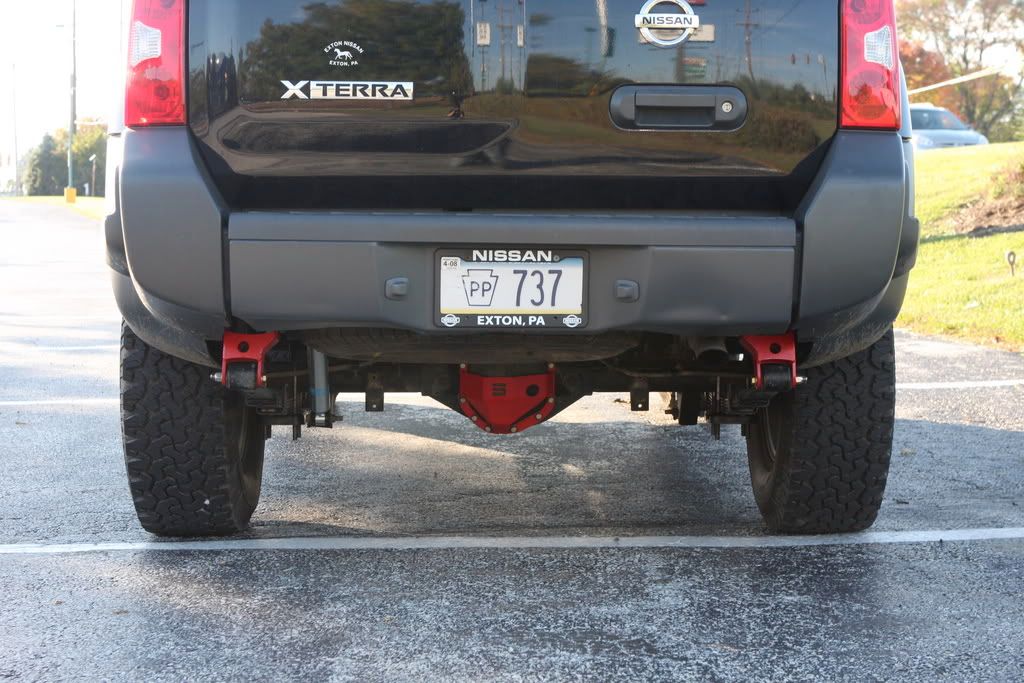
Put you wheels back on, remove all the jack stands, lower the X and go see how out your alignment now is. As soon as you can, go get an alignment. Firestone offers lifetime alignment for $149.
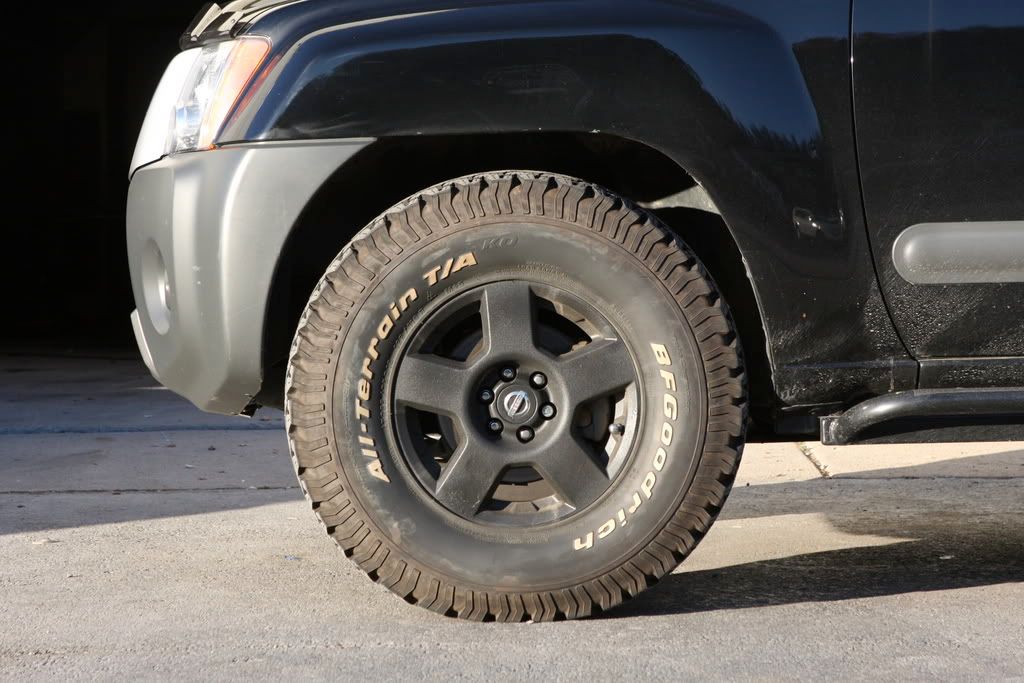
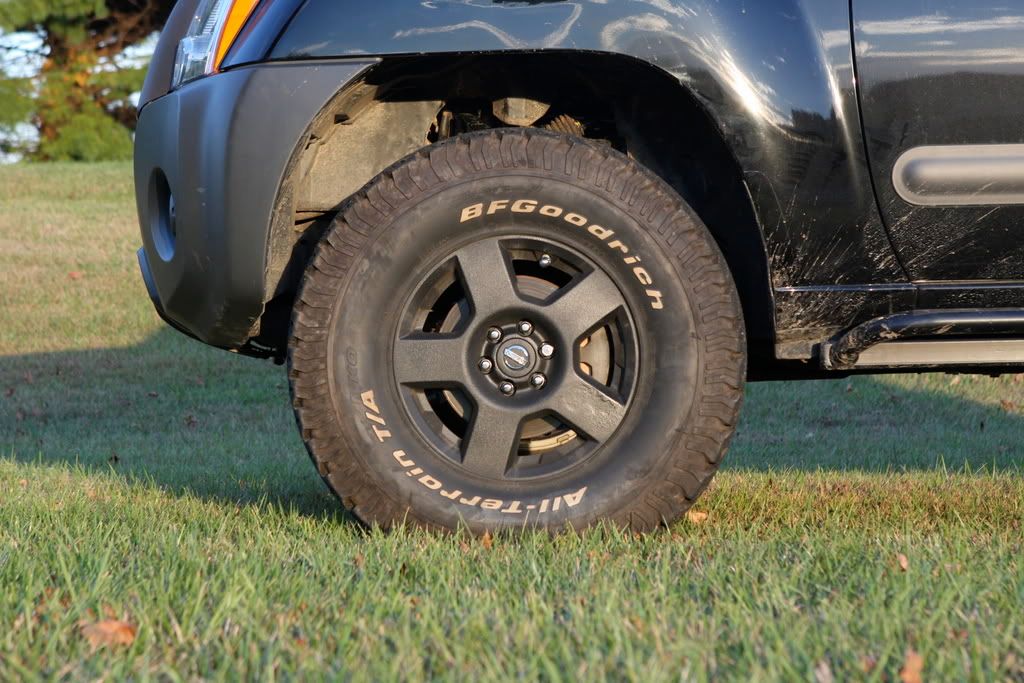
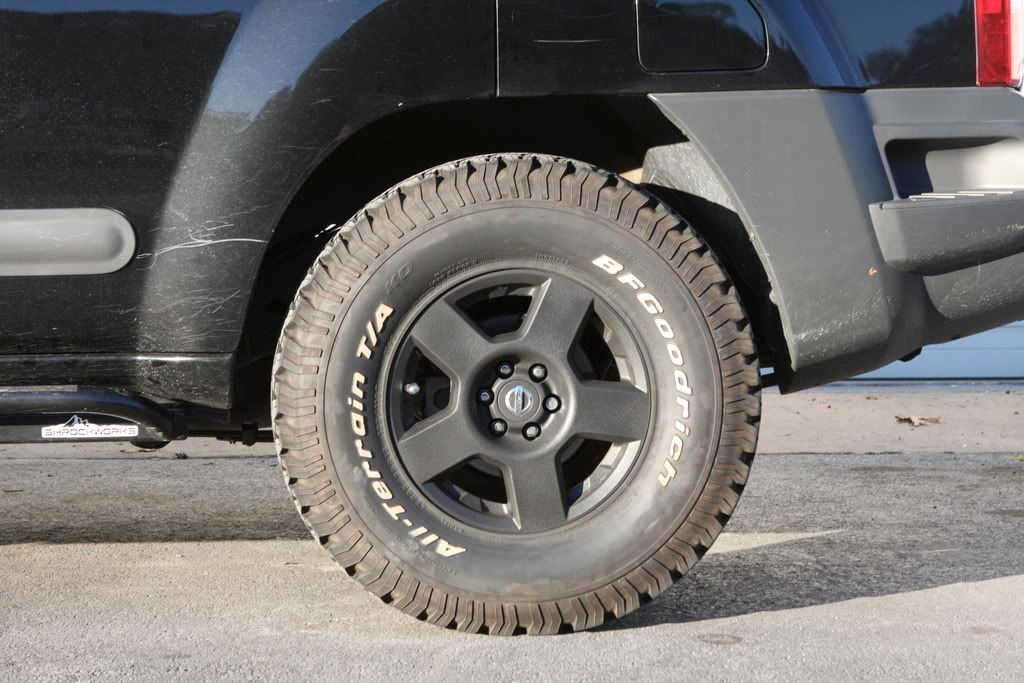
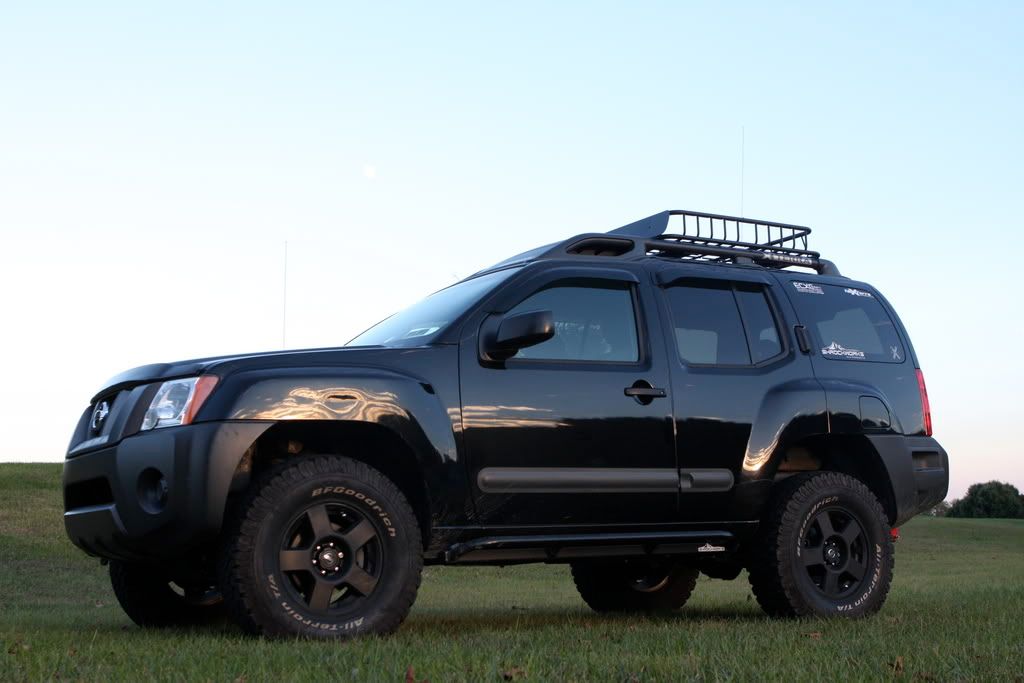
See the difference in stance and height.
Before and After
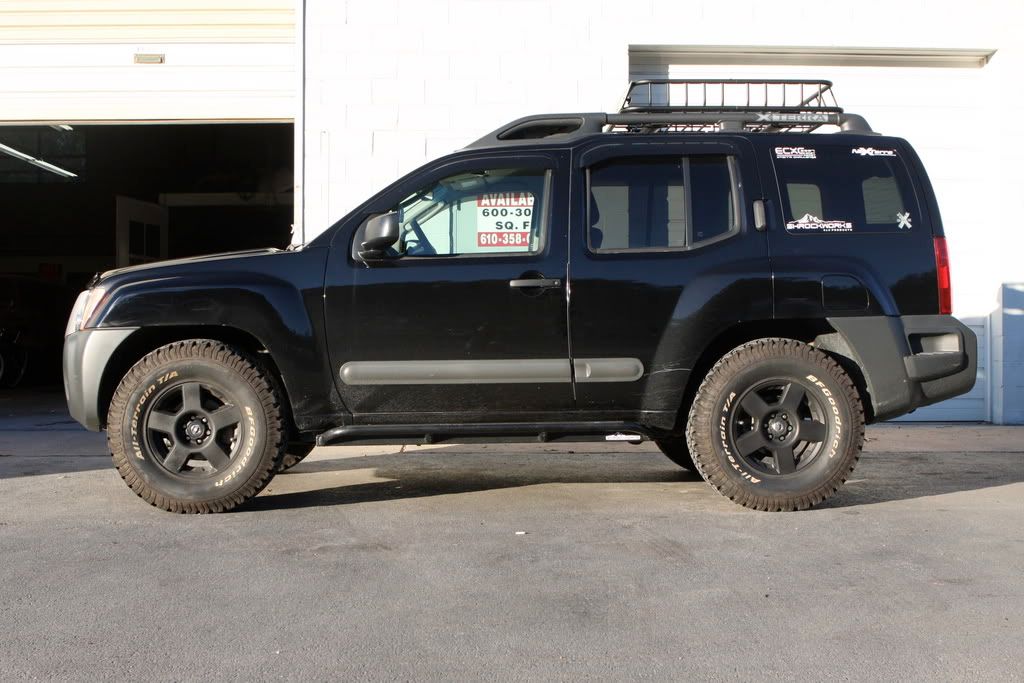

That is about it. I ended up with about 2.5 inches of lift up front and 4 inches in the rear. Any suggestions on other tips, let me know. I am very happy with the PRG lift. Greg from PRG is a solid dude who knows how to handle customer service. We called him twice that Sunday and he picked up both times to answer questions. Also, thanks to Steve Thomas for helping me do this lift!
 Board index » Tech Talk » Back Yard Mechanic