OK, so for my third "How-To" I will try to my best to breakdown the steps of installing PRG's UCAs and their heavy duty 700lb Radflow Coilover shocks.
I did this install by myself so I was not able to take photos during some of the very intense parts that involved both of my hands and my brain. Also, some photos may appear out of order or "chronovisually" incorrect. I compiled the photos after both sides of the install.
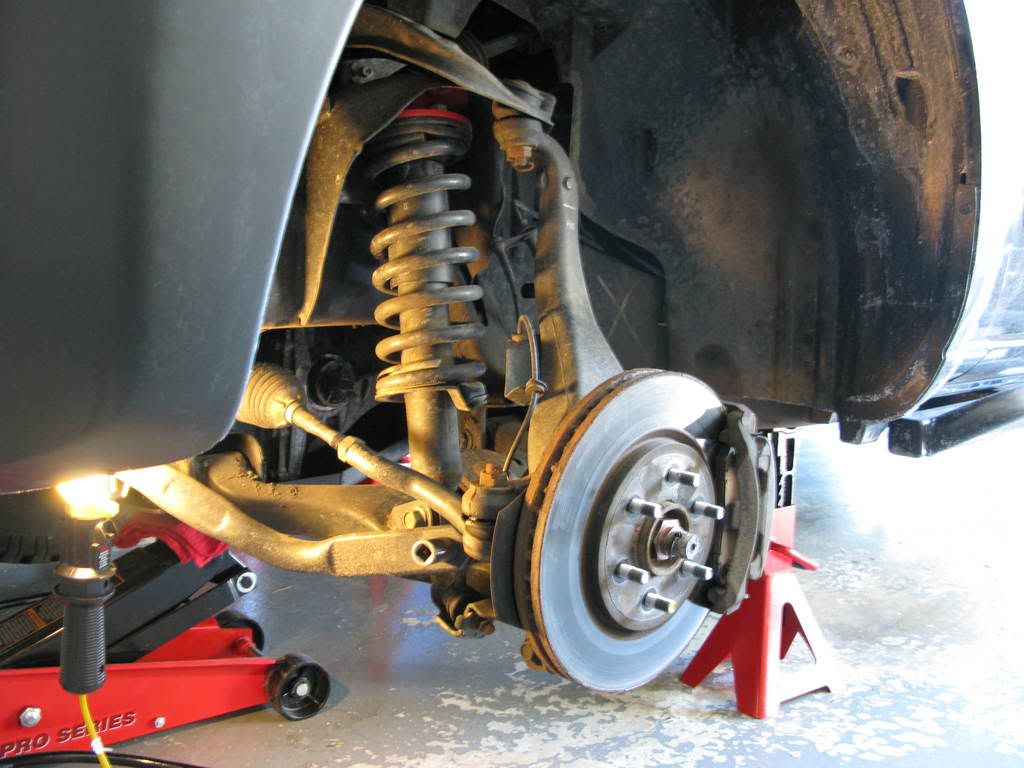
Step 1: Jack Up your X and Remove the Wheels
Jack up the truck and get it on jack stands to support the weight and give you room to work. In an ideal world, having a real lift in a heated garage would be nice, but this is not always an ideal world. Now, take off both front tires and let the fun begin. It also helps to have a can PB Blaster and spray down ever nut and area you plan on removing or loosening. I do this about an hour before I start any job.
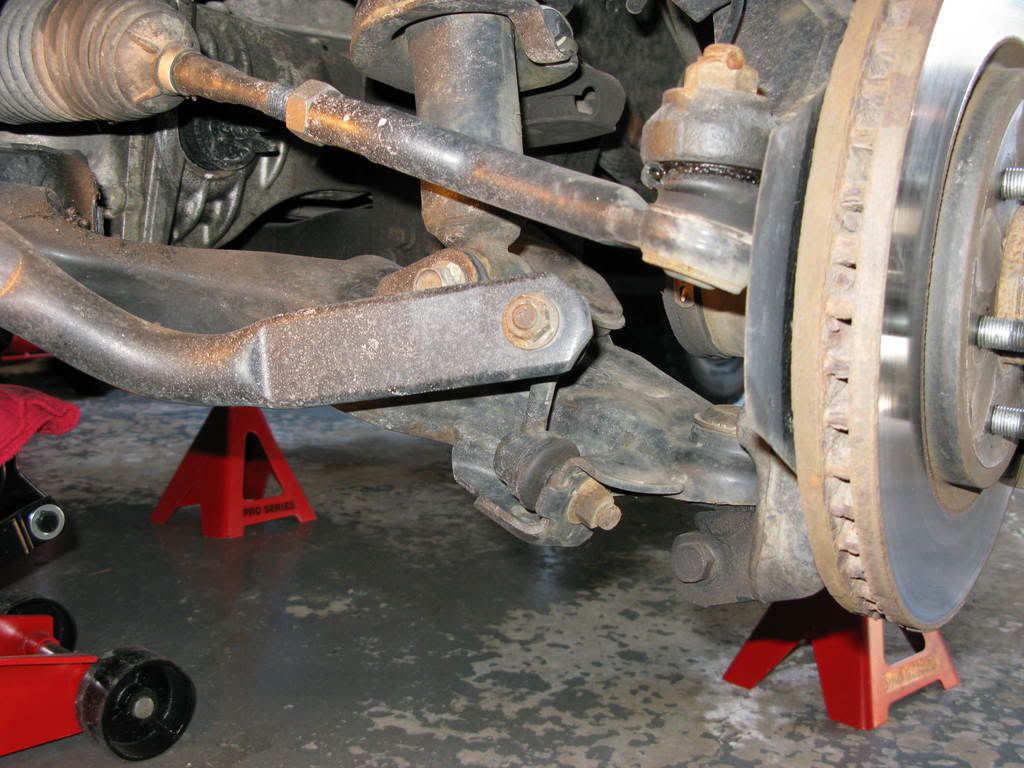
Step 2: Disconnect Sway Bar Mounts
Locate and remove the 2 sway bar links on both sides of the front suspension. You need to loosen both sides so you can swing it out of the way.
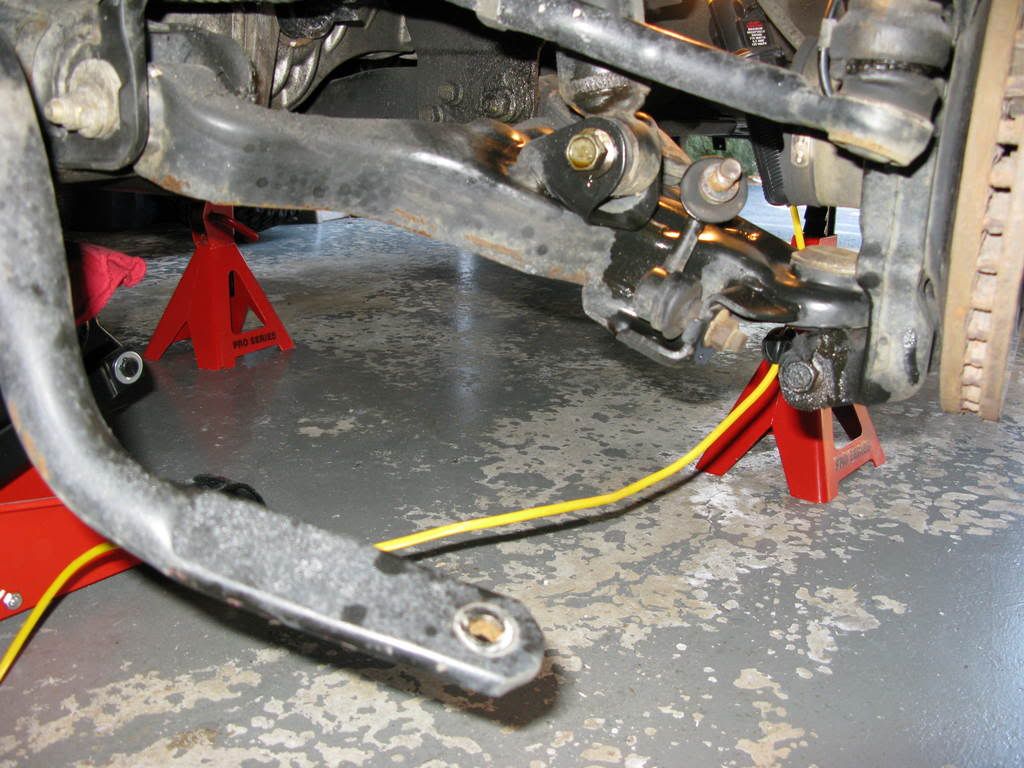
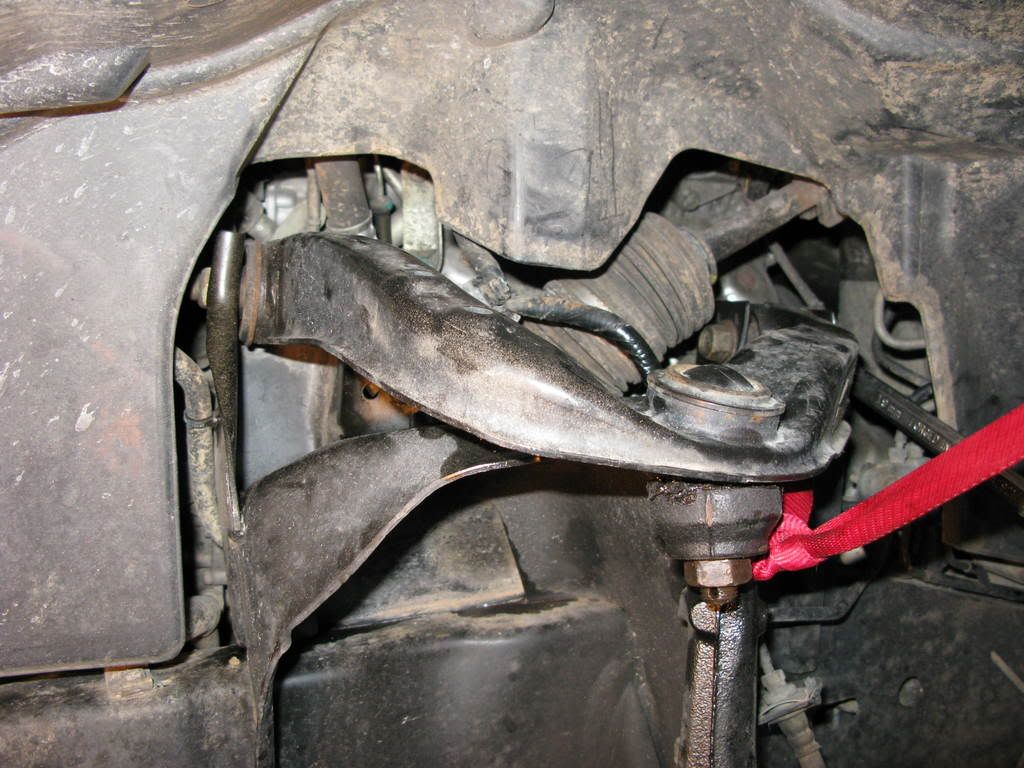
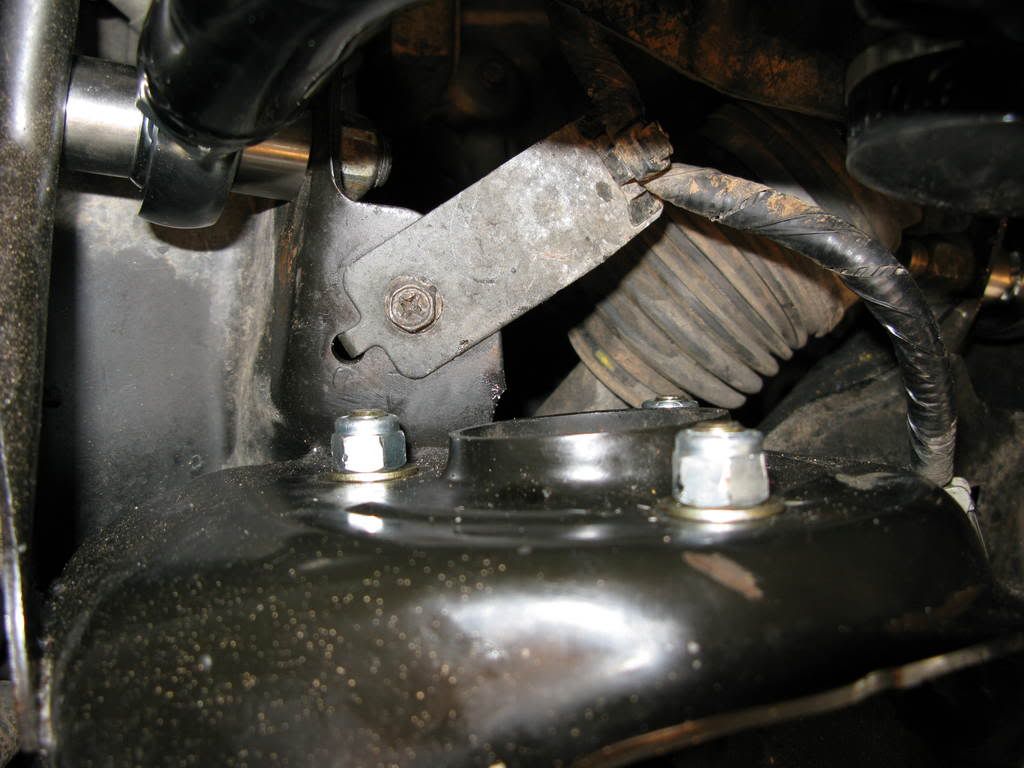
OK, so now you can get started on removing the old suspension components. Start by loosening the UCA from the spindle. First you want to remove the cotter pin that sits in the bolt going through the Spindle.
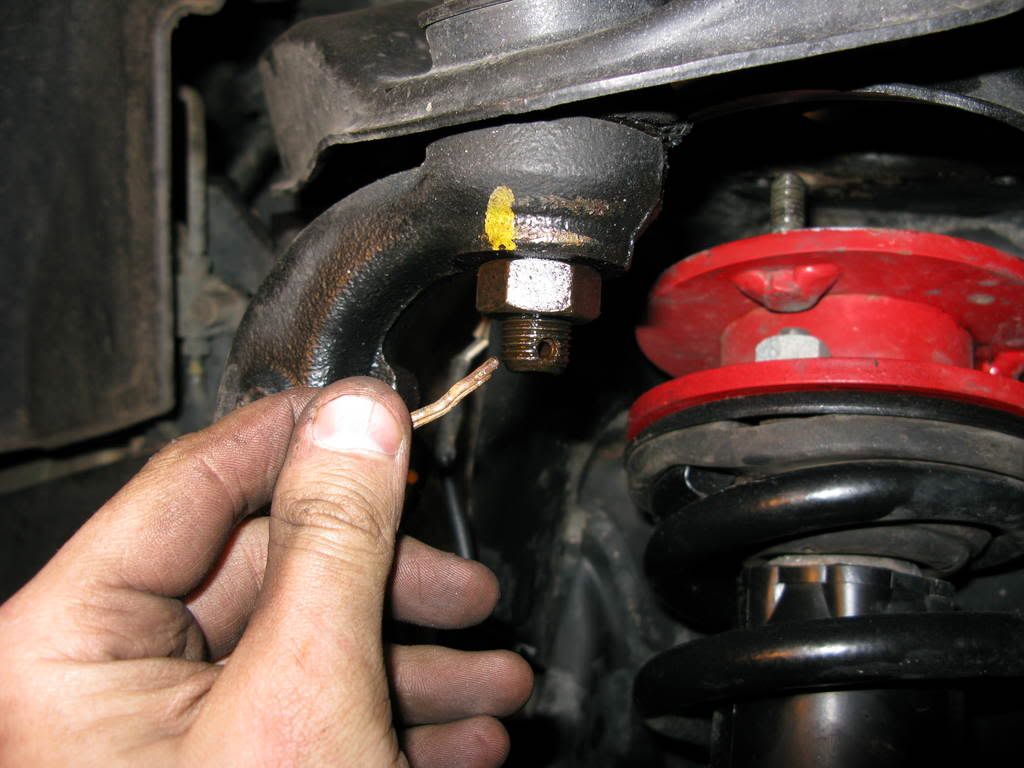
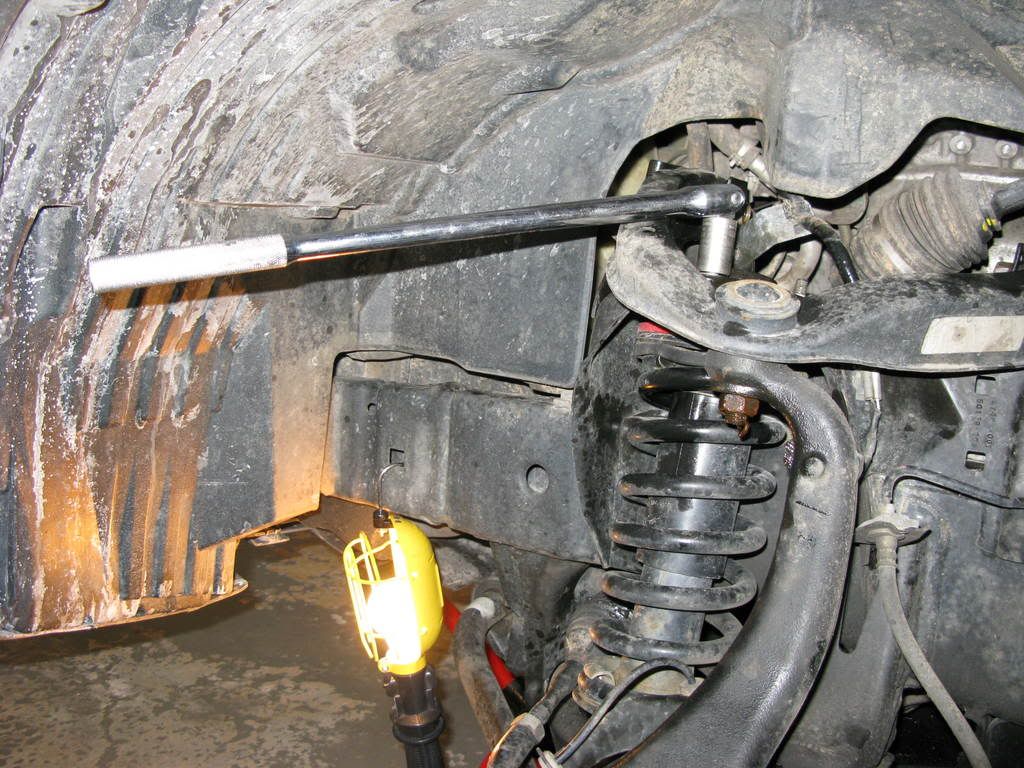
Step 3: Separate Spindle from UCA
Next, you'll want to support the spindle and hub with a jack or something similar because it will drop once you remove the UCA bolt from the spindle.
I also like to use a strap to tie the spindle off so it won't rotate downward.
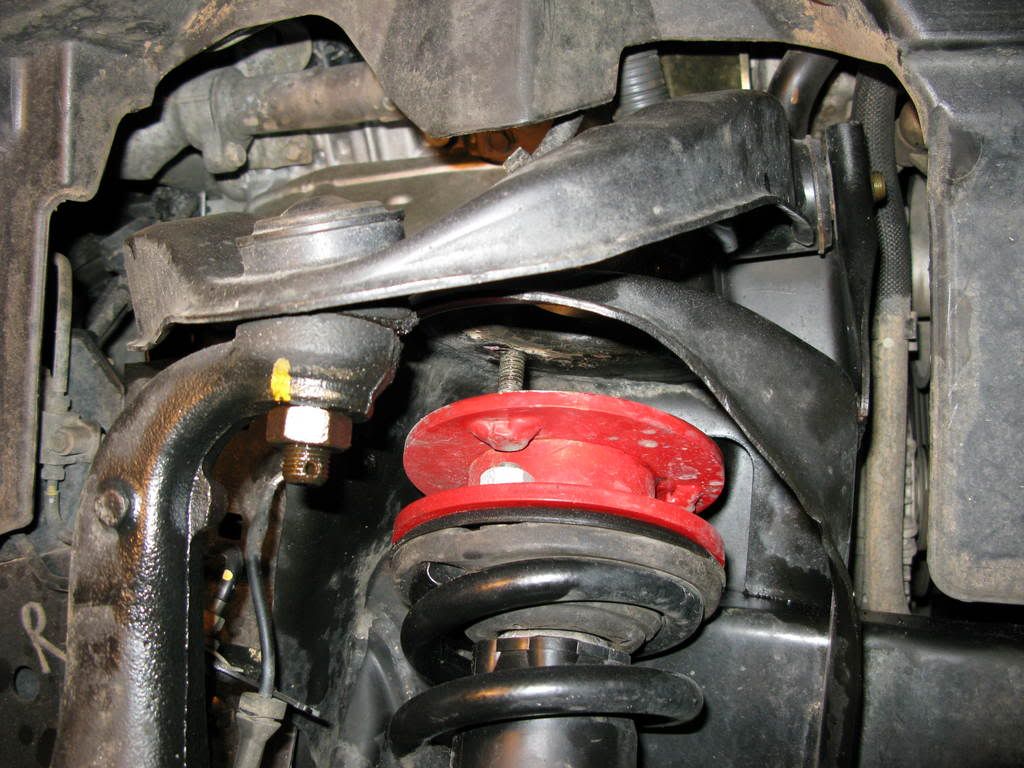
Step 4: Remove OEM Shocks
Loosen and remove the bolt on the lower shock mount that attaches it to the LCA (Lower Control Arm).
Once the bottom is loose then you get removed the 3 nuts holding the top of the shock strut to the coil bucket.
Now, I had tightened these nuts when I installed my Top Gun Spacers and they were on there pretty good so I had to upgrade from a regular ratchet to a breaker bar.
On side note, Mcampana thinks breaker bars are for "pussies," so proceed with caution. He (thinks) he is the strongest man in the world.
Here you can see the top of the shock off.
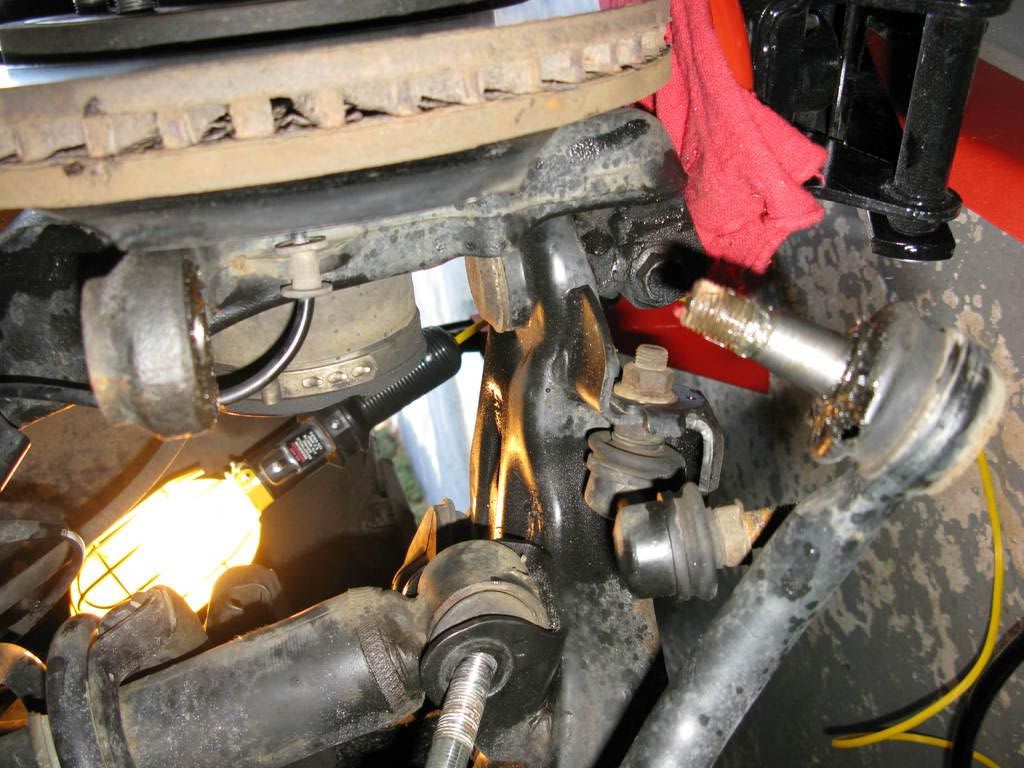
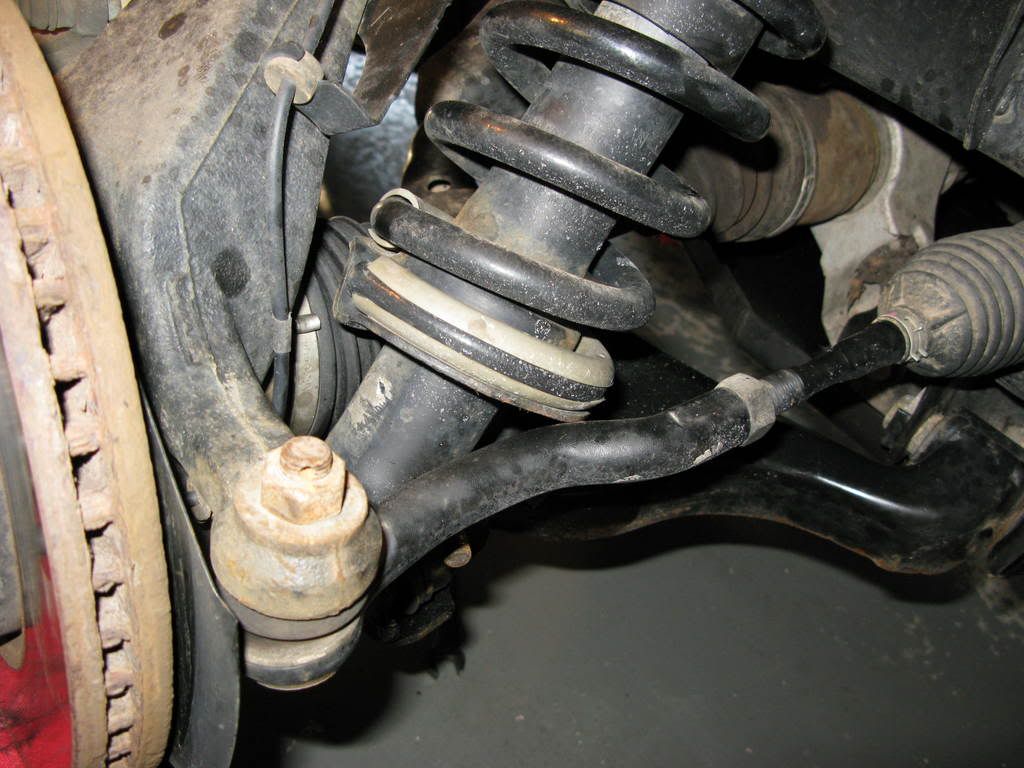
Now, because I had the spacers on top of the shock, there was not enough room to get it out. I had to remove the tie rod to make enough room to get it out.
As shown here.
Step 5: Install New Radflo Shocks
Install the new Radflo Shocks, bottom first.
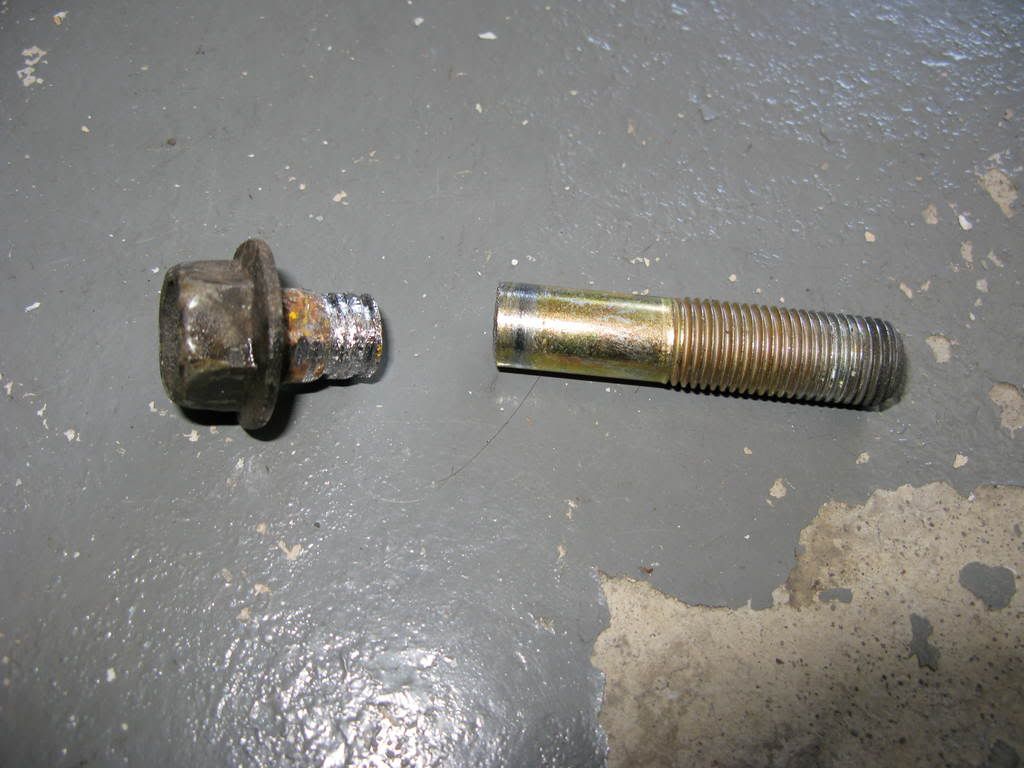
Pay close attention to the order of the hardware on the bottom shock mount. From left to right it should be [Bolt End-Washer-Shock Mount-Spacer-Shock-Spacer-Shock Mount-Washer-Nut]
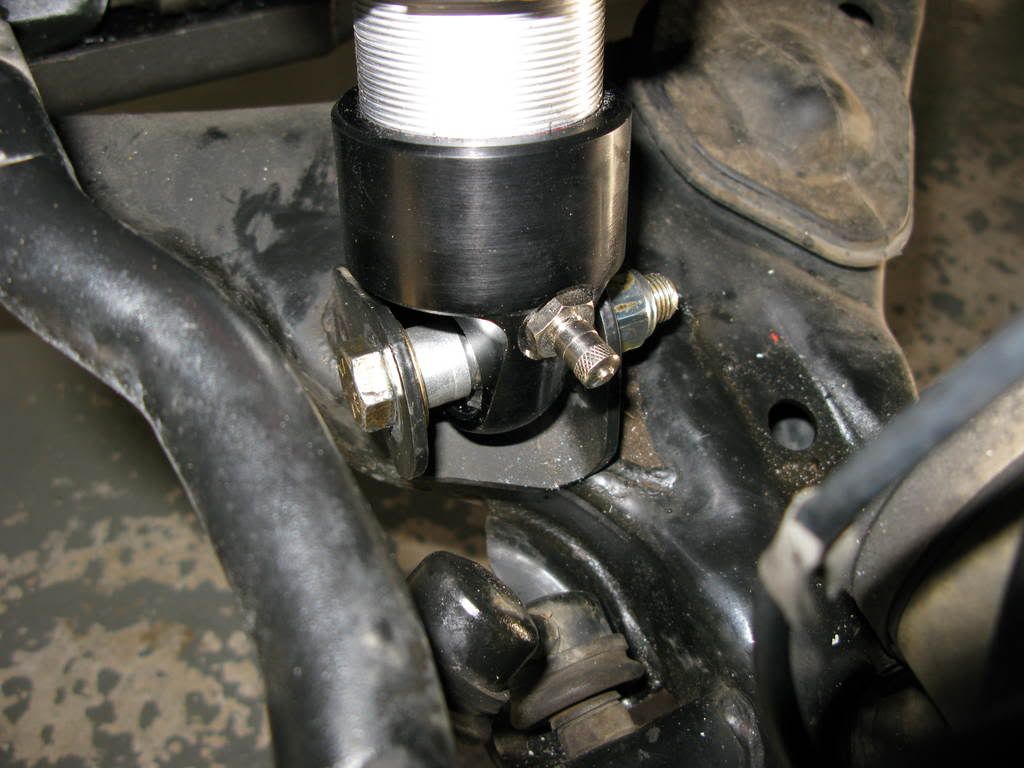
Next, attach the top 3 nuts and torque to spec.
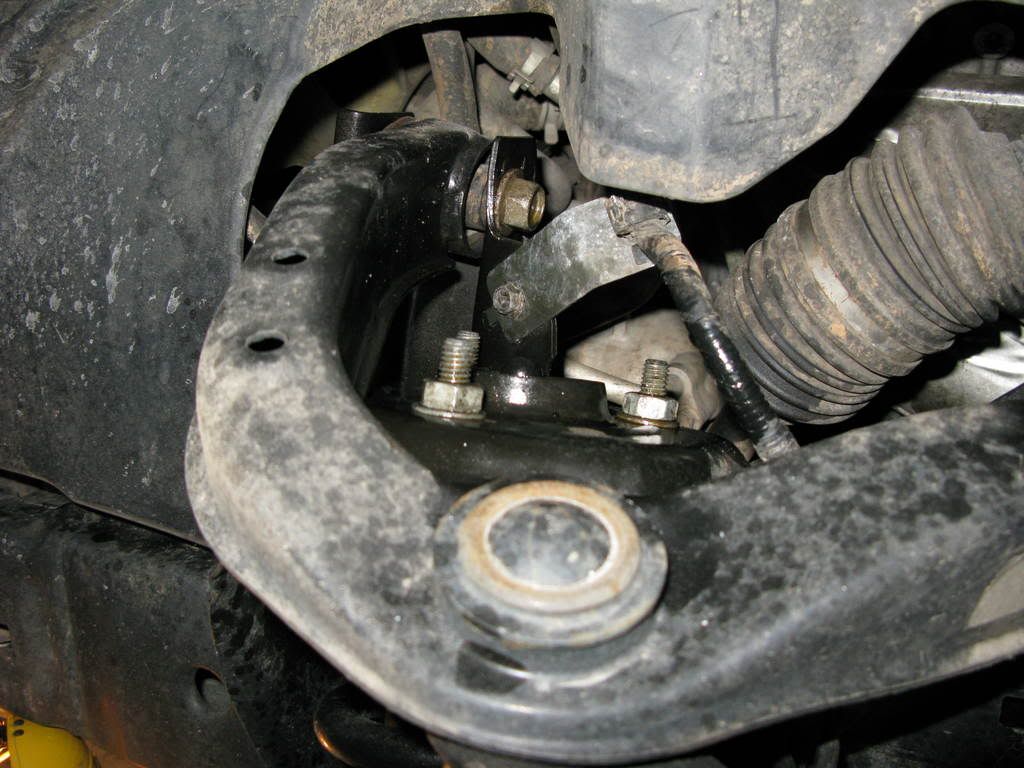
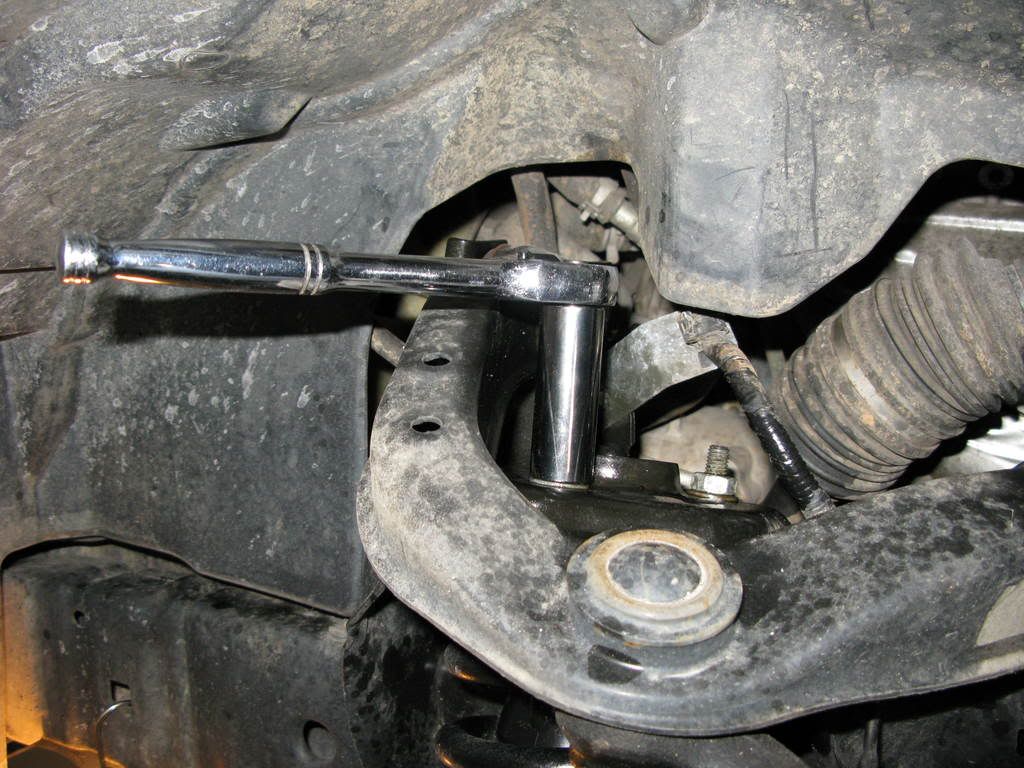
Step 6: Remove OEM UCAs
Now, it is time to remove the stock UCA. On the driver's side you will have to use a hack saw or a reciprocating saw to cut the right UCA bolt out. The reason for this is because the bolt will hit the steering assembly and not have enough room to be pulled out. I used a SawzAll and it worked out just fine.
If you want, you can take the time to detach the steering assembly under the boot. I have been told it can be done in 10 minutes, but I did not use this option.
Here we have a nicely removed UCA.

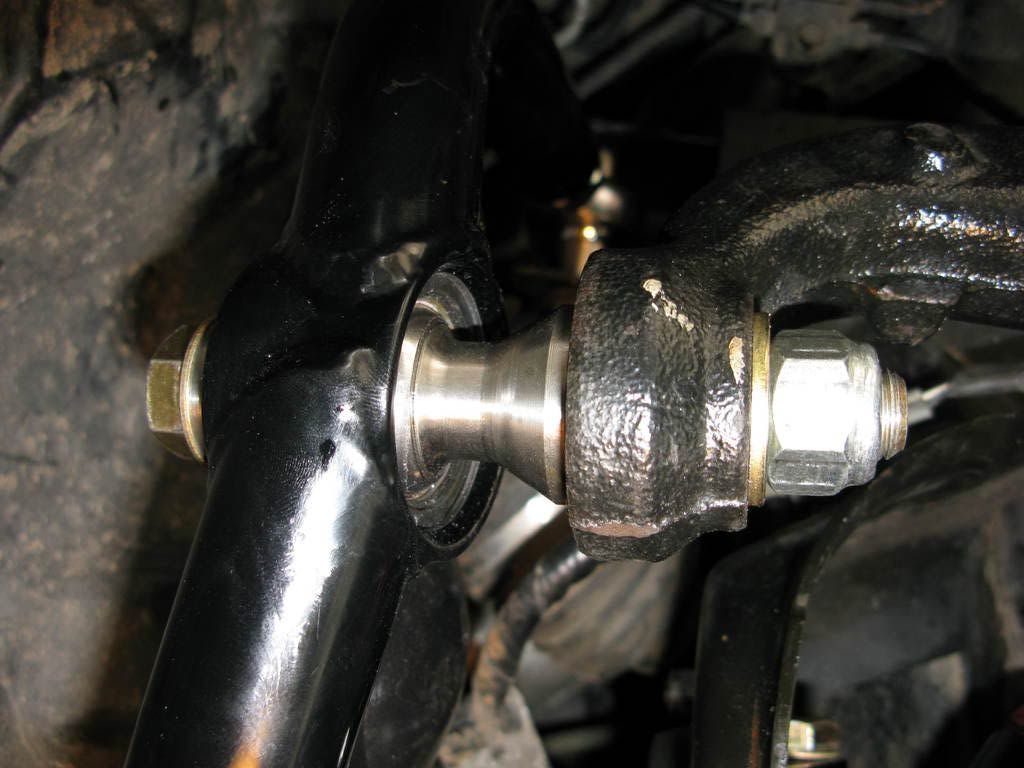
Step 7: Install New PRG UCAs (Upper Control Arms)
Install the new PRG UCA. The UCAs should be installed with the bump stop facing down and closest to the front of the vehicle. Start with the top two mounts and then finish with the shiny new UniBall mount that connects to the spindle.

Pay close attention to the order that UniBall enters the spindle.
The Final Result
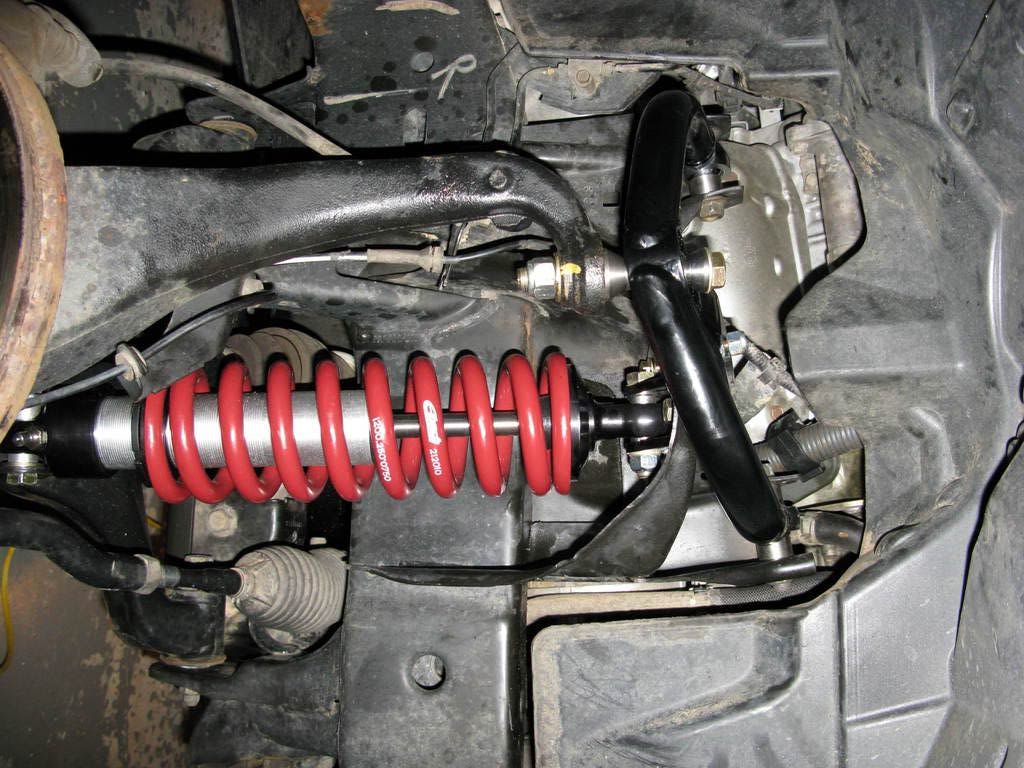
Step 8: Put Everything Back Together
Now reconnect the sway bars and put your tires back on. You should be done and have a fancy, and improved PRG front suspension.
I measured and I have a front height of 22" from the center of the wheel hub.
Before - 19.5"
After - 22"
Difference of 2.5"
I should still be able to adjust the Radflos up another half inch up front if I so desire, but I don't think I will.
Go get yourself an alignment and enjoy the results!
 Board index » Tech Talk » Back Yard Mechanic

