Ok, we all know I will attempt to bedline any piece of my truck that I can and I have added another piece to that list.
I was being pressured by Cornick (Jeff) to bedline the rear bumper steps, because he wanted a guinea pig to try out for him. I figured, why not? I already did the front bumper, I might as well match the rear!
Step 1
Why am I doing this?
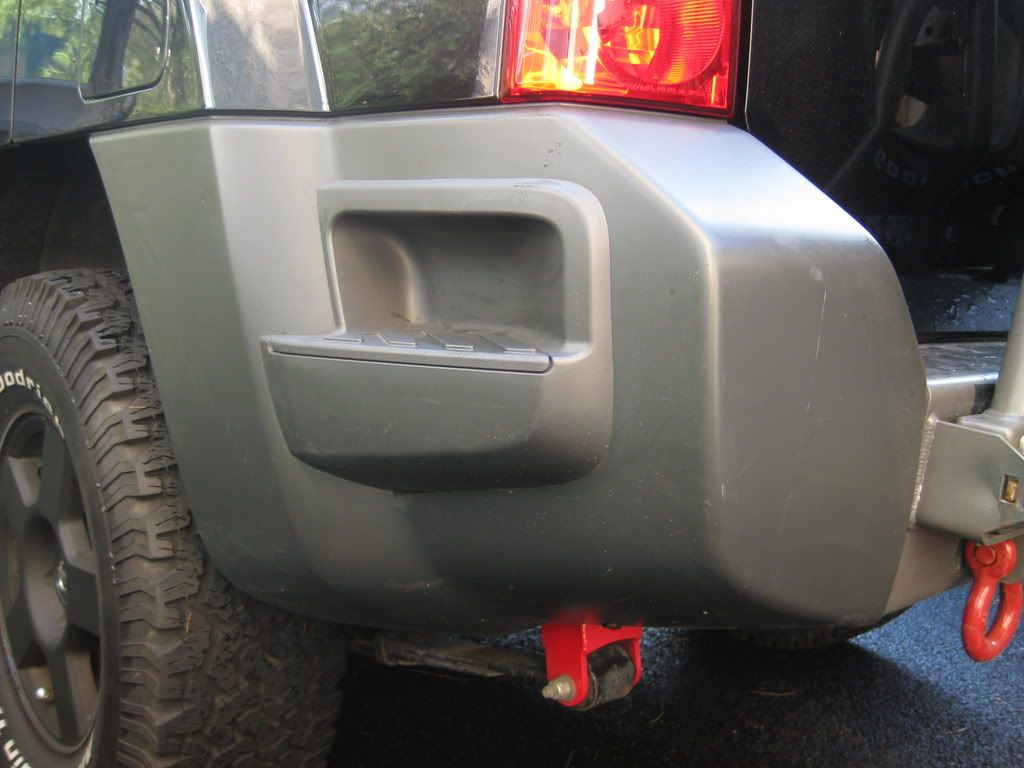
Assess your current situation. Just stare at those stock, bland rear steps. Now, they just won't do! A solution? Bedliner to the rescue!
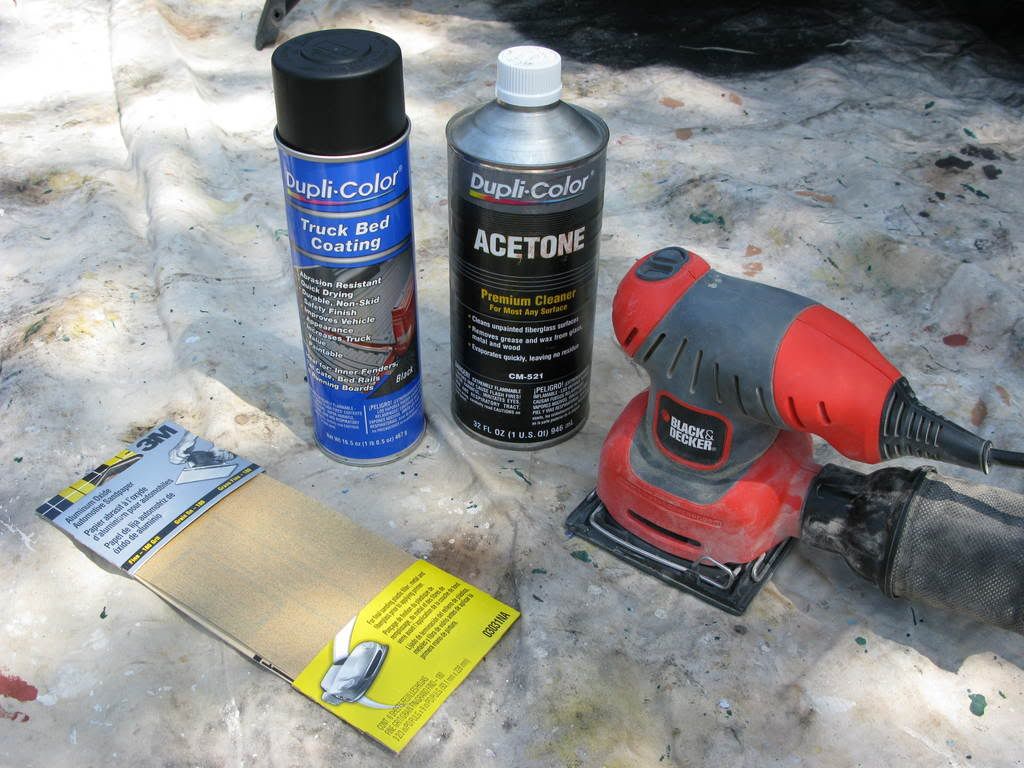
Here are the supplies you will need for this How To. Some light grit sand paper, 3 cans of Duplicolor Bedliner, a sander and some Acetone.
 Step 2
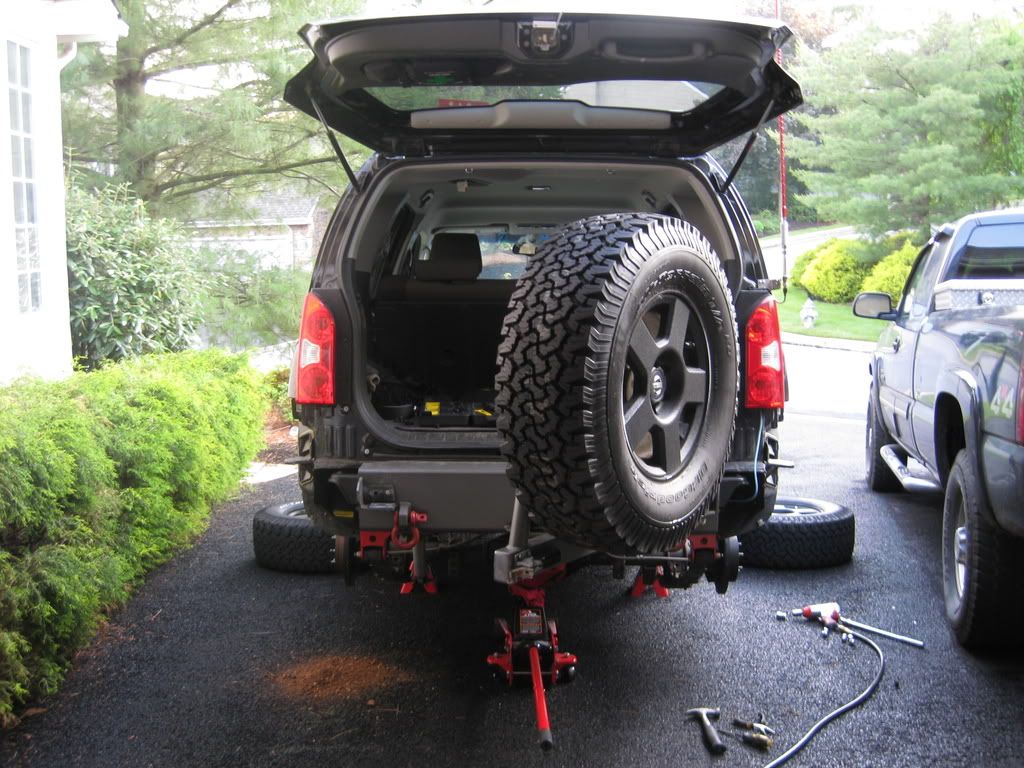
Let's get those boring steps off of there!
There are 5 screws, 2 bolts and 1 fastener that hold these pieces on.
The screws are on the interior of the wheel wells and the bolts are on the rear just above the bumper. The fastener is on the bottom the of the step closer to the center of your X. The bolts are 10mm and the screws are Philips heads.
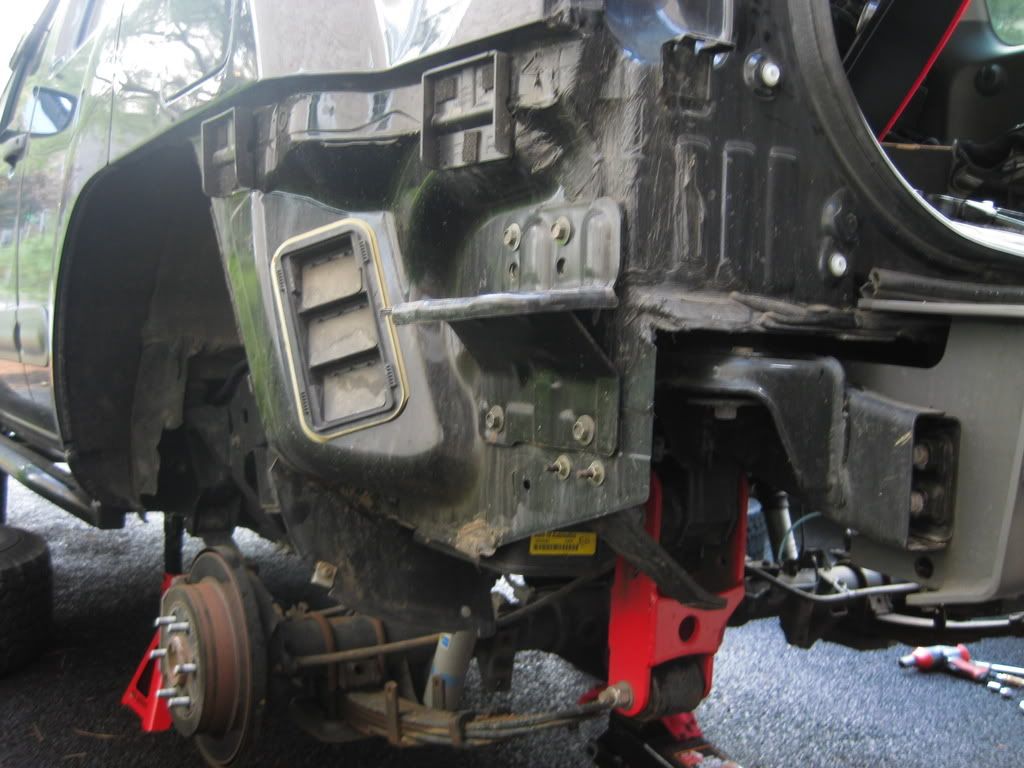
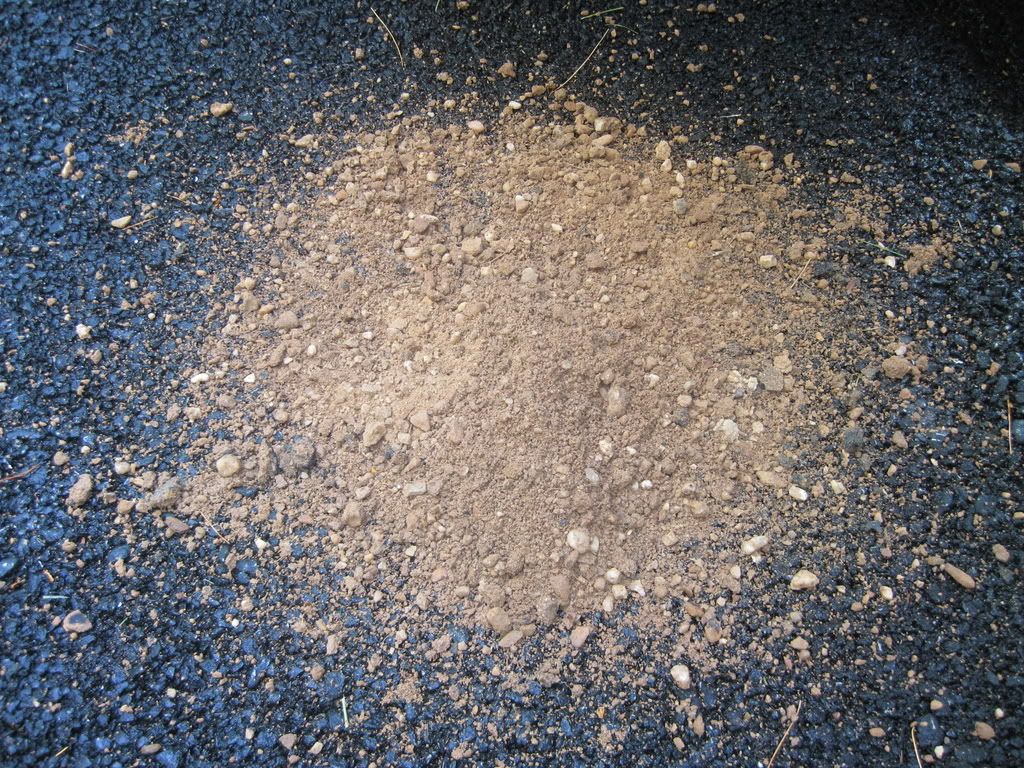
And, I found some old Rausch Creek mud and rocks hiding in between my inner fender and the step.

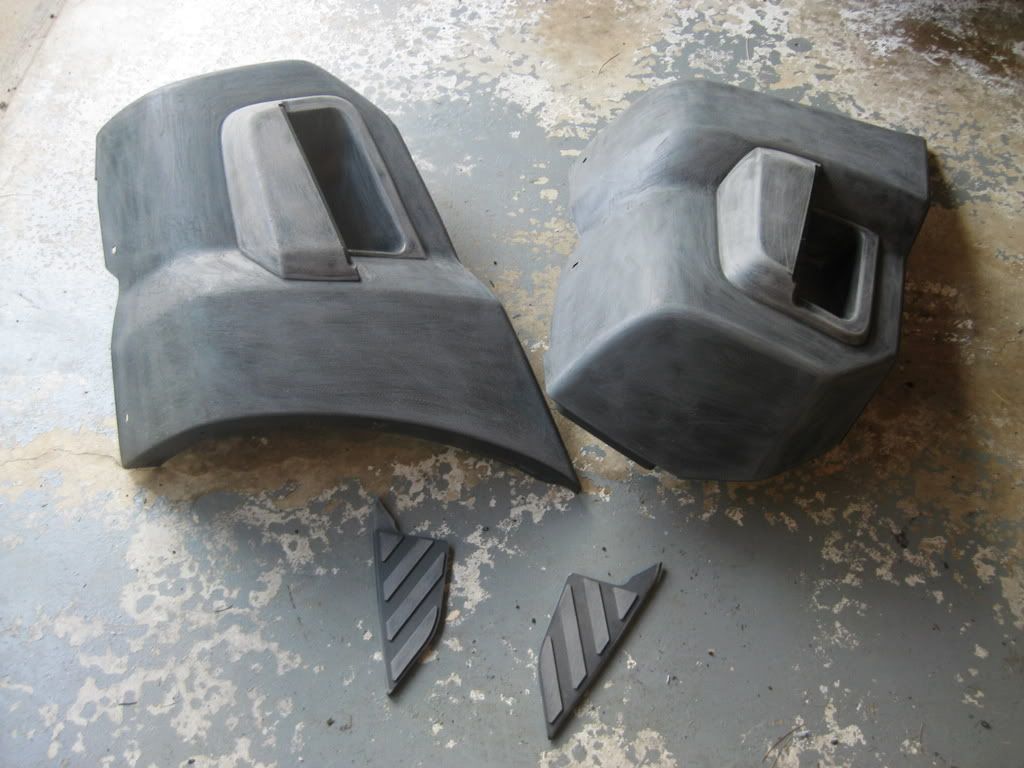
But, here is what you are left with when you remove them both.
 Step 3
Prepare those rear steps for spraying!
First, you want to wash the steps and clean them of any dirt, mud, oil or unwanted mess.
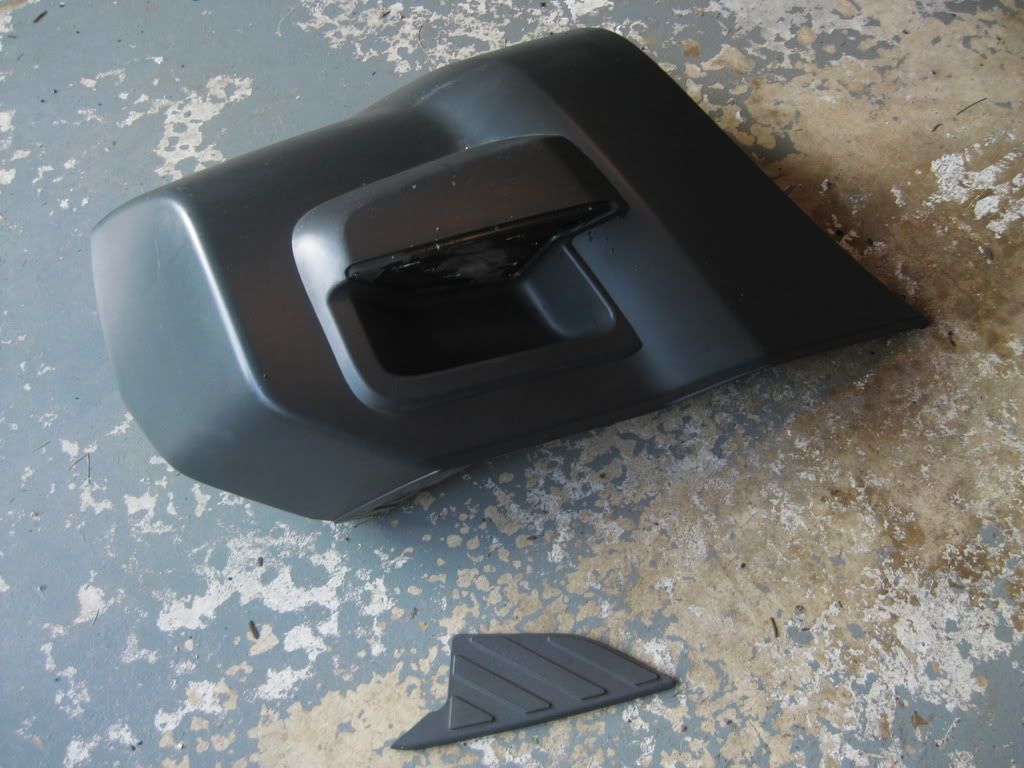
Next you want to separate the rear step finisher from the rear bumper fascia. That are just held in by snaps, just use a flathead to pry them off.
Then you want to take a light grit sandpaper and scuff the entire surface evenly. This will create a surface for the bedliner to grip to.
Once you complete this step, the parts should look like this.
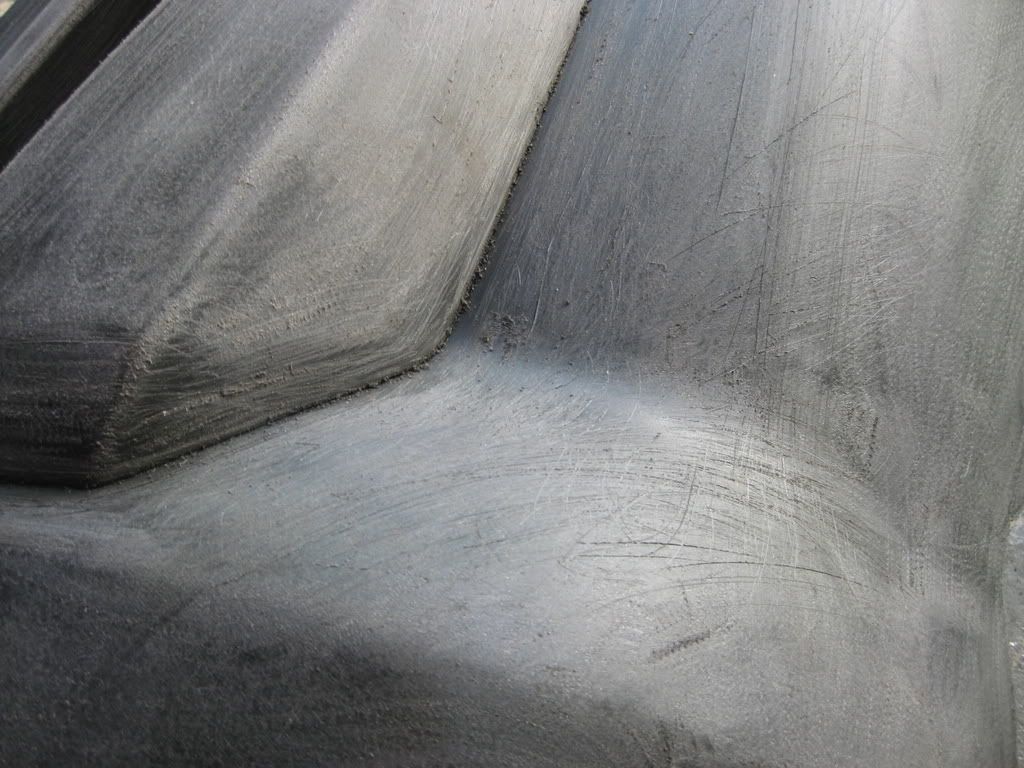
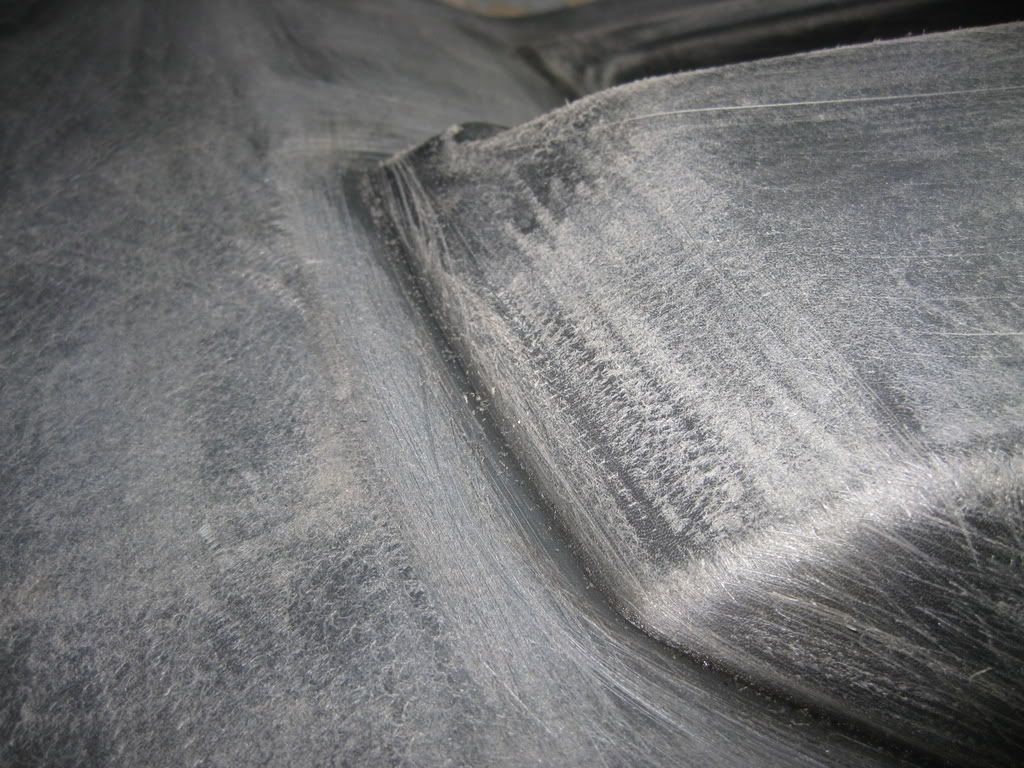
Ok, now you will need use some acetone or other cleaning agent to wipe the dust and sanding residue off of the rear step parts.
Step 4
It's spraying time!
As described in some of my previous how to's, you will need to apply the Duplicolor bedliner in clean even strokes about 6-8 inches off of the surface of the rear steps. The more consistent the motion of the rattle can, the better the results. Avoid starting and stopping on the parts because it will an uneven surface and different textures on your surface.
Apply 3-4 coats about 5-10 minutes apart. Then allow the pieces to dry for at least 3 hours.
I don't have many photos of this step because I was drinking some beers and I forgot. So, sue me!
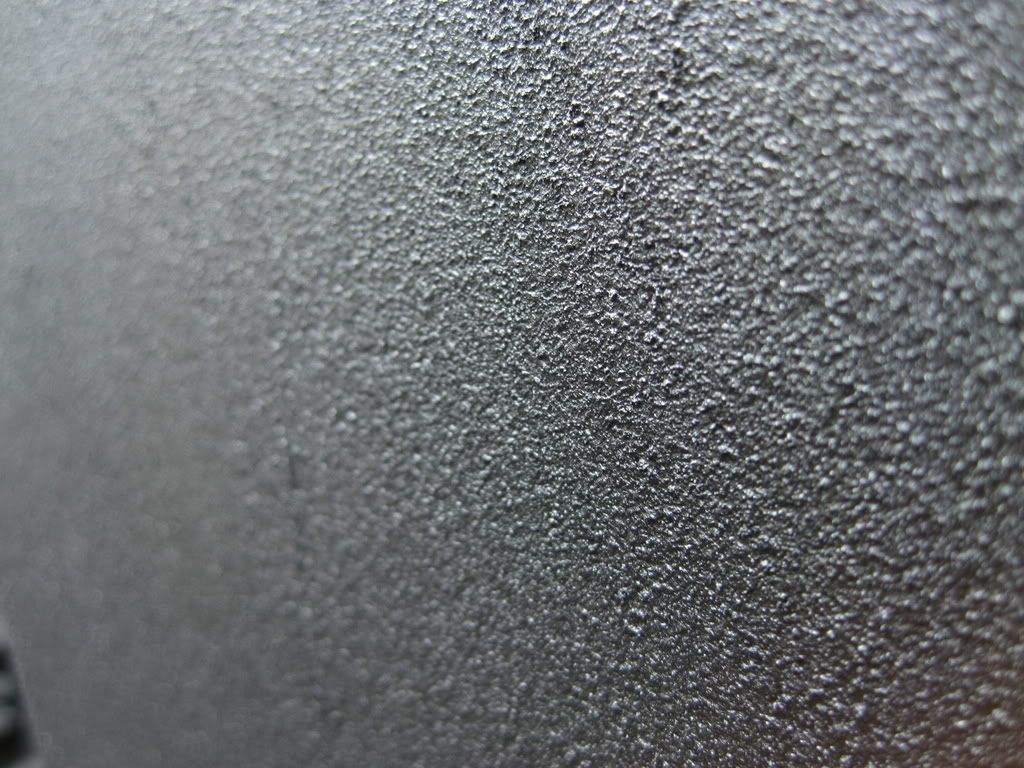
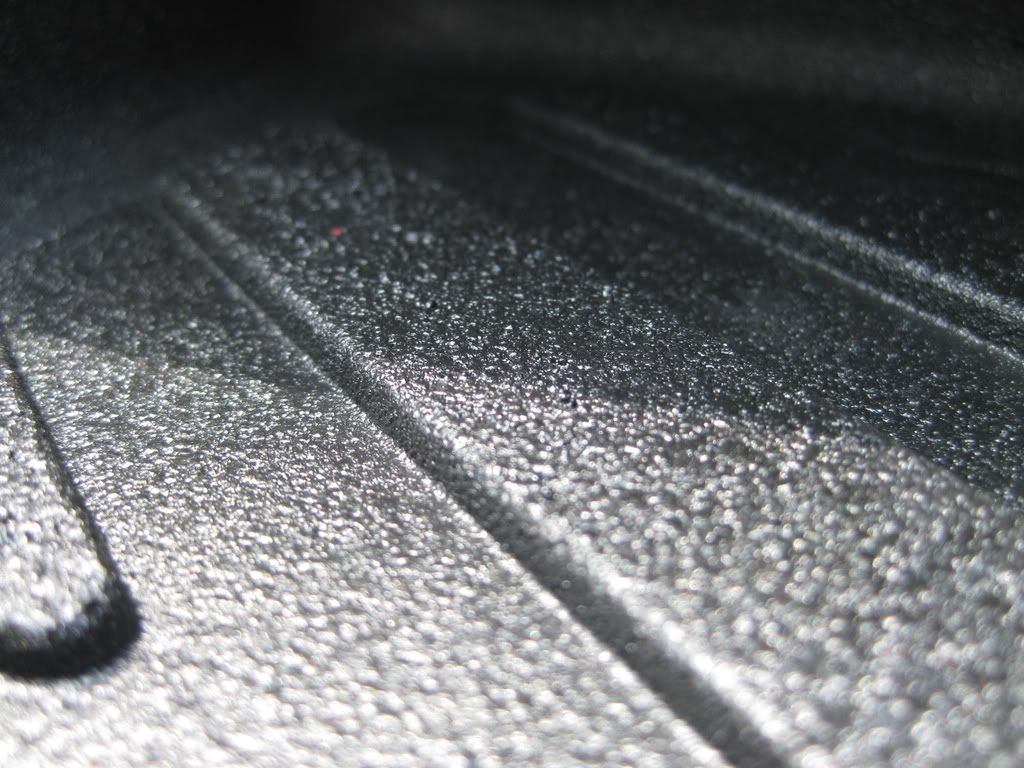
But, the texture will look like this.
 Step 5
Put those suckers back on!
It can be tricky to slide the rear steps back on, but in time you will get it over the attachment clips and figure it out. Patience will solve this problem. Rescrew the screws and rebolt the bolts. Wait until you have the main piece of the fascia attached before you reattach the rear step finishers. It will be much easier to snap them back into place.
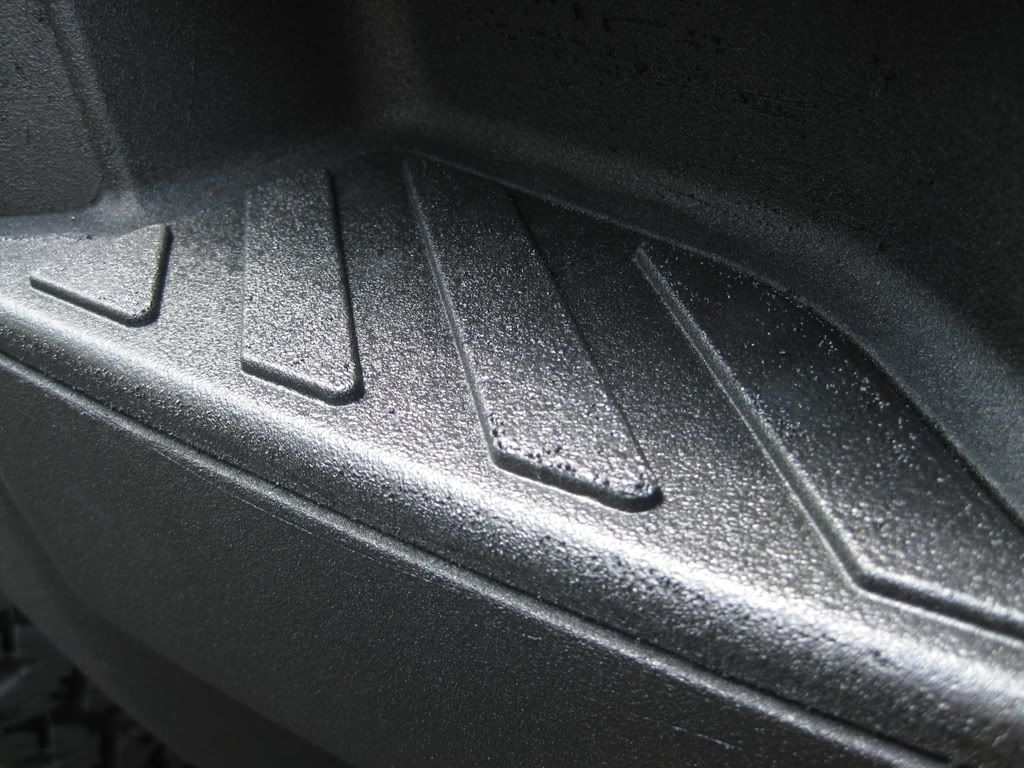
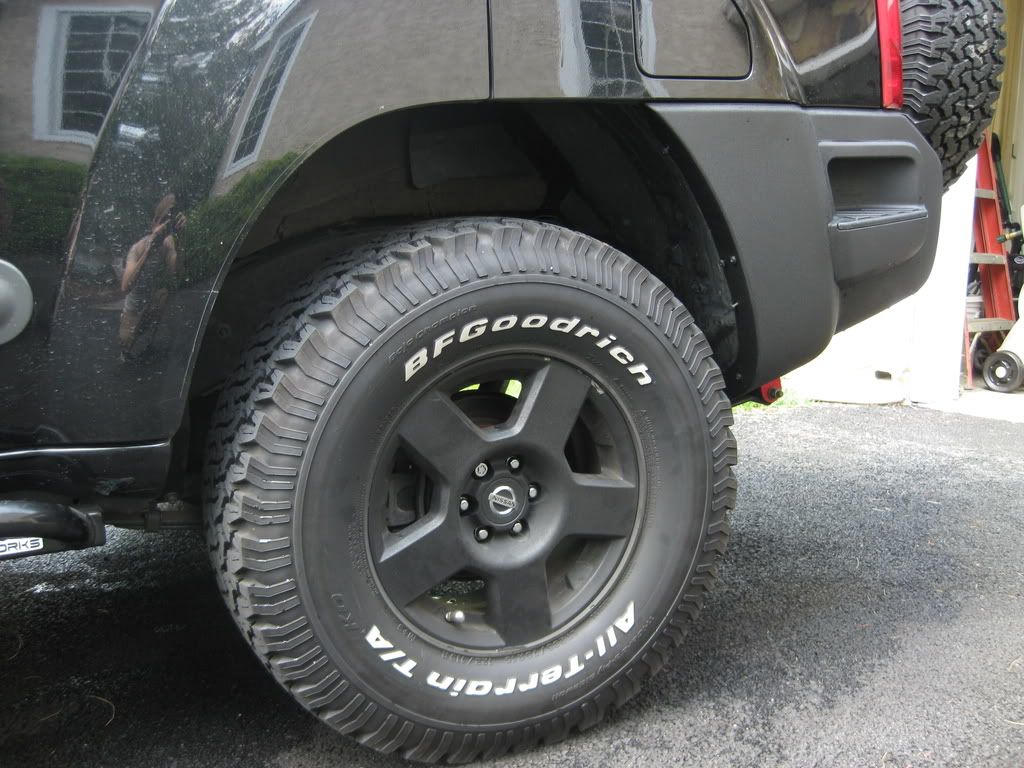
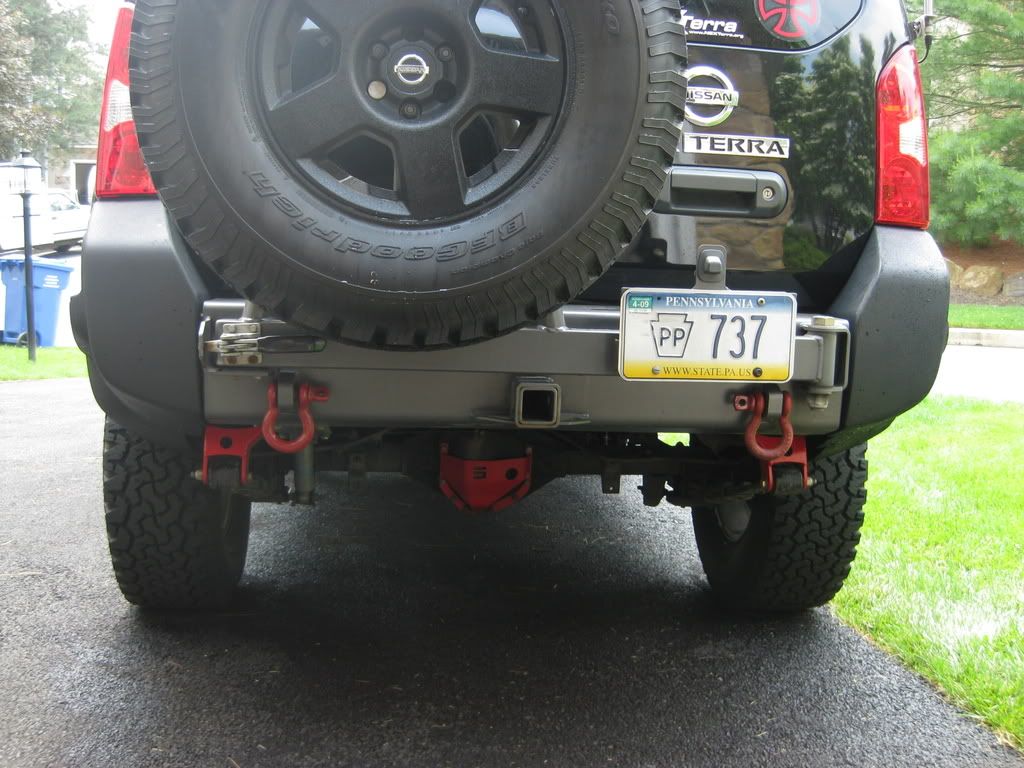
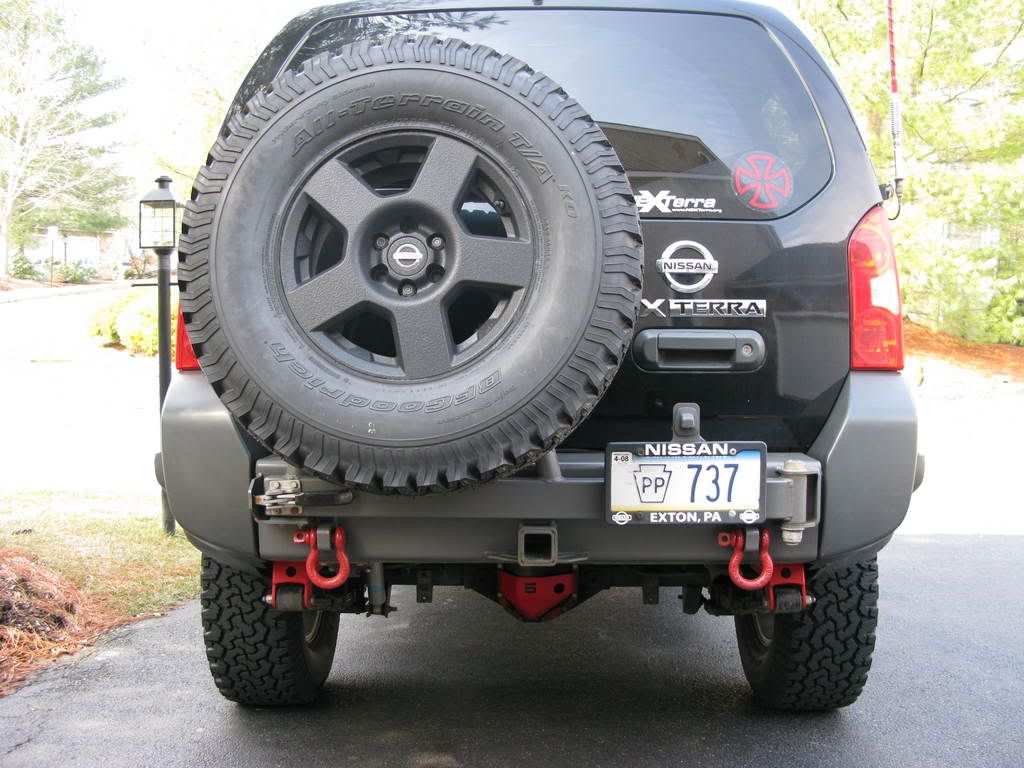
So, that is that. I have stealthed again. Now, my gray Shrockworks rear bumper sticks out more. It happens and I won't lose sleep over it.
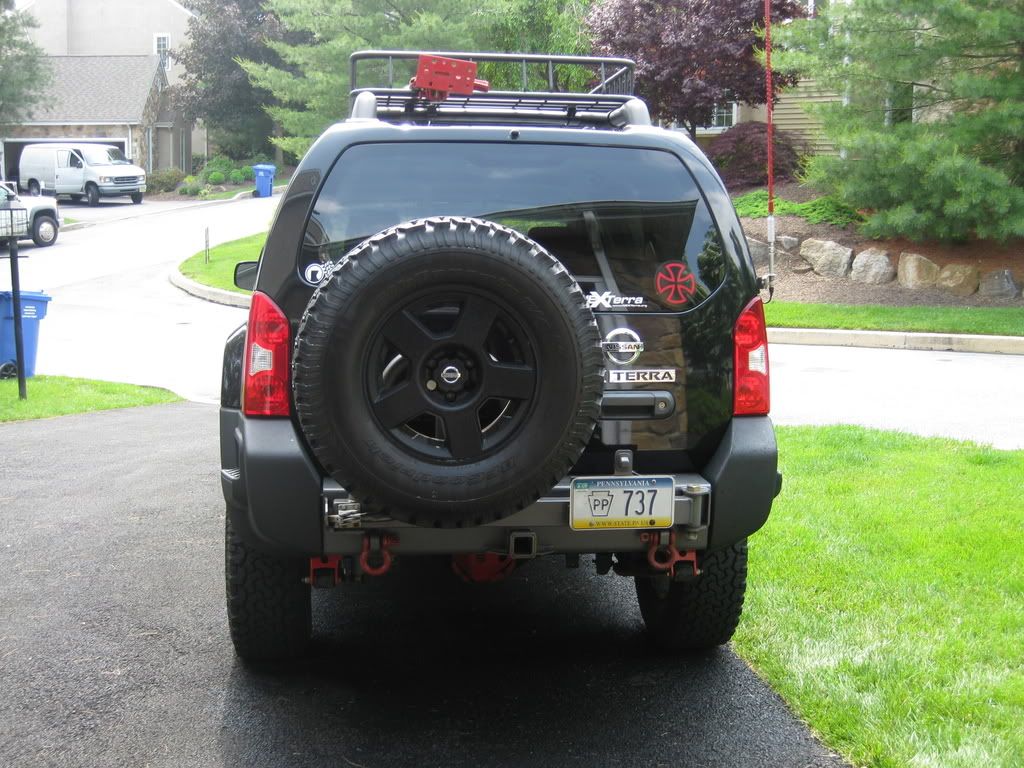
Before:
After:
Cornick, do you have the balls to try this now?
FIN
 Board index » Tech Talk » Back Yard Mechanic

