OK, after realizing I can not afford the Shrockworks front bumper right now and also realizing that I am unsatisfied with the look of the current factory bumper I had an idea... and some free time!
Instead of a just a stealth grill, why not an entire stealth front end!?!
Step 1
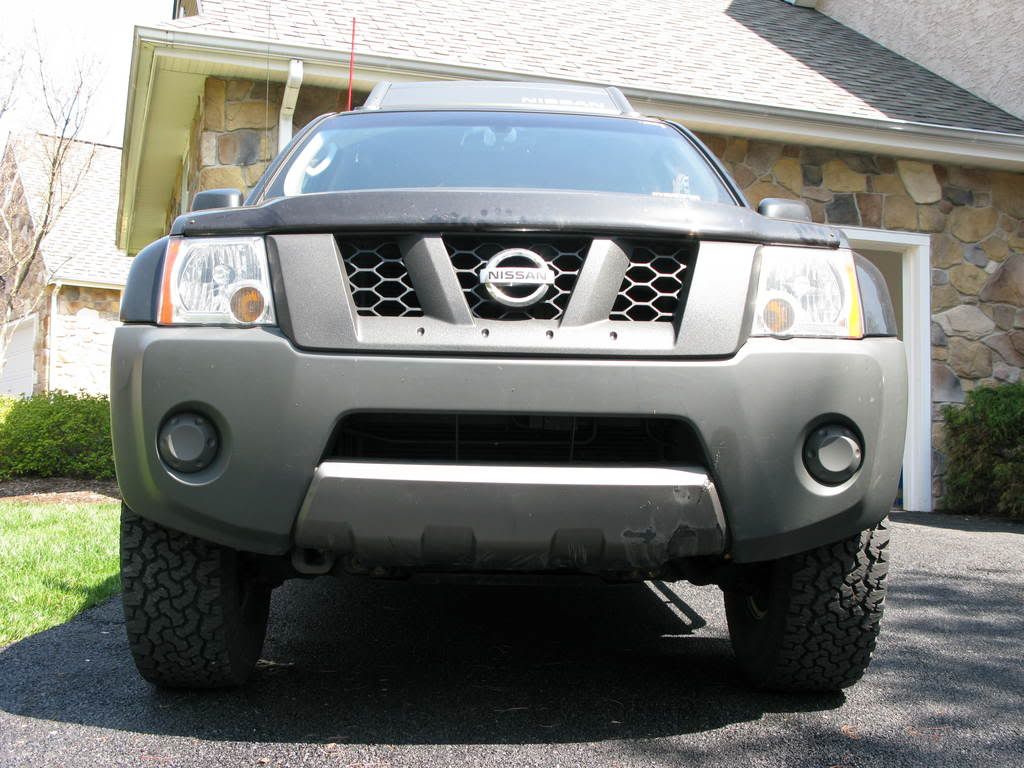
Look at your shabby, stock bumper and realize your dissatisfaction. Now, remove the grill and bumper fascia. There is already a detailed how to by
"dpatton" on how to do so.
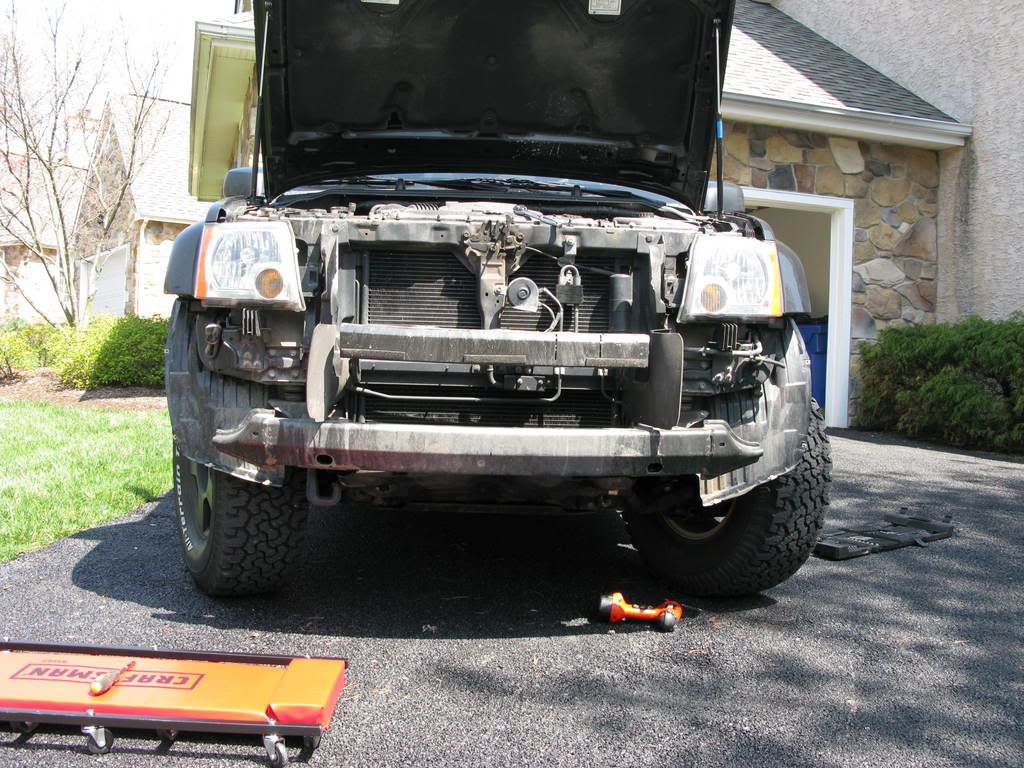
Front Bumper Removal
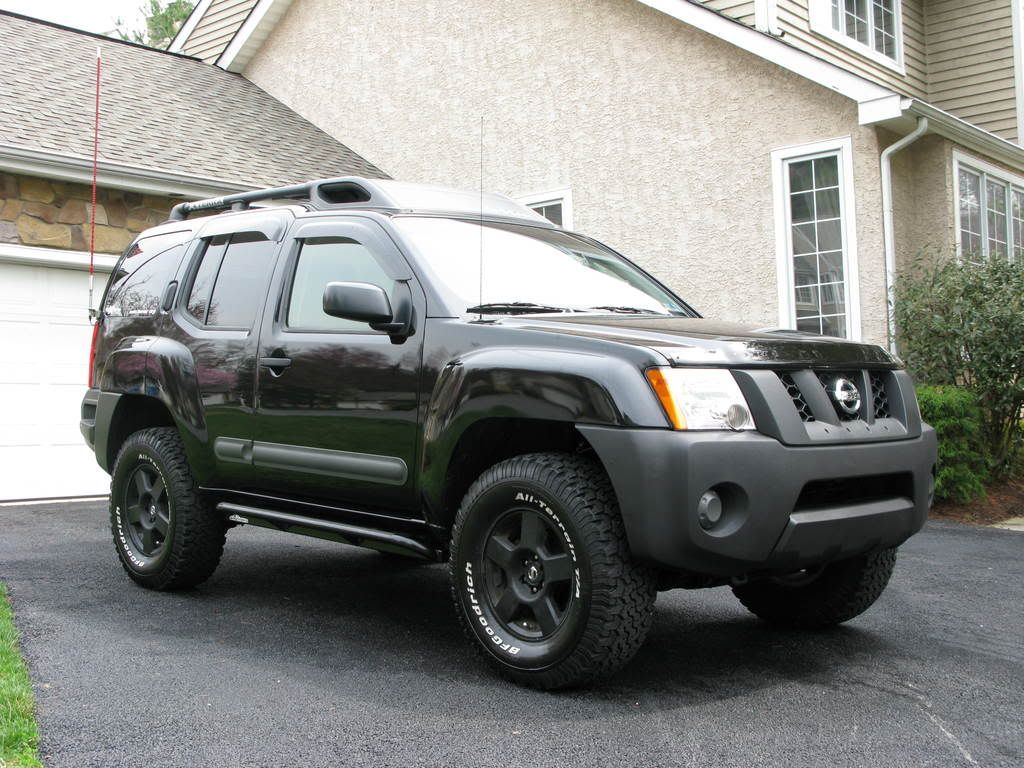
Consider this the "before" photo.
Grill Removed

Bumper Assembly Removed
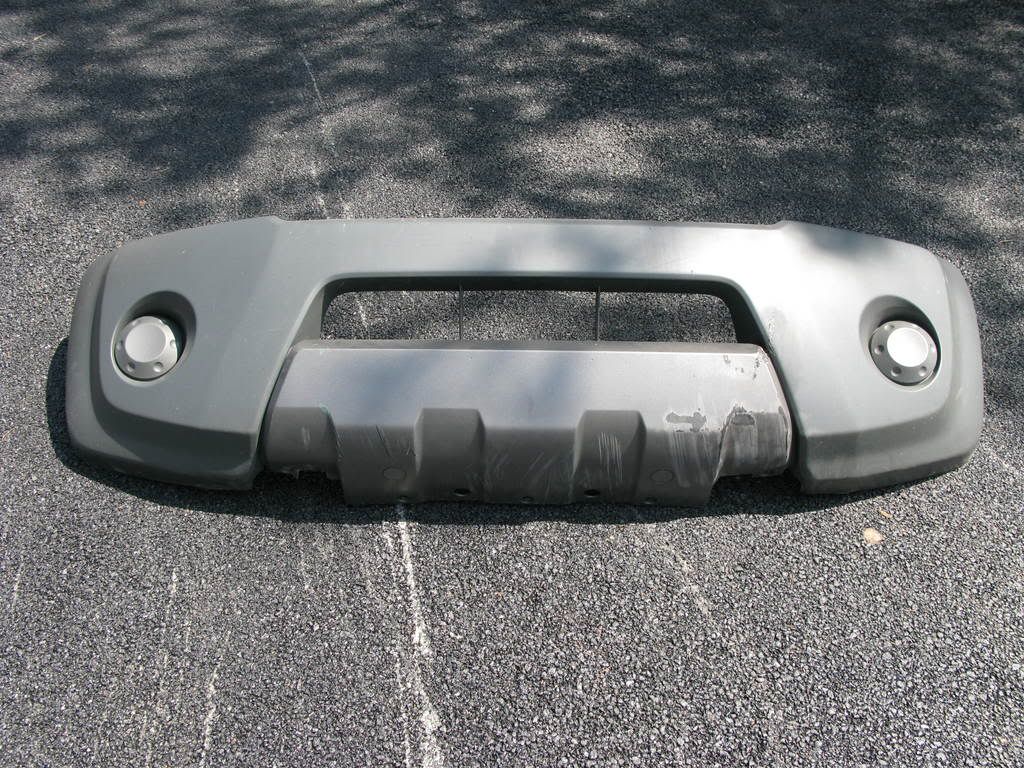
Bumper Fascia and Lower Bumper
 Step 2
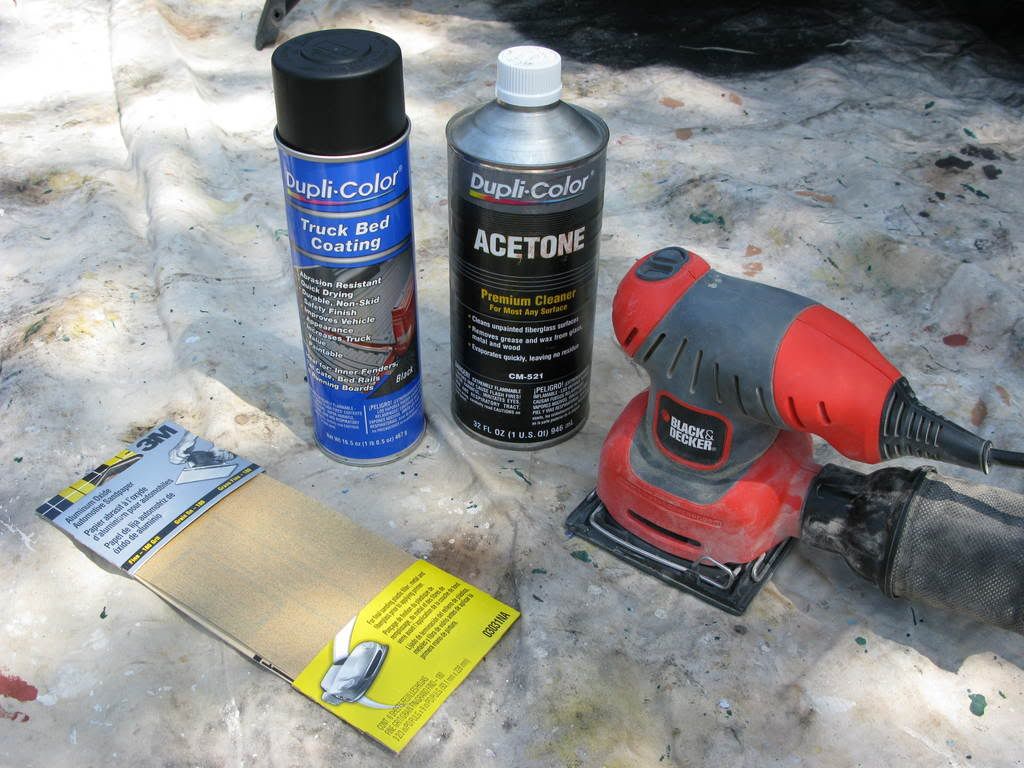
Gather the supplied you will need for. If you have a moderately well stocked garage this mod should only cost you $35-40.
Here is all I needed.
Now, dissasemble the lower bumper from the fascia by removing the lower screws and popping out the hidden snaps on top. Then, pop out the covers for the OEM fog lights unless you have them installed. You can spray these too, I chose not to.
Step 3
Clean all pieces before sanding using everyday household Windex. Now, use a light grit sand paper, like 80, and sand the entire surface of both pieces until they are scuffed up and have some texture to them for the Duplicolor bedliner to grab.
Here, we see a nicely scuffed fascia.
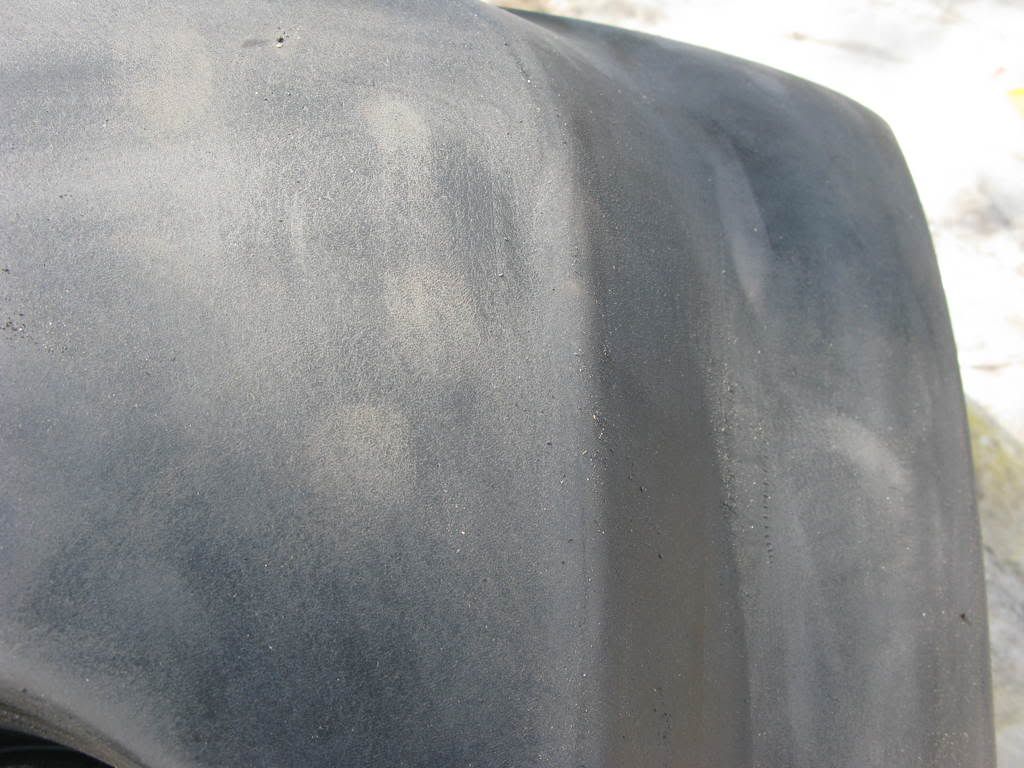
This is a very important step, so be very meticulous.
Finish this step off by cleaning the two pieces with Windex and then get a finer clean by using Acetone and some paper towels.
Step 4
It's spraying time! Now, as I have mentioned in my previous "how to's" the spraying of the Duplicolor Bedliner is something to practiced. I had done quite a bit of it in recent history and I recommend the following method; Apply the spray approximately 6 inches from the desired surface and move in sweeping motion, never stopping in one place. This technique will allow for a smooth and consistent application.
I also recommend 3-4 coats. Allow 15 minutes between coats.
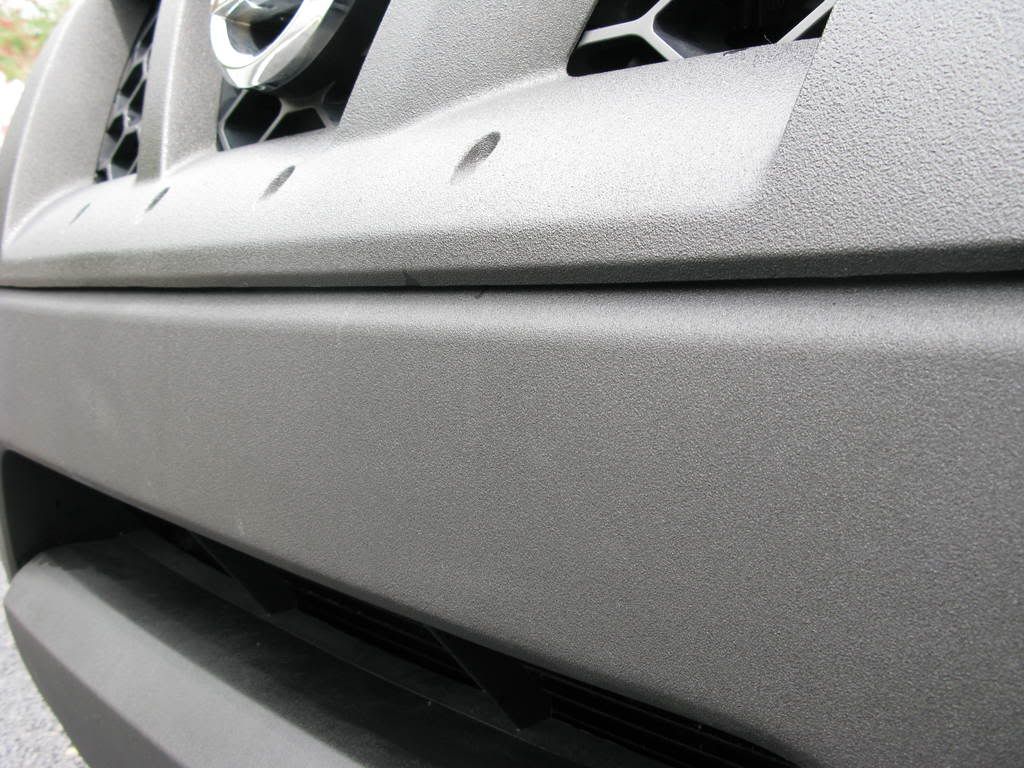
Here we see the bumper after 1 coat.
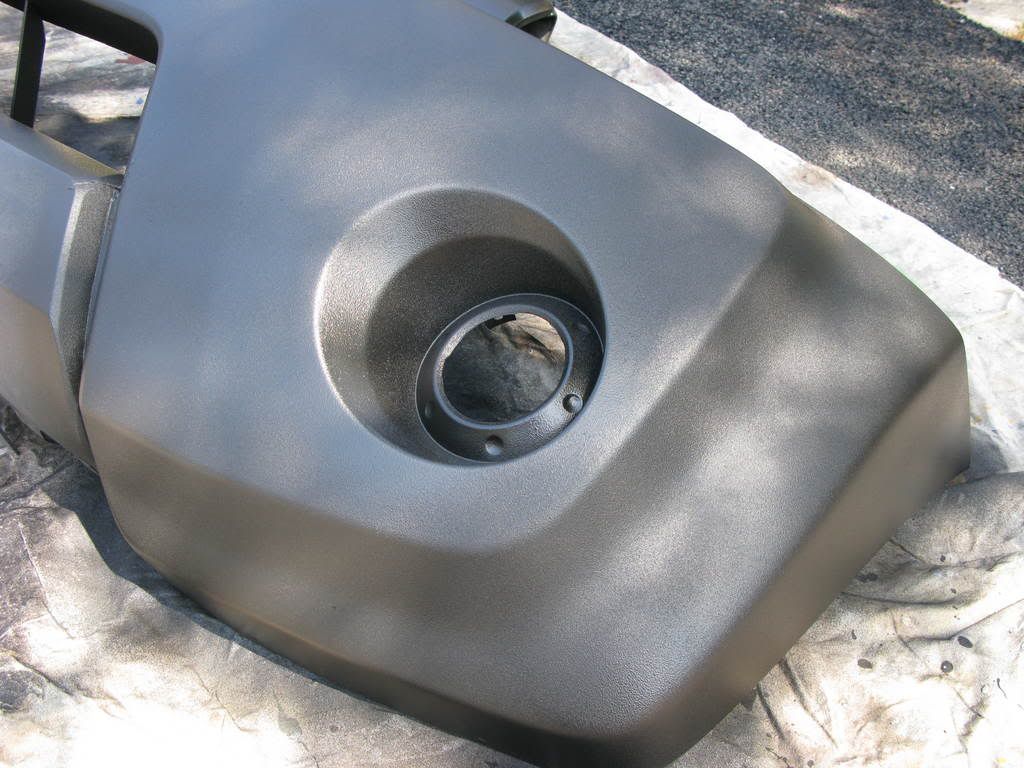
Here, after 3 coats.
 Step 5
Allow both pieces at least 3-4 hours to cure. I recommend letting it dry over night if possible.
Once dry, reassemble the bumper fascia and lower bumper. Once reassembled reinstall back on your X in the reverse order you removed it.
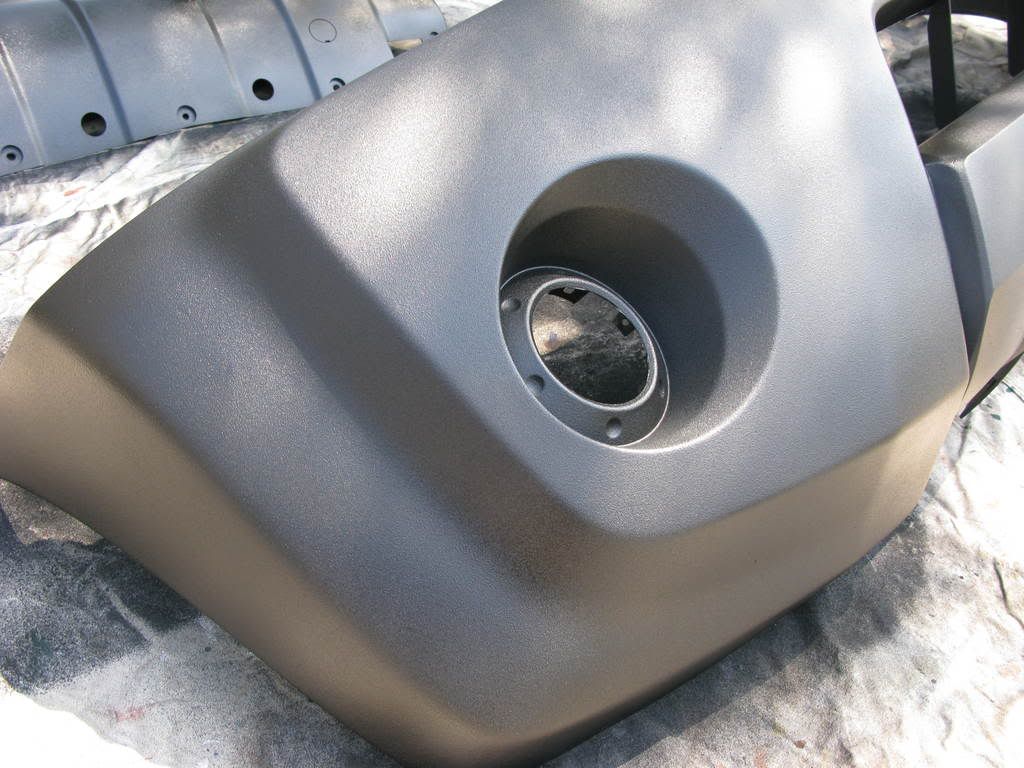
Then, stand back and look at great mod that only cost you $40!
The after shot!
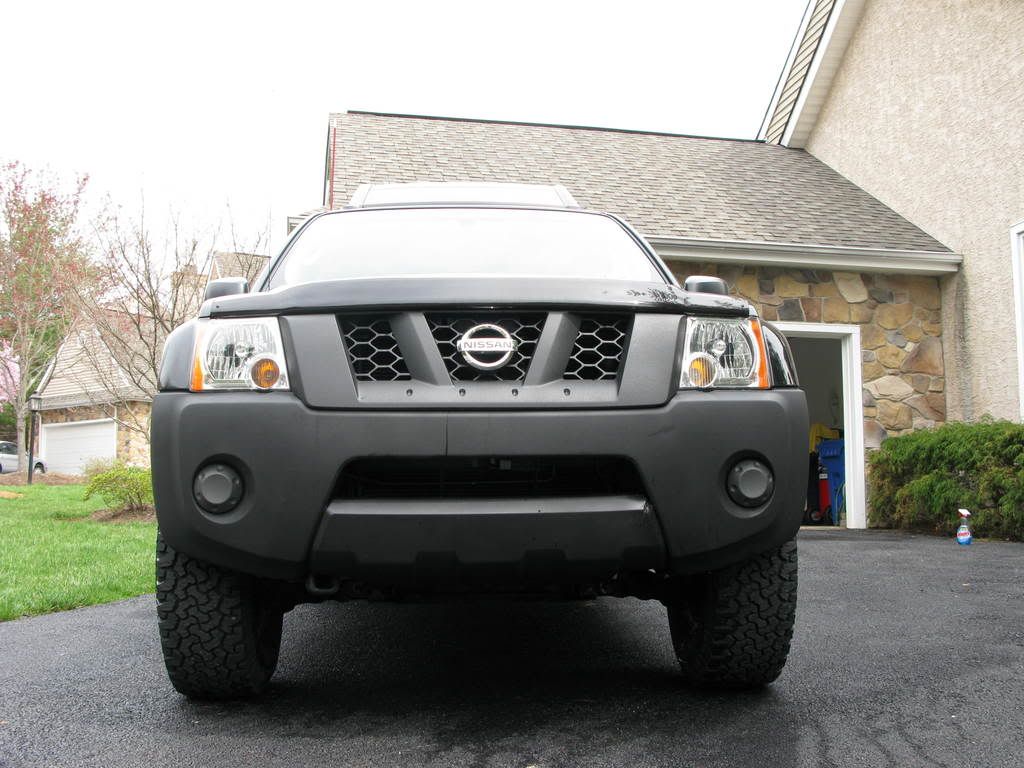
This is a seamless transformation.
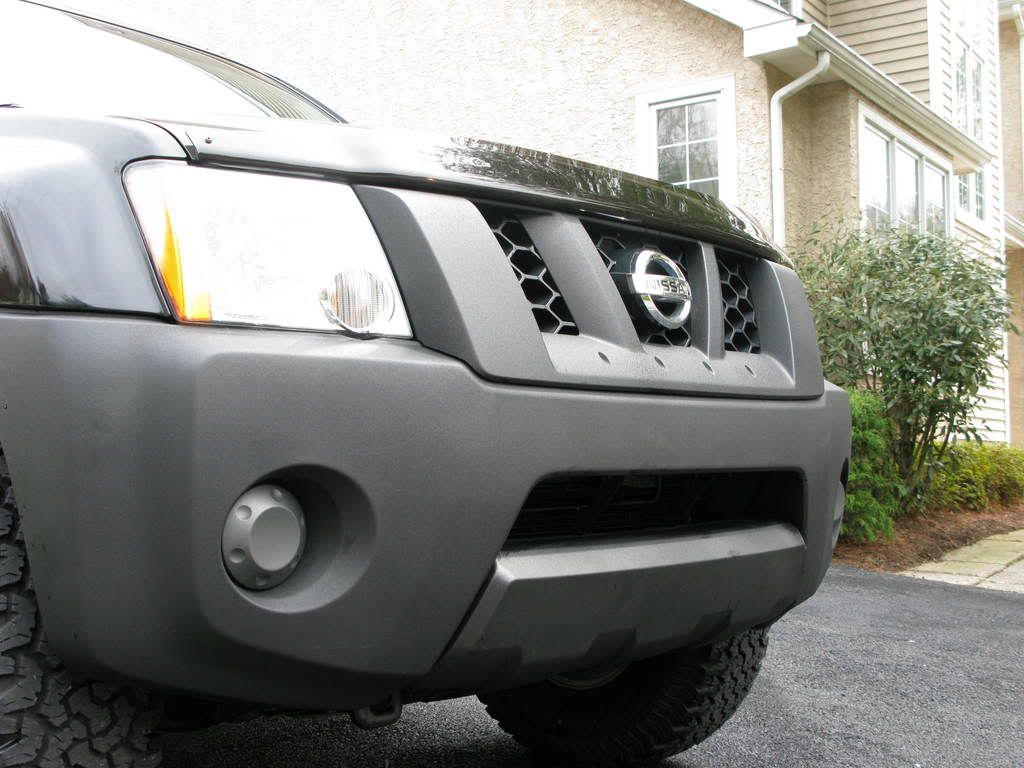
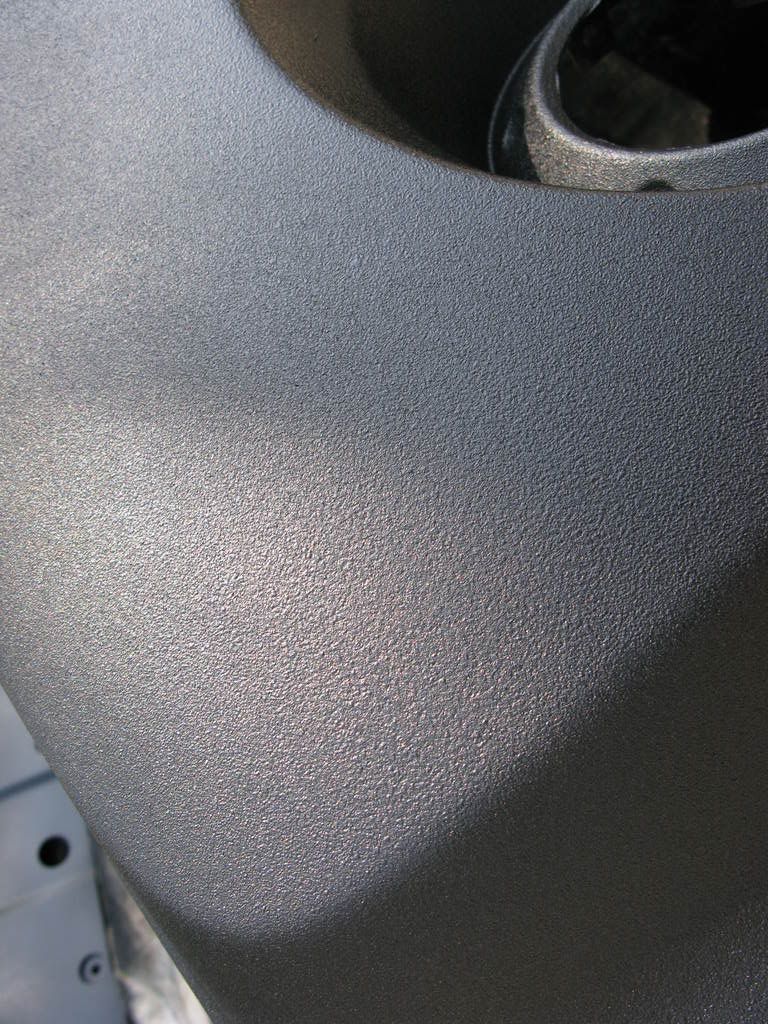
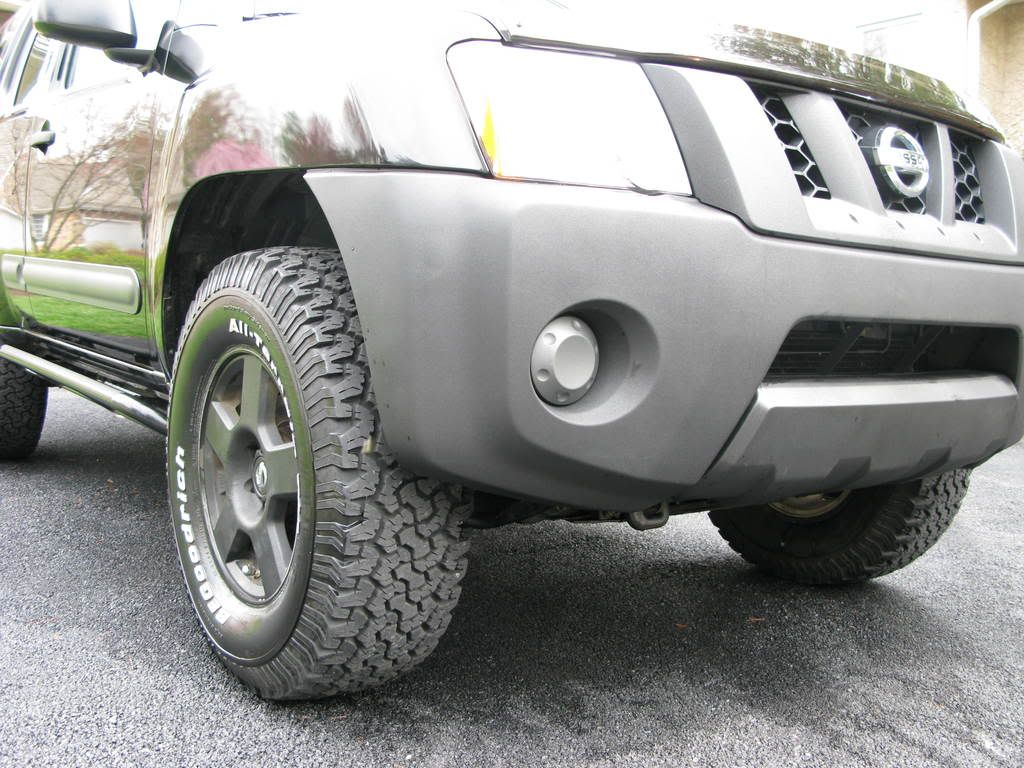
Close Up View
Here are some photos after a nice bath and shine.
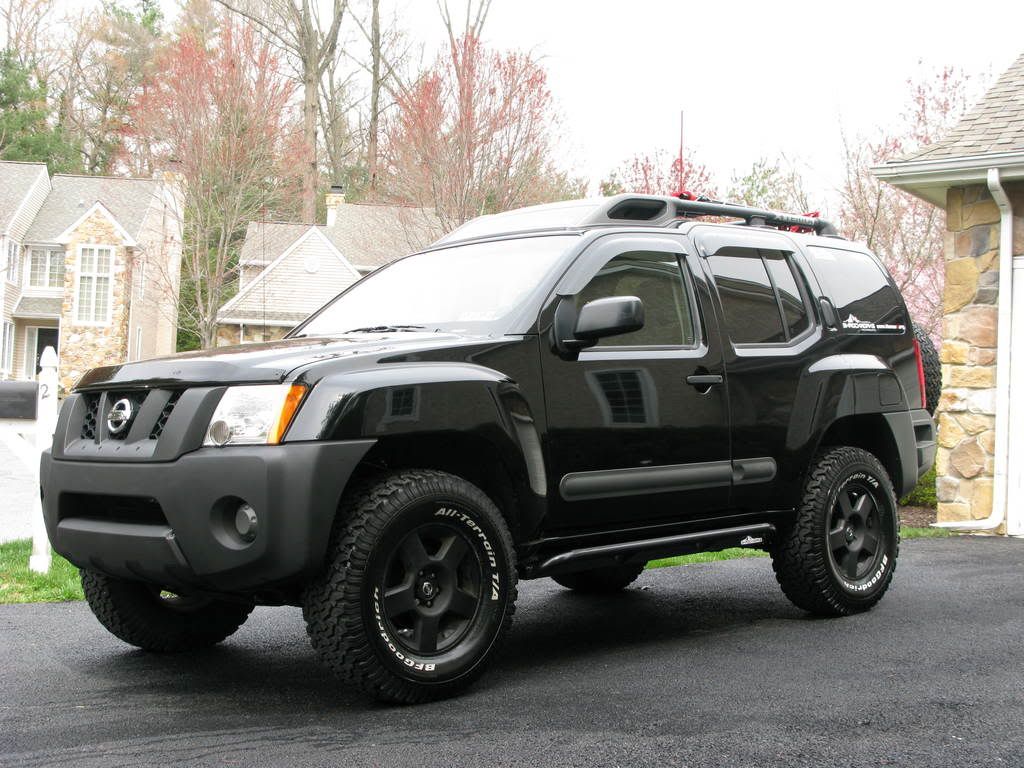
Boo ya! The Stealth Bandit strikes again!
 Board index » Tech Talk » Back Yard Mechanic

