***NOTE***
Early model year 2000 Xterras that were manufactured before december '99 were equipped with a different box than the rest of the '00-'04s...MAKE SURE YOU VERIFY YOUR PART NUMBER BEFORE FOLLOWING THESE INSTRUCTIONS, I'M NOT SURE WHAT THE DIFFERENCES ARE BETWEEN THE TWO PARTS...THIS DIY IS FOR THE LATER PART #
The FSM doesnt outline how to rebuild the box, just check it for turning tourque, etc...the included instructions are better, but there are still lots of gaps in the information
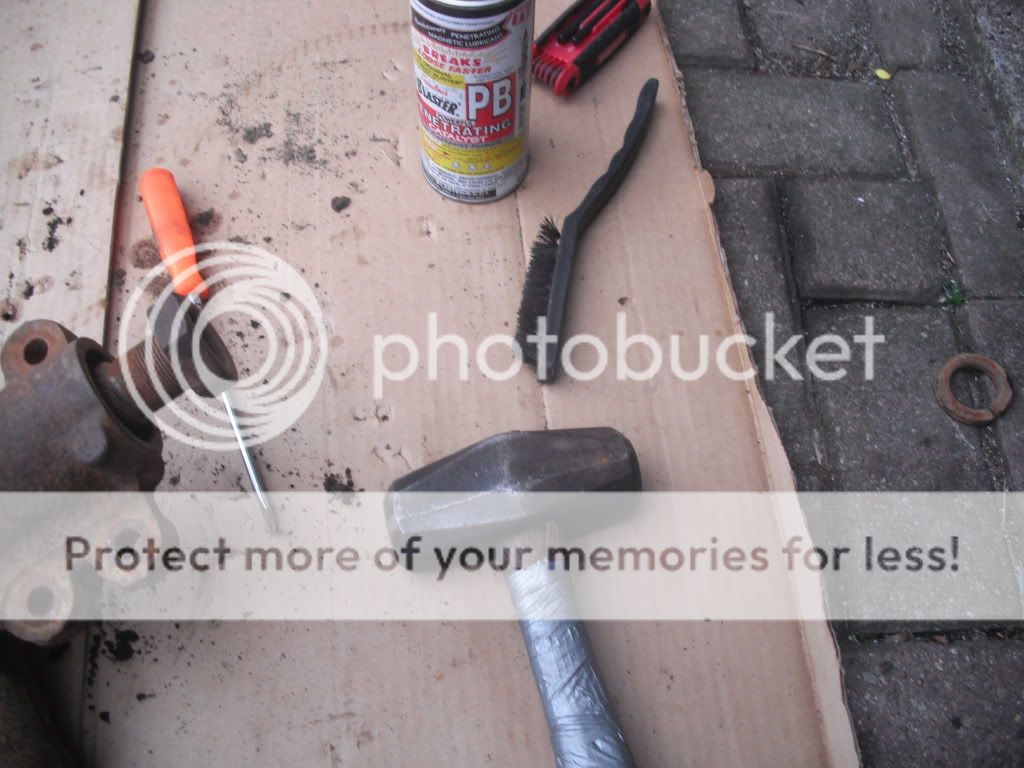
Tools you will need:
good set of snap ring pliers...not the cheap crap for autozone, you will break them trying to do this project, guaranteed
standard socket wrench
small flathead screwdriver(s)
rubber mallet or small sledge
possibly impact gun/breaker bar, depending on how stubborn the cover bolts are
stone-style cylinder hone & power drill
Parts you will need:
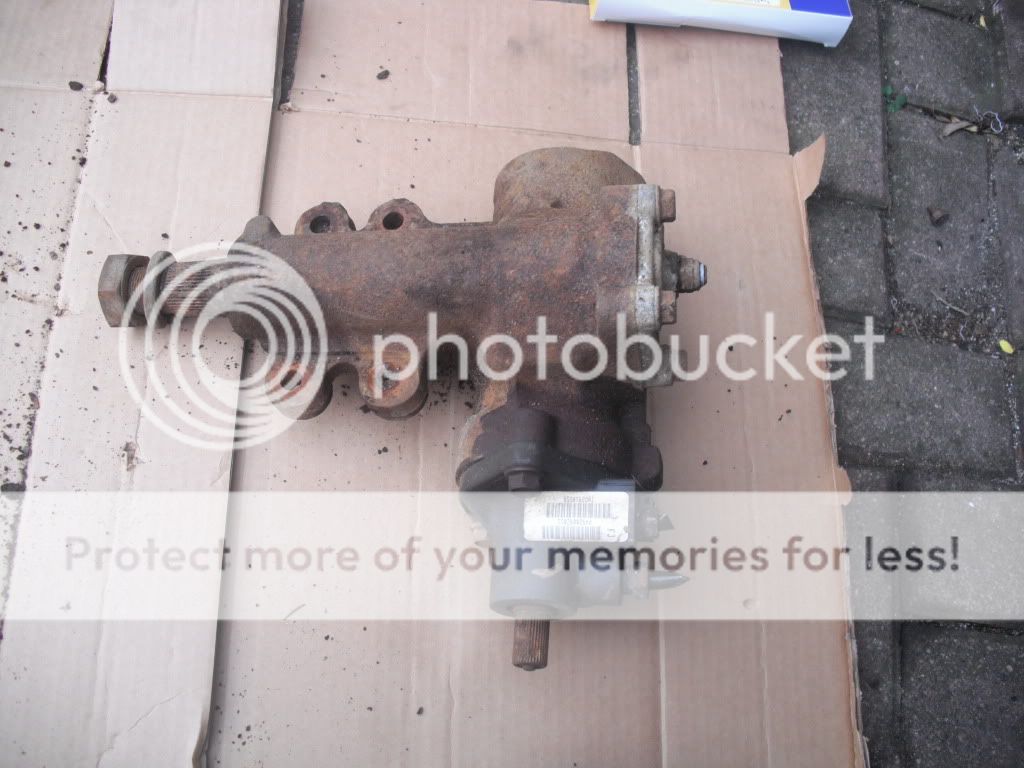
seering box in need of rebuild
steering gearbox rebuild/seal kit
Random supplies:
degreaser or brake cleaner
lots of rags
power steering fluid WITH SEAL CONDITIONER
drain pan to drain old fluid into
tub of assembly grease
OK, lets start
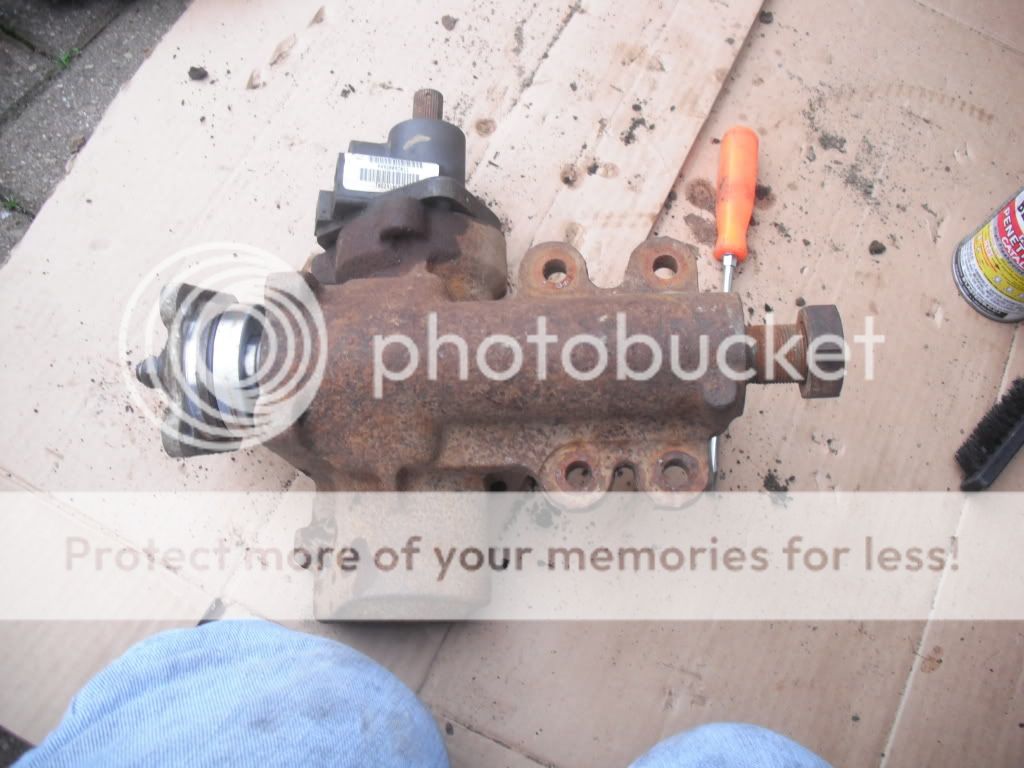
first, lay the steering box out on the ground (or work bench) and get it ready to pull apart...
open the rebuild kit box and pull out the instructions included....you will be using this reference only, as the instructions are for domestic style boxes with removable end covers and are set up a little differently


grab a cold one, take a deep breath, and lets get to it!

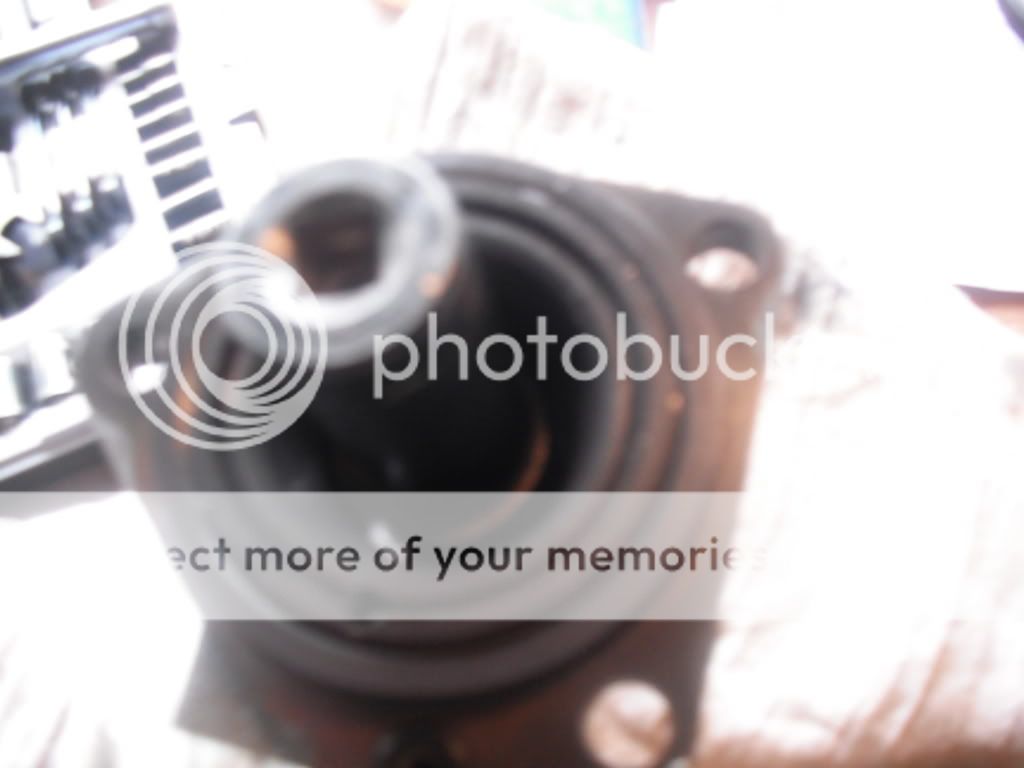
start by removing the 4 bolts holding the stub shaft cover plate on, mine were stubborn and needed some impact persuasion:

once the bolts are out, grab your mallet and tap firmly(not too hard, but with force) on the output shaft (where the pitman arm attaches to) until the entire sector shaft pulls out the end:
remove the output shaft seal, snap ring, metal washer, followed by a multi-layered seal, leave the bearings in place...

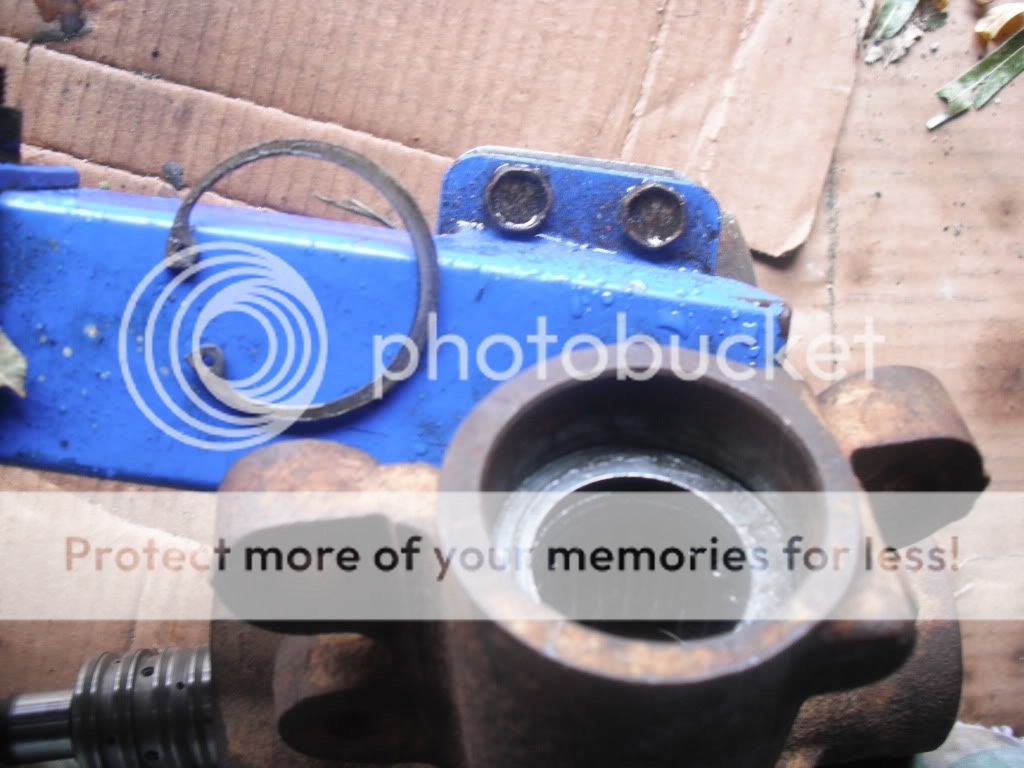


shoot some cleaner into the bearings, work the bearings around, and get them as clean as you can....now grab a finger full of grease and work it into each of the two bearings....

now, grab the right seals from the kit, grease the outside of everything, and drive them all back in the way they came out, dont forget the snap ring!:
now lets focus on the sector/stub shaft cover:
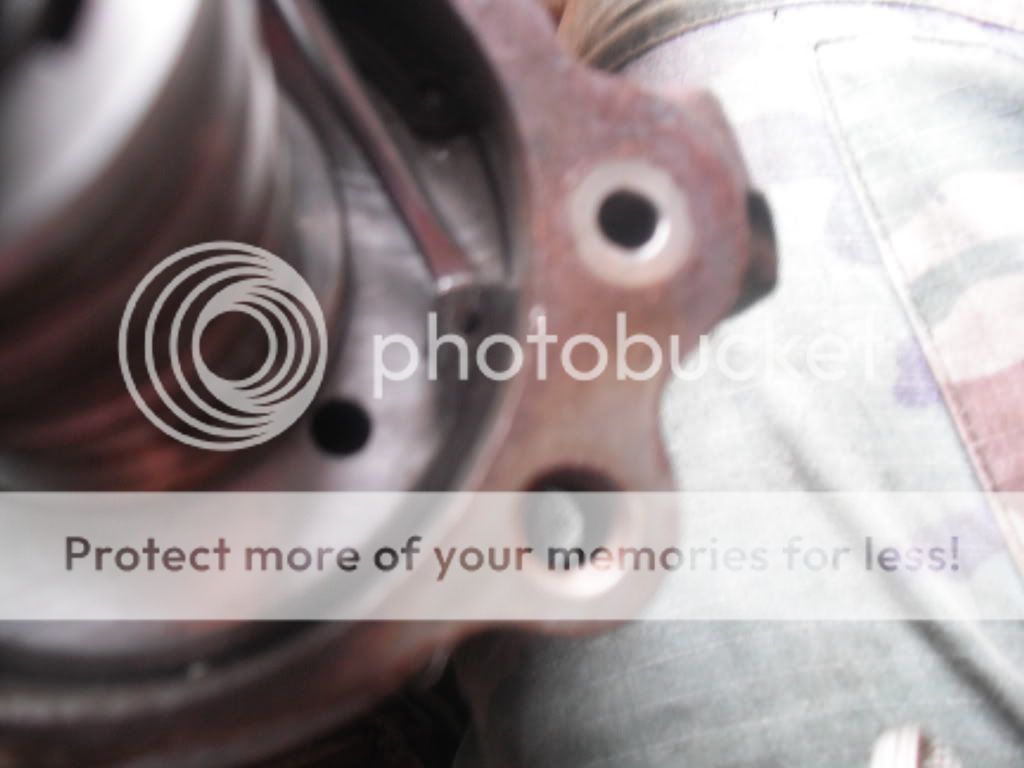
remove the bolts holding the cover on and tap the cover off with your mallet...remove the o-ring going aroung the edge of the inner portion, and remove the two smaller o-rings in the holes for the fluid lines.


now lay the cover on the ground and find a socket to use with your mallet to drive out the seal and bearing that sit up inside the cover, be sure to remember which way the bearing is facing!
clean out the bearing, work some grease into it with your fingers, rub some grease on the replacement seal, and drive everything back into place from the opposite side (where it came out from), and replace the 2 small o-rings and the 1 large o-ring
now comes the REALLY fun part ::sarcasm::
take a look at the stub shaft (with the teflon seal rings) sticking out of the end of the box...remove the retaining clip with a flathead screwdriver, keep this off to the side as you will use it again...

now, find your biggest pair of snap ring pliers, chug the rest of your beer, and go to town on that BEAST of a snap ring you see going around the inside of the cylinder....it will take a while, you will curse, you will pinch your fingers, it sucks....
once you get the snap ring out, twist the stub shaft to where it wants to pull itself out of the box...its ok, let it pull itself out....after a turn or two you will hear tiny balls falling to the bottom of the box...its ok, just pull the rest of the shaft out and put it off to the side....

now look into the box and you will see the rack piston with a bunch of ball bearings at the bottom...grab a hold of the piston from the inside and pull it out, it might take a little effort but it will just pop out...

make sure you keep the balls together in a cup or something!

remove the ball guide and keep both sides of the guide together, spray a little cleaner onto the balls and make them all pretty

replace the o-ring at the base of the rack piston, run a little grease around the edge of the new o-ring
 Board index » Tech Talk » Back Yard Mechanic
